Creating Custom Backgrounds and ThumbnailsUpdated 22 days ago
Hello everyone!
This article will show you how to add your own custom backgrounds to the Augmented Reality software and assign their thumbnail files.
- Supported background formats: .mp4 (recommended), .jpg, .png
- Supported Thumbnail formates: .png
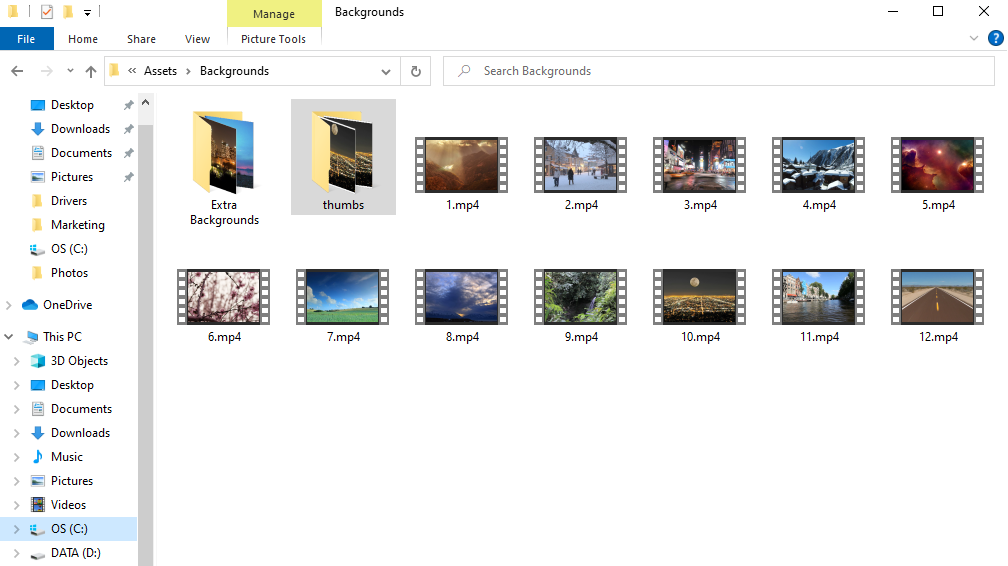
1. Create the desired background file and place the desired background file in:
C:\Program Files\FotoMaster\Foto Master Augmented Reality Photo Booth\ARPhotoBooth\ Assets\Backgrounds
2. When creating a thumbnail for your background, you will need to create 5 files in total. The purpose of this setup is to allow you to present a "loading frame" once the background is selected by the user. In Foto Master's given thumbnail files, you can see we created a partial white frame around each thumbnail. This is not a must-do design. Yet, you must have 5 files in the thumbnails folder.

3. Place the thumbnails files in C:\Program Files\FotoMaster\Foto Master Augmented Reality Photo Booth\ARPhotoBooth\Assets\Backgrounds\thumbs.
Please pay attention to the required naming method. It should be the same as your background file's name with the following addition: _0, _1, _2, _3, _4.
For example, if the name of your background file is 10, then the name of your thumbs should be 10_0 / 10_01 / 10_02 / 10_03 / 10_04.
That's it! Simple as that!