Chroma Key Guide (Green/Blue Screen)Updated 4 months ago
Use Chroma Key to remove a green or blue backdrop from your live camera preview, so you can quickly fine-tune settings before your event.
What You’ll Get
A clean live preview with the backdrop removed
Simple sliders to fine-tune the result
Changes are saved only when you click Save Changes
Note: This feature affects only the Camera tab preview. Your recorded photos or videos may use a separate background-removal process depending on the selected workflow.
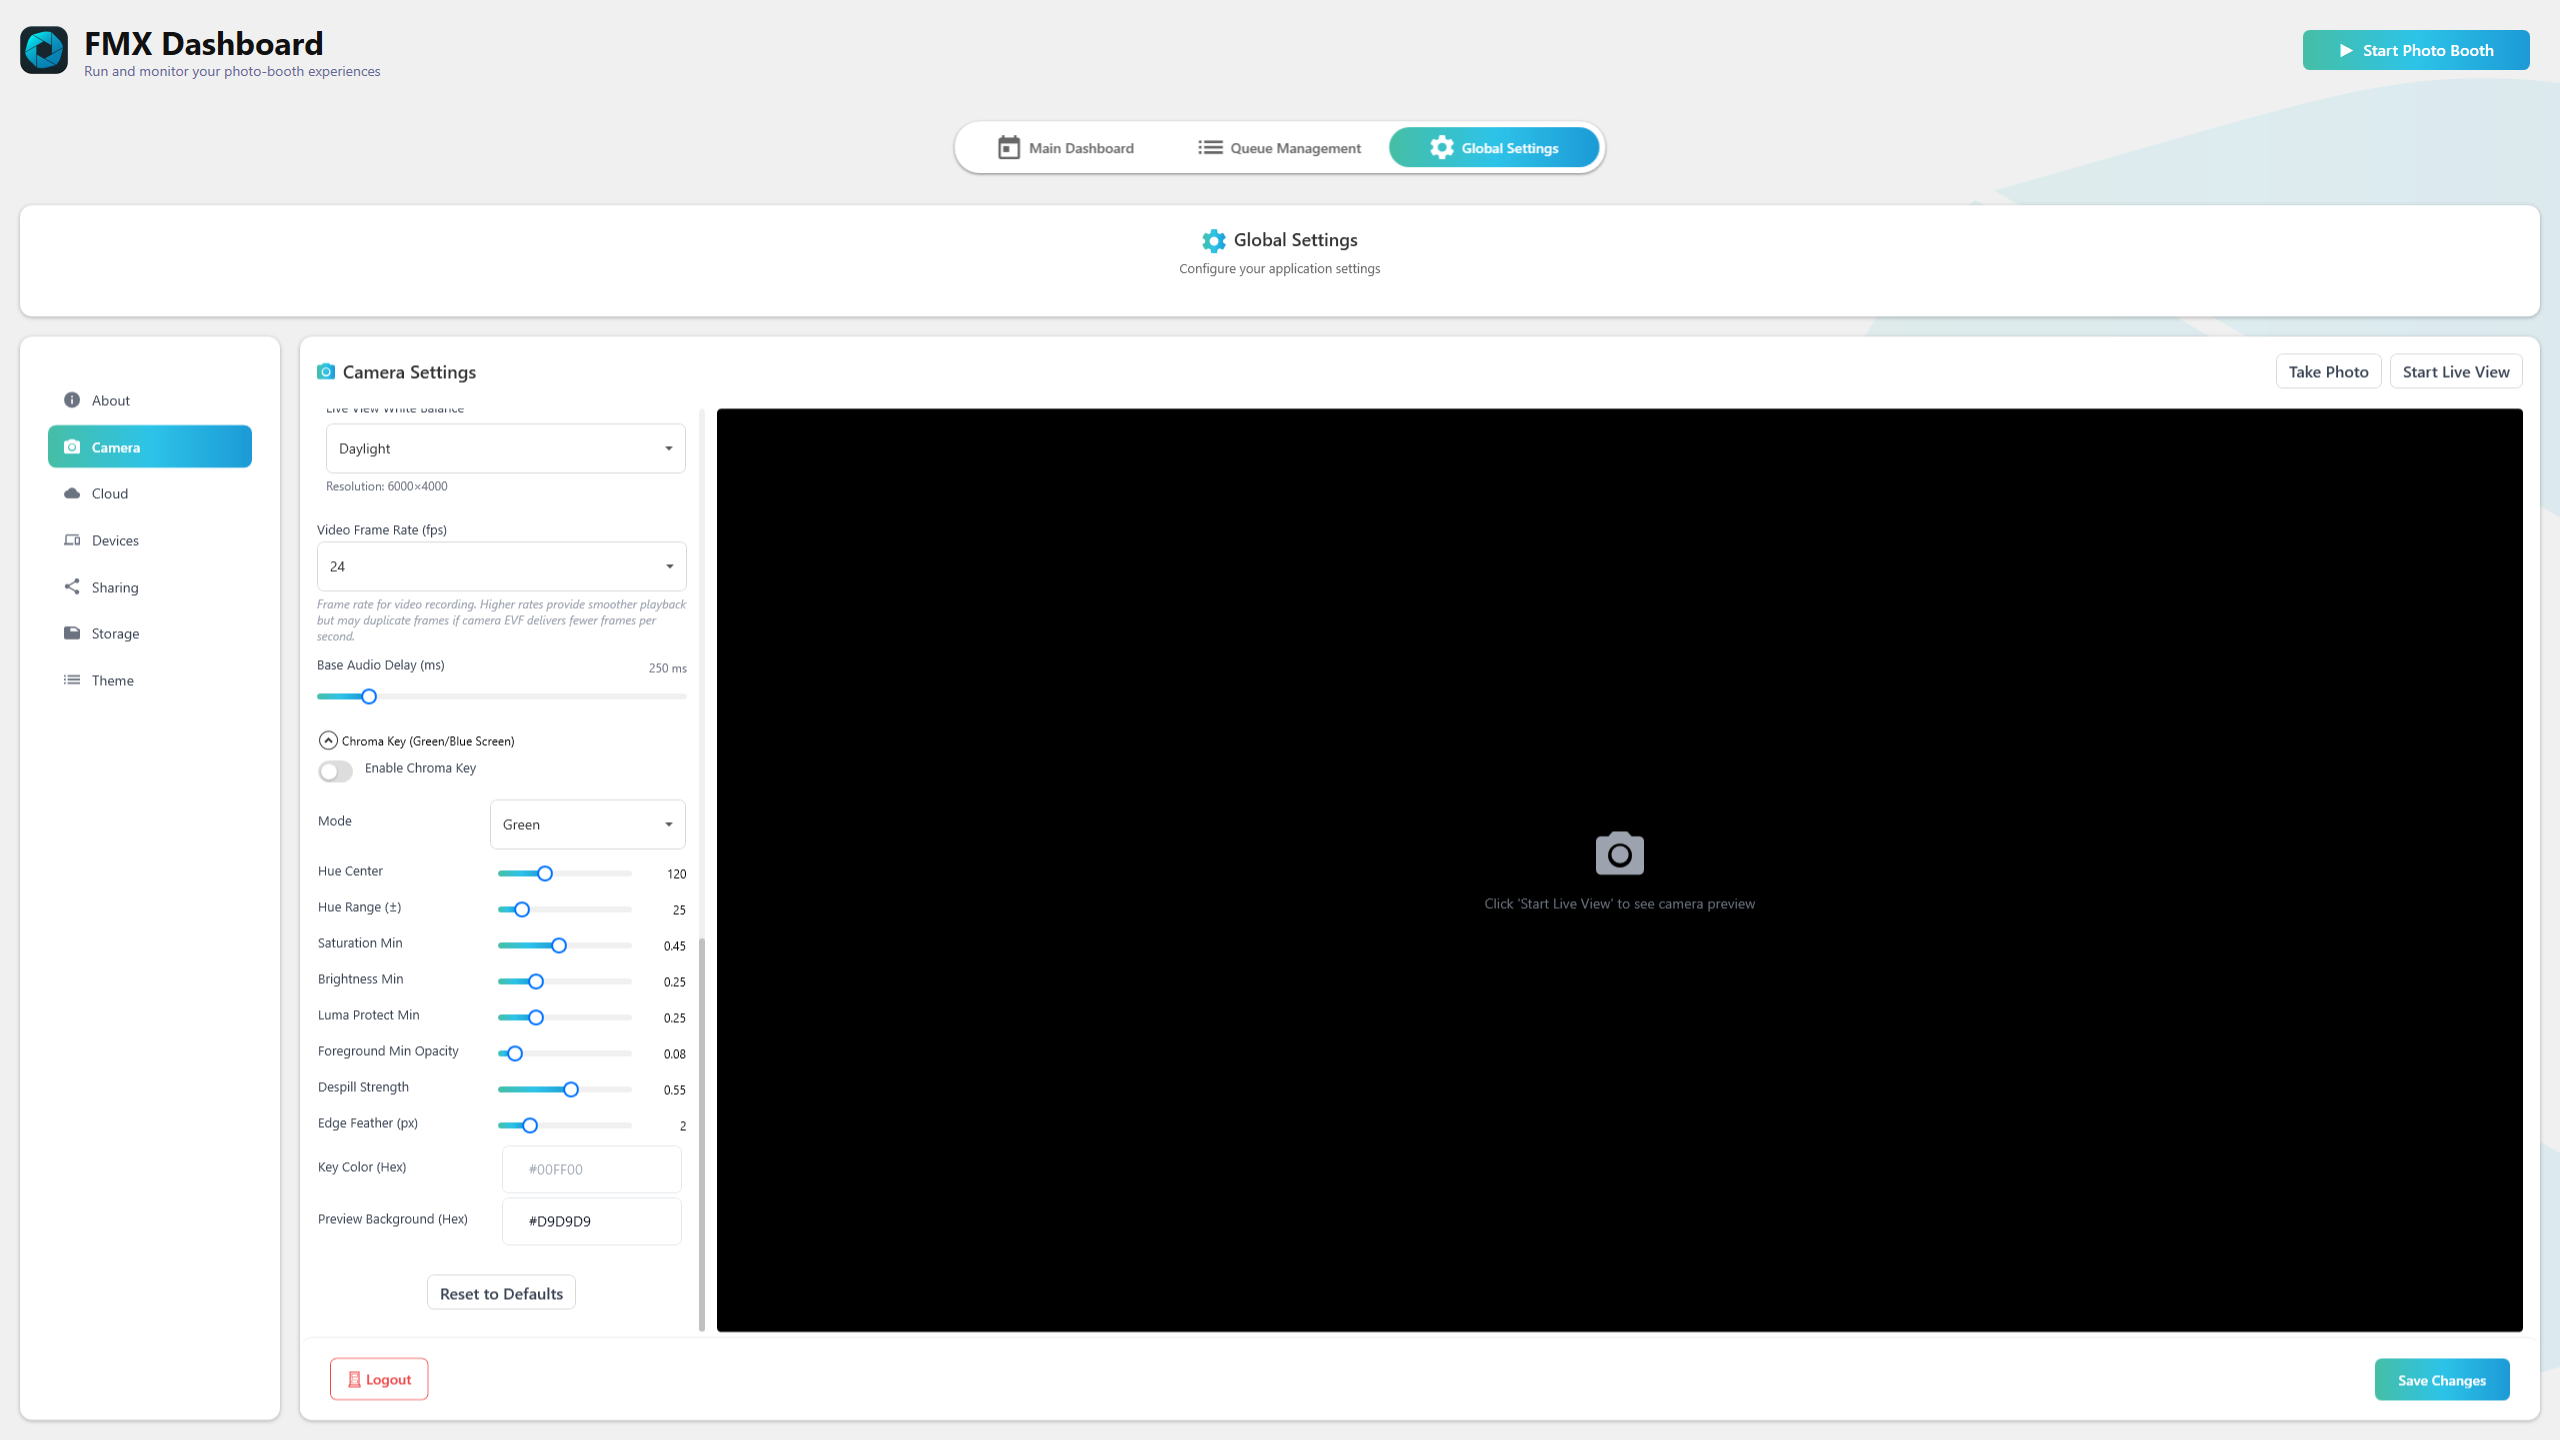
Where to Find It
Open Global Settings → Camera
Expand “Chroma Key (Green/Blue Screen)”
Before You Start
Use an evenly lit green or blue backdrop (avoid wrinkles and shadows)
Keep the subject slightly away from the backdrop to reduce color spill
Light the subject separately when possible
Quick Setup (≈60 seconds)
Turn it on
Toggle Enable Chroma KeyPick your backdrop color
Mode → Green (most common) or Blue
For tinted backdrops, select Custom and set the exact Key Color
Use the defaults first
Defaults work well for most setups
Adjust if needed
Subject looks see-through → Raise Luma Protect and Brightness Min, add a little Foreground Min Opacity
Green/blue halo → Increase Despill Strength and add Edge Feather
Backdrop spots remain → Widen Hue Range and lower Saturation/Value
Click Save Changes when you’re happy
Controls Explained
| Control | Description |
|---|---|
| Enable Chroma Key | Turns background removal on or off for the preview |
| Mode (Green / Blue / Custom) | Green or Blue apply tuned defaults; Custom lets you set an exact Key Color. Switching Mode reapplies defaults. |
| Hue Center / Range | Defines which color to remove and how wide around it. Start at ±25. |
| Saturation Min / Brightness Min | Protect neutral and dark areas in the subject. Raise if gray or black clothing becomes transparent. |
| Luma Protect Min | Extra protection for dark clothes. |
| Foreground Min Opacity | Fills small gaps in hair or fabric (typical: 0.08–0.12). |
| Despill Strength | Removes green/blue tint on edges. Increase gradually. |
| Edge Feather | Softens edges to reduce chatter or fringing. |
| Key Color (Custom only) | Define an exact green or blue hue for tinted backdrops. |
| Preview Background | Sets the preview’s solid background color (for preview only). |
Recommended Starting Points
Green Screen
Hue Center: 120 | Range: ±25
Saturation: 0.45 | Brightness: 0.25 | Luma Protect: 0.25
Foreground Opacity: 0.08 | Despill: 0.55 | Edge Feather: 2
Blue Screen
Hue Center: 225 | Range: ±25
Saturation: 0.45 | Brightness: 0.25 | Luma Protect: 0.25
Foreground Opacity: 0.08 | Despill: 0.45 | Edge Feather: 2
Fast Fixes for Common Issues
Subject looks see-through
Raise Luma Protect Min (0.25 → 0.40)
Raise Brightness Min (0.25 → 0.35)
Add Foreground Min Opacity (0.08 → 0.12)
Narrow Hue Range (25 → 18)
Green/Blue halo on edges or hair
Increase Despill Strength
Add Edge Feather (1–3)
Narrow Hue Range
Backdrop patches remain
Widen Hue Range (25 → 35)
Lower Saturation Min (0.45 → 0.38)
Lower Brightness Min (0.25 → 0.20)
Preview looks wrong after enabling
Confirm Mode matches backdrop
For tinted backdrops, set a Custom Key Color
Reset by switching Mode to reapply defaults
Good to Know
Click Save Changes to store your tuning
Black bars are normal if camera and preview aspect ratios differ
Same controls apply to webcams and DSLRs
Some workflows may override this preview behavior—this is expected
FAQ
Can I set a brand color behind the subject in preview?
Yes. Change Preview Background. It affects only the preview.
Does this affect my final photo or video?
No. The Camera tab preview is for tuning only; your final output depends on the workflow you select.