Creating Custom Overlay Using ChatGPT and PhotoPeaUpdated 16 days ago
Hi all!
In this article, we will walk you through how to create your custom overlay using AI ChatGPT. You will create your own overlay using your custom prompt.
Ready?? Here we go!
1. The easiest way to start is by downloading an existing PSD file. You use this link to get an example overlay: https://drive.google.com/file/d/1KmJNTNlpidjn7_8bIffaDkoxsyudi-L9/view?usp=sharing
Download that file on your computer.
2. Open the PhotoPea Web App and place the downloaded PSD file in it
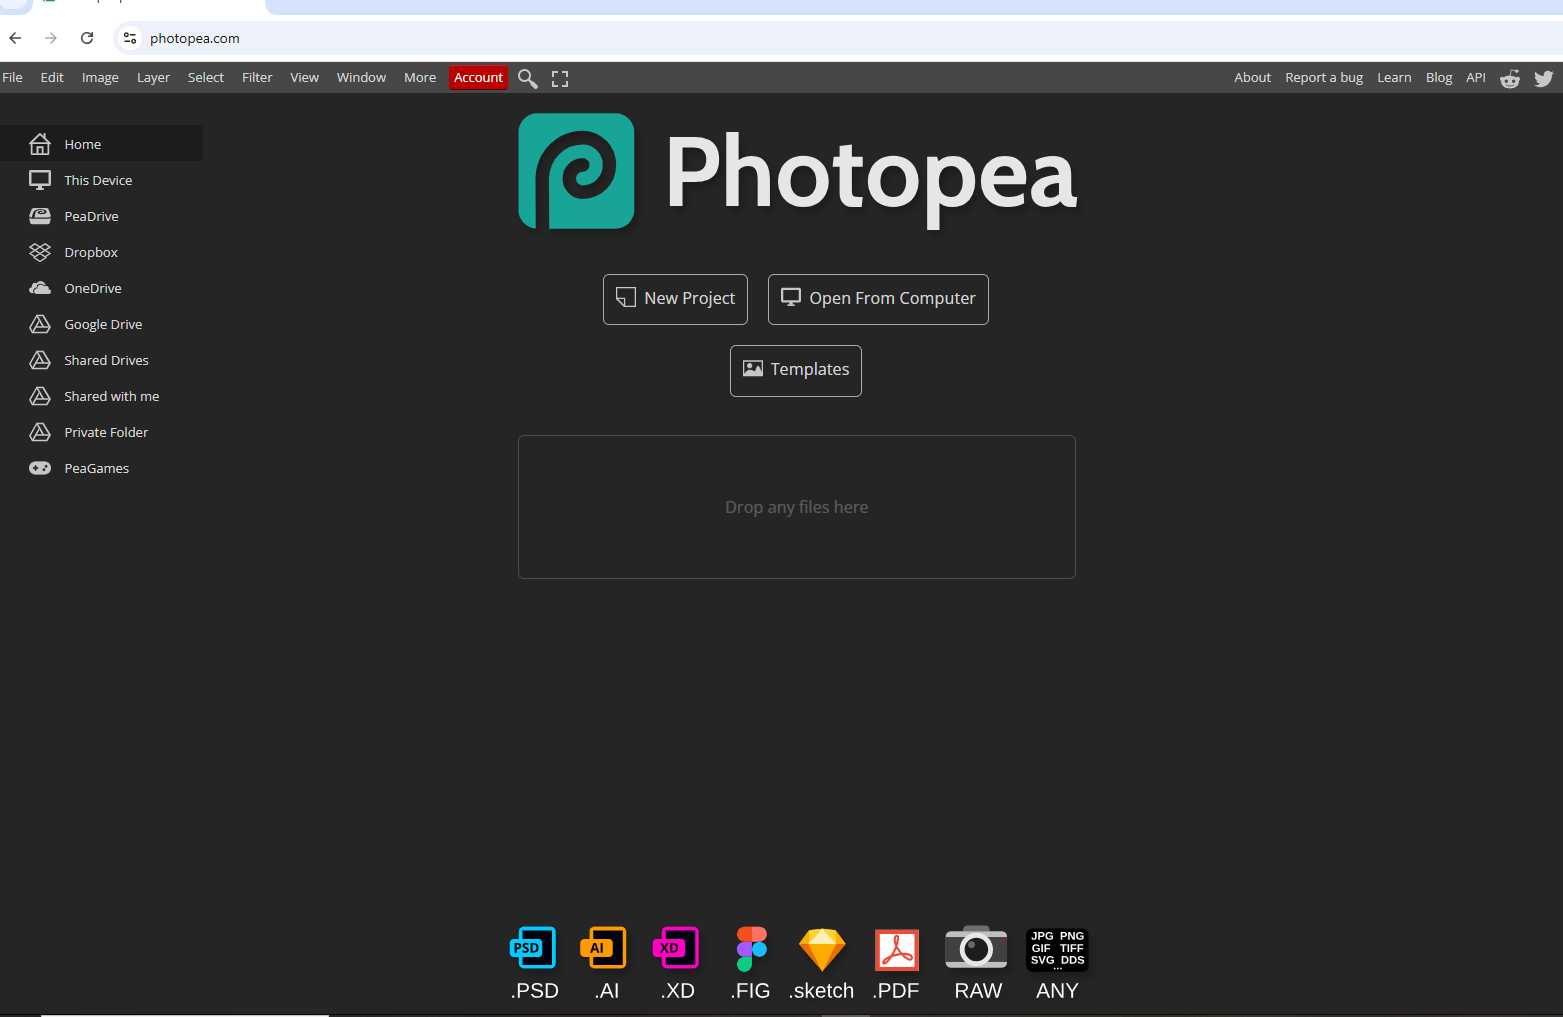
This web app is similar to Photoshop. If you're familiar with that software, you'll find it easy to learn and use.
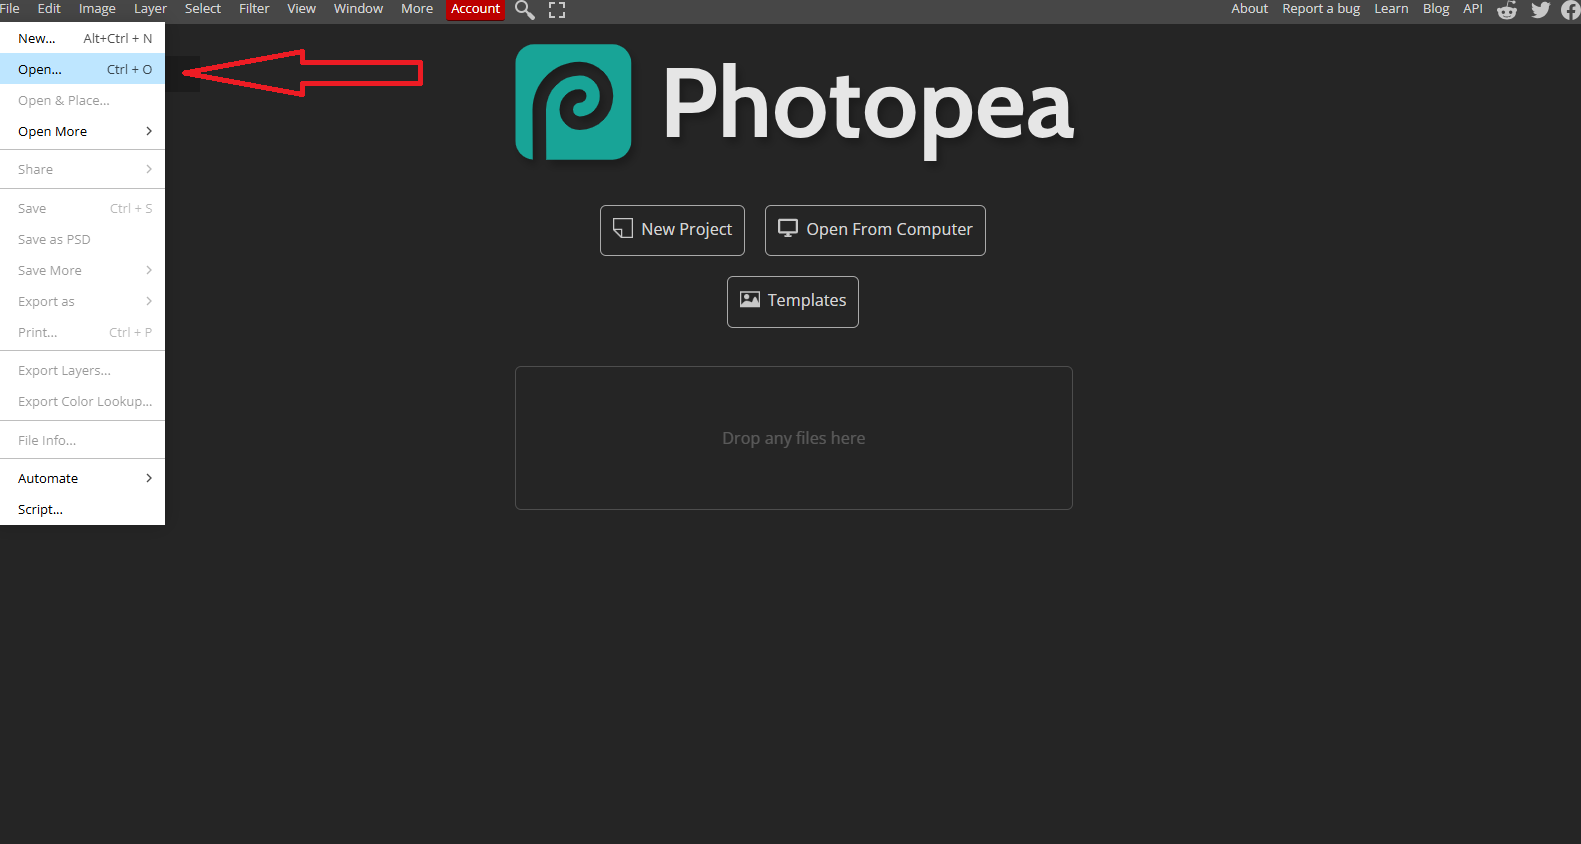
Click the “File” on the top right and then click “Open” then find your PSD file in your downloads folder. You can also open the file explorer on a separate window and then move the PSD file to the PhotoPea.
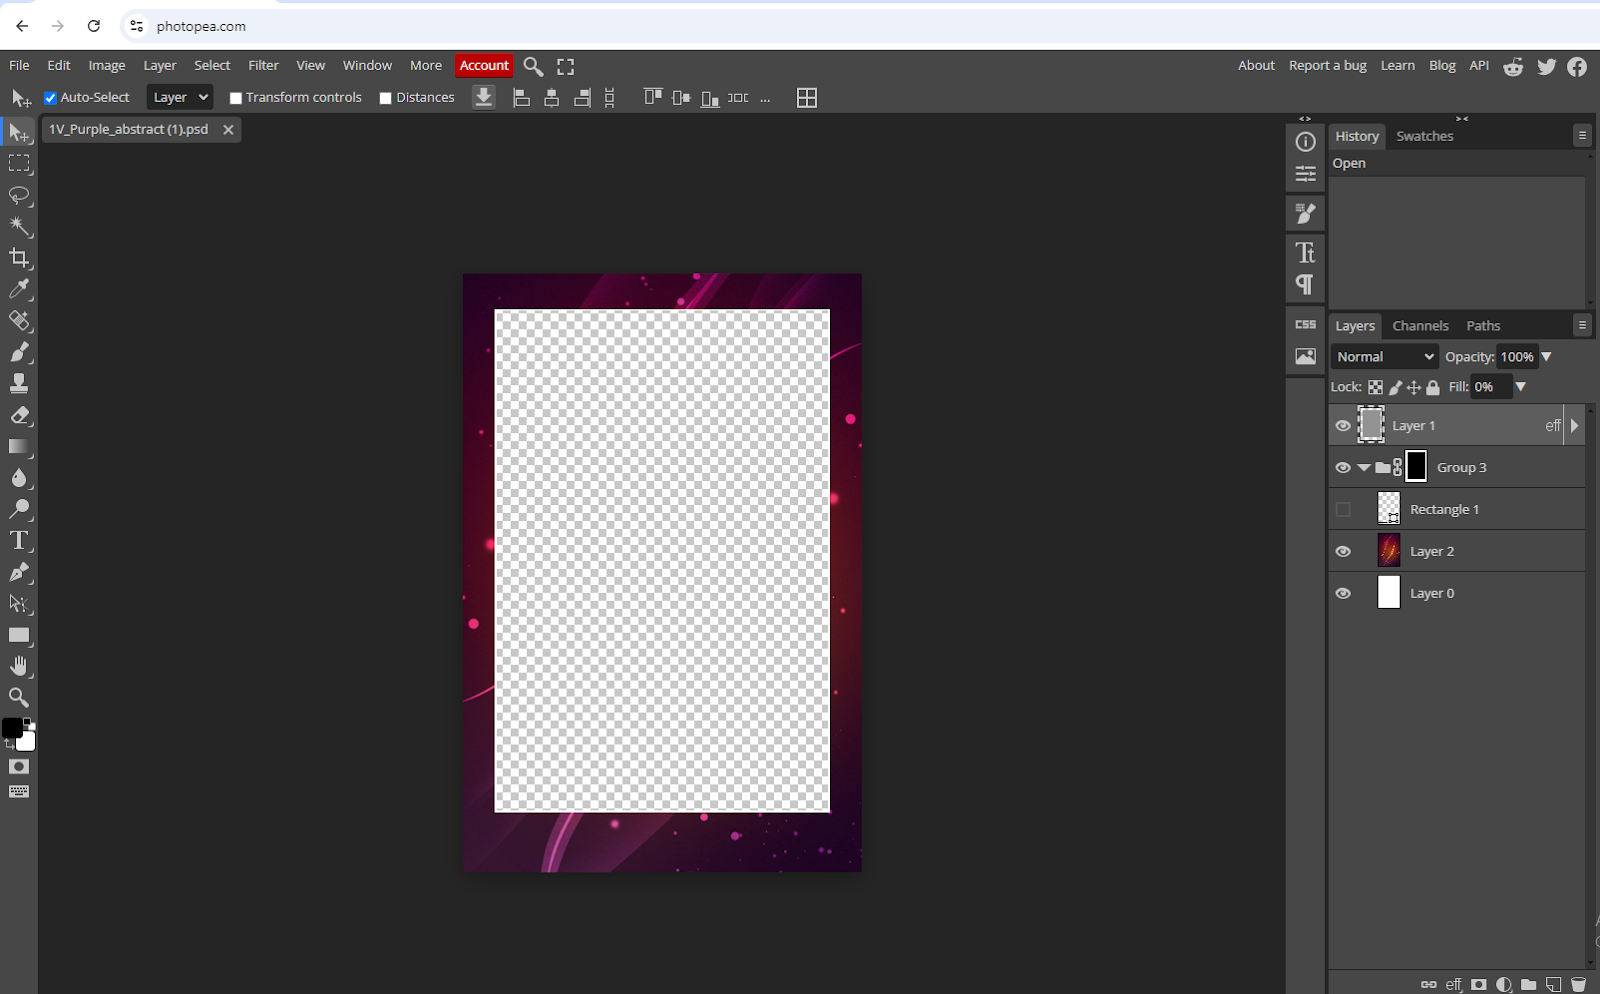
This would be the output once you put the PSD file on PhotoPea:
3. Create an account on ChatGPT
Go to chatgpt.com and sign up. You can use your business or personal email and you don’t need to subscribe, you can use their free service.
4. Create your background using AI
Just like our cloud AI, you can generate AI images on ChatGPT simply by using a prompt. All you need to do is create a sentence or phrase describing the background you want for your overlay.
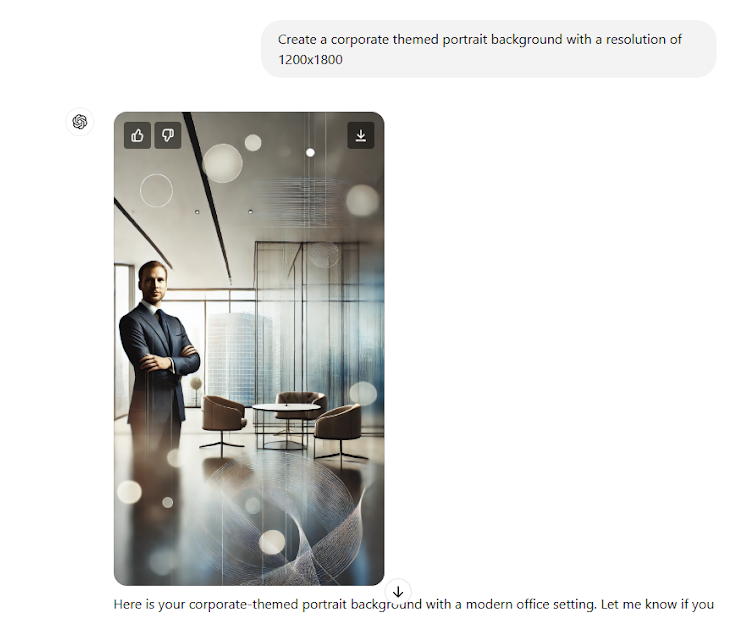
For example prompt: Create a corporate-themed portrait background with a resolution of 1200x1800
Once you are satisfied with the picture or the background just click the download button on the top right of the photo.
5. Place the AI-generated background on PhotoPea
Going back to your PhotoPea with the loaded PSD file, all you need to do is drag your background file from your file explorer and place it on the PhotoPea, and it will appear like this:
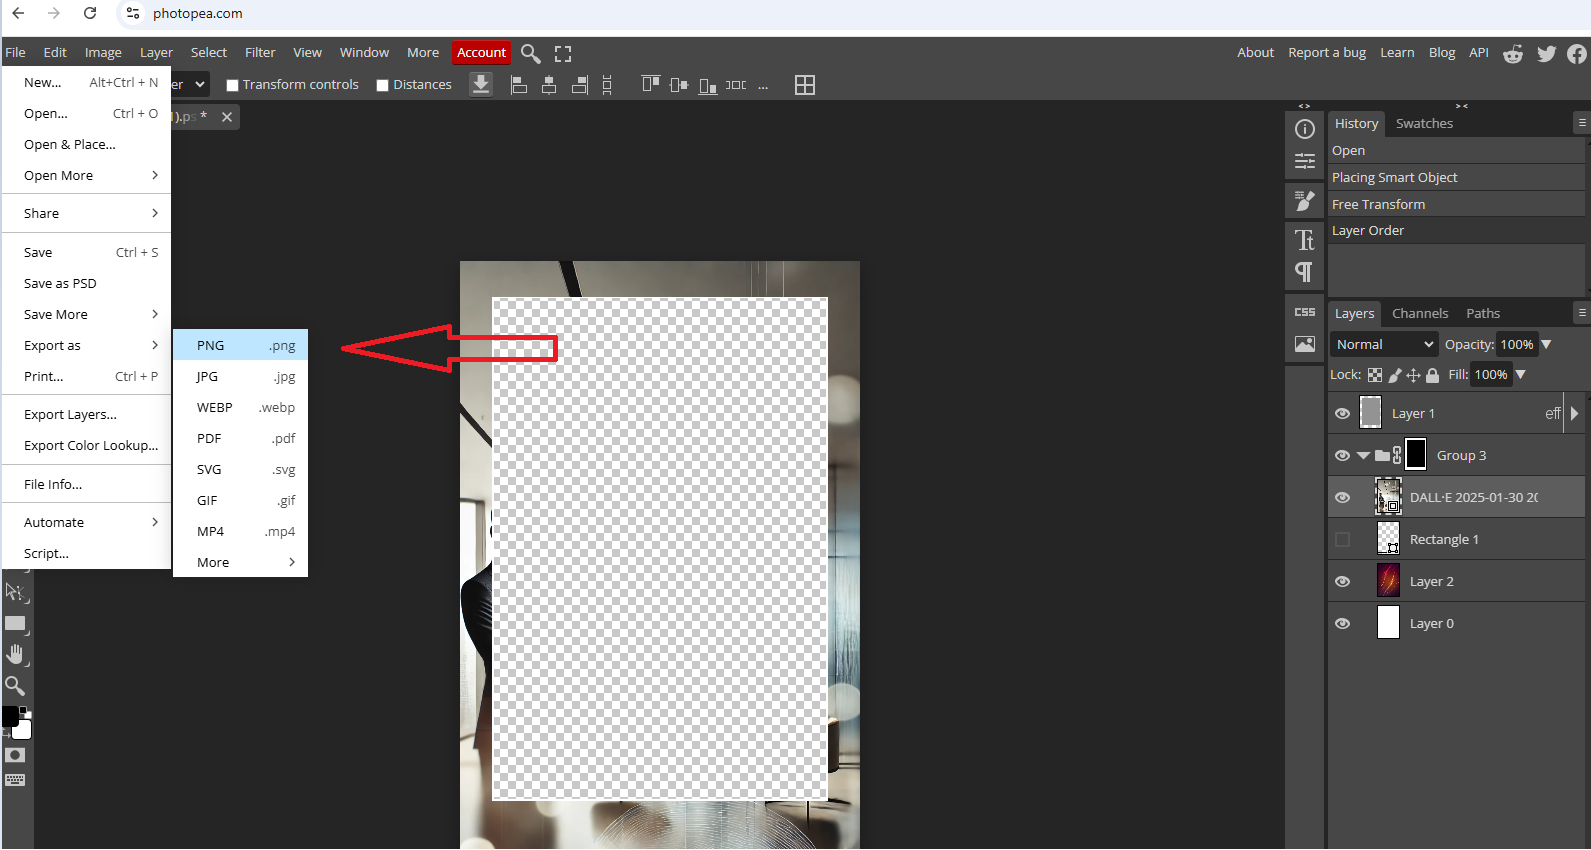
You can resize it as much as you like, depending on your preference.
Just remember - if you're using this as an overlay, you need to fill the entire picture. Once that's done, move the image file to the Layers Panel so that it’s positioned just below “Group 3.” You’ll notice that your background will overlap the existing overlay design while maintaining its transparency.
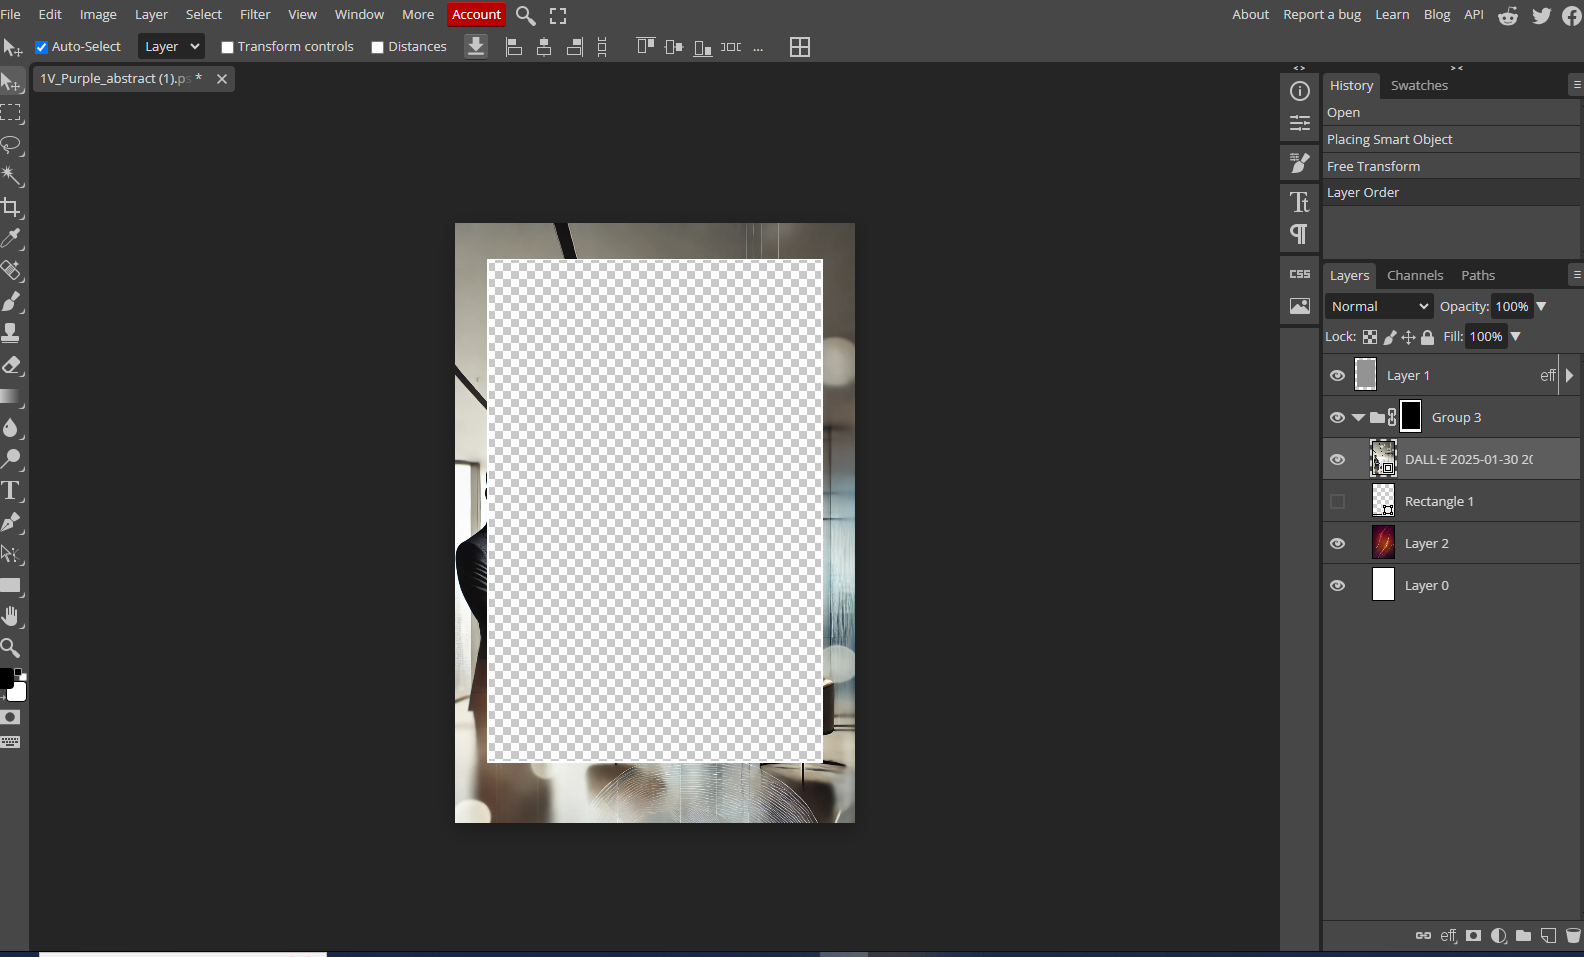
If you think everything is perfect, you can now save it by clicking the File -> Export -> PNG
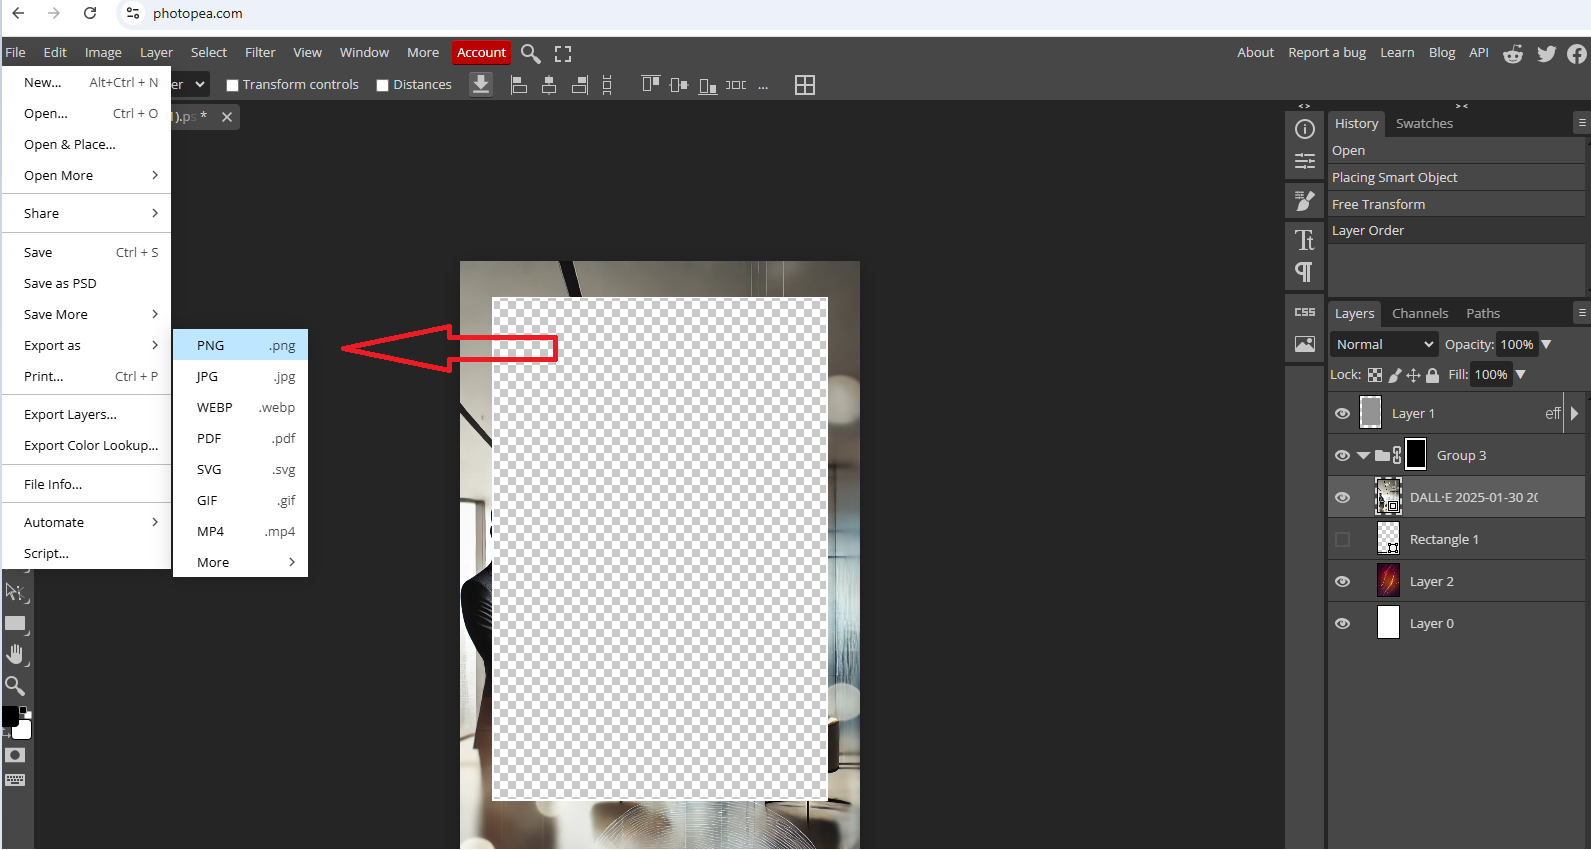
There you go, you can now enjoy creating your own custom overlays with the help of AI anytime.