How To Create Trading Cards - 4x6 MediaUpdated 2 months ago
Hi!
In this article, we will guide you on how to create your very own trading cards!
We recommend using a 5x7 media - when using it you do not need to have a cutter with a second computer and software. For more information on how to use it please check out this article
For this, you will need to have the FMBooth For Windows software. Additionally, you will need:
- Silhouette Cameo 5 (You can purchase it online: Cameo 5 Amazon Link) or Silhouette Cameo 4 (in this article we use the Silhouette Cameo 5)
- 2mm blade - to be installed in the Silhouette Cameo cutter
- Another Windows-based computer
- Download and install the Silhouette Studio software
- Casing for the trade card
FMBooth for Windows Setup:
In the software, you can download the presets that we have already created for this. Go to the "Downloads" tab and select "Trading_Cards4x6.zip" to download. Once downloaded you will see a new 4 new presets in the Presets tab.
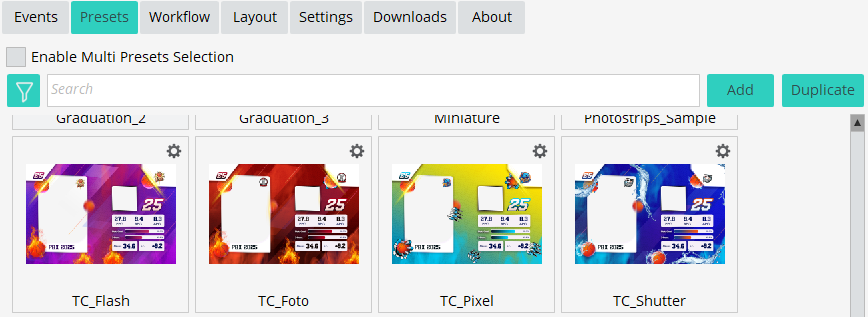
If you download the "Multipresets_Structure.zip" (or have downloaded it in the past) you will also see the Trading Cards multi preset once you enable the "multi presets selection"
The way the preset is built is in a way that:
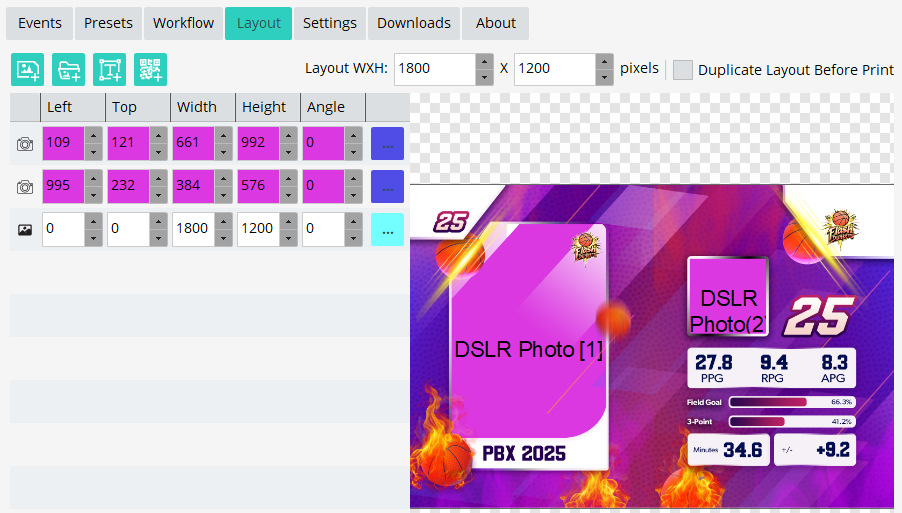
- A photo is taken with the DSLR camera (and it is duplicated - as can be seen in the Layout tab)
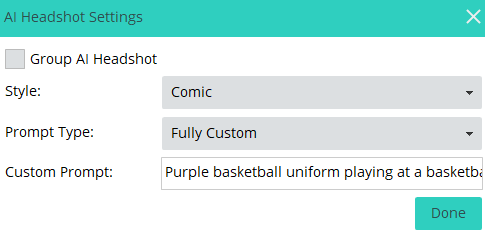
- The software uses the AI Headshot feature and is using a Custom Prompt to create the basketball player look:
- In the Layout tab, we have 2 photo elements (which is the duplicated photo) - they are set in a way that when you cut the printed photo to the 2 cards you will have the same photo in both.
Silhouette Studio Software Setup:
In the Silhouette Studio software all we need to do it to prepare once the area that the Silhouette Cameo will cut and set its settings. The same one will be used for every photo.
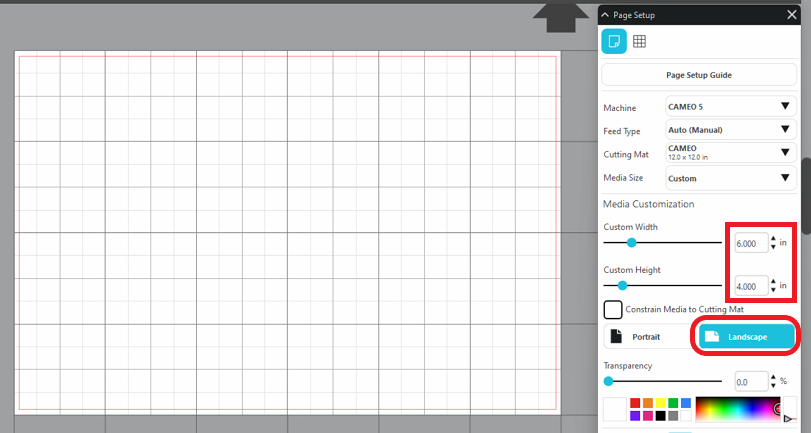
Open the software and make sure that you have the correct page settings. You can do that by going to the "Page Setup" located on the upper right, making sure that the Media Size is set to 6x4. Also, make sure that the Page Orientation is set to Landscape.
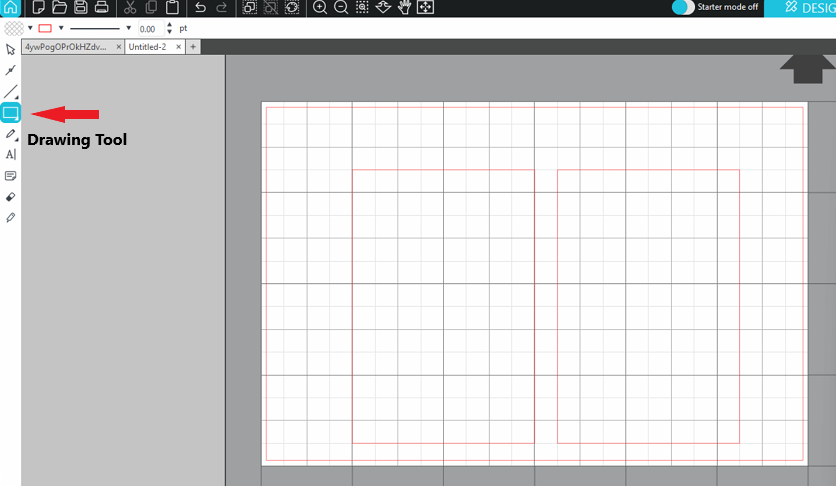
Next, click on the drawing tool on the left side and draw a rectangular. Once the first one is drawn you can copy it and paste (CTRL+C and then CTRL+V) so we'll have 2.
Now we need to set them in the correct place.
Left rectangular: Width and Height are to be 2.520 x 3.503 (if the lock icon is locked click on it to open it - as we don't want to keep the aspect ratio). and the X and Y should be 0.180 x 0.248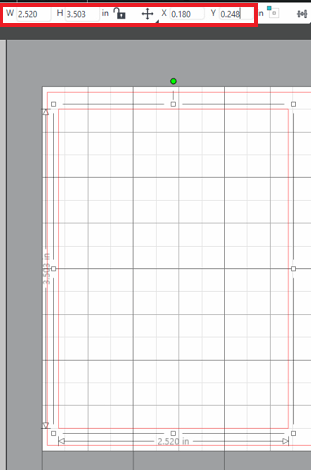
Right rectangular: Width and Height are to be 2.520 x 3.503 (if the lock icon is locked click on it to open it - as we don't want to keep the aspect ratio). and the X and Y should be 3.200 x 0.248
The final look should have the 2 rectangles spaced perfectly for the overlay: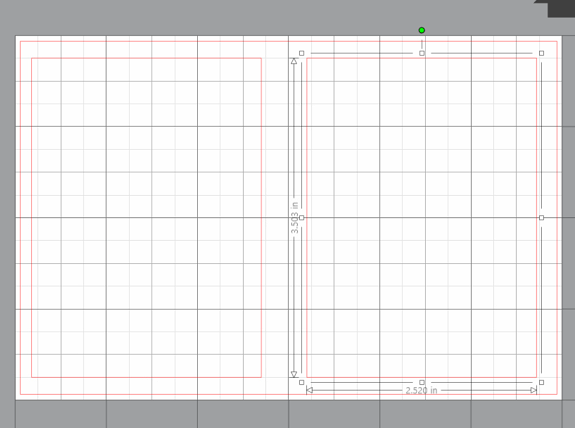
The last step is to click on the top right corner, on the big “Send” button. It will show you the cutter settings.
Here are the recommended cutter settings:
- Force - 15
- Passes - 2
- Speed - 10
Setting the printed photo to be cut:
Place the photo on the mat provided by Silhouette and feed the mat with the photo to the printer (press the Up arrow button)
Once the photo is set in the cutter you will see it in the Silhouette software as well - it will say "Ready":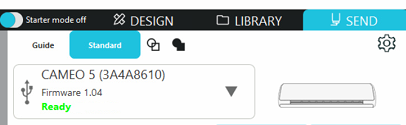
Now all that is needed is to press "Send" and the cutter will work its magic.
Once the cutter is done, click on the Down button to remove the mat from the cutter.