Using AI Headshot With the Selfie Wifi
This guide explains how to enable the AI Headshot feature in your Selfie Wi-Fi template — a quick Cloud setting that adds AI-generated headshot styling to your activation gallery.
The first thing that you will need to do is to log in to your Cloud account and set up your Selfie Wifi template. If you need more information on how to do that, you can check out the following article:
How to Create a Selfie Wifi Template
Once that is done, we can add the AI Headshot feature to it.
In your desired Template, go to the AI Settings tab, enable the AI option, and click to save
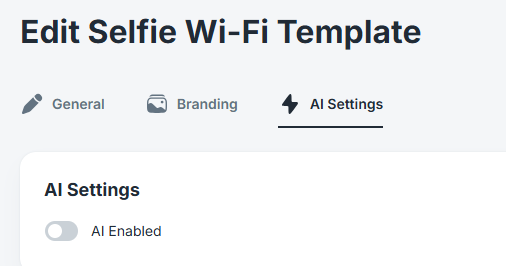
Once you enable the AI feature, you will see a few more options:
* Style: There are different Styles that you can choose from, such as Realistic, Cinema, 3D, etc.
* Prompt Type: Several different types of Prompts can be used.
- Automated: when choosing the Automated prompt, you will be able to select from a drop-down list of Scenes (such as Corporate, Way of Life, and Epic), and each Scene choice will open another selection option of Type according to your desired Scene. For example, in the Epic scene, I can select between the Zodiac type, the Themed type (each will open another drop-down list of specific themes to choose from), or I can select the Random type, and then it will choose randomly between the Themed and the Zodiac types.
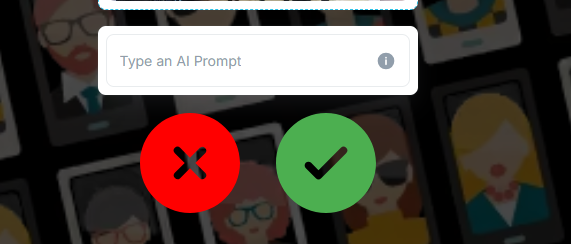
- Fully Custom: When choosing the Fully Custom prompt, you will be able to type in your desired prompt.
- Mixed: The Mixed prompt type is a combination of the Automated and the Custom prompts. You will have the same options as with the Automated prompt, as well as the option to type in an additional custom prompt.
- Landing Page: When selecting the Landing Page prompt type, you leave the prompt choice to the guest. Once they upload a photo, they will have the option to type in their custom prompt
Group AI Headshot
Enable this option for the AI Headshot to work on a group of people. If this option is not enabled, then it will only work on one person at a time. Once this option is enabled, you will have some of the same options as when it is disabled as well.
* AI Model: You can select between Ultra, Quality, and Speedy
- Speedy: Will create the image quickly but may occasionally add artifacts (such as fingers, hands, etc.).
- Quality: Will reduce the likelihood of artifacts that can be seen in the Speedy model. It will provide a high-quality image. The processing time is longer than in the Speedy model.
- Ultra: Creating a realistic image by preserving the unique attributes of the individuals (such as position, facial features, etc.). The quality of the image is the same as in the Quality Model.
* Style: You can choose between 4 different Styles: Realistic, 3D, Watercolor, and Anime.
* Prompt Type: There are two options here:
- Fully Custom: You can type in your desired prompt
- Landing Page: When selecting the Landing Page prompt type, you leave the prompt choice to the guest. Once they upload a photo, they will have the option to type in their custom prompt
And, of course, don't forget to press the Save button to save all your selections.
And that's it, you are done! Now you can link your template to the Cloud Event. If you are not sure how to do that, you can check out this article: Creating a Cloud Event and Linking a Selfie Wifi Template
Was this helpful?
Related articles
How to Use the AI StylePop Feature in Selfie Wifi
The AI StylePop feature lets you transform photos into fun, creative, and fully stylized scenes. Guests can enjoy a variety of pre-made looks or even create their own custom styles
How to Use the Selection Screen in Selfie Wifi
The Selection Screen in Selfie Wifi allows you to offer multiple AI options within a single activation. Guests can choose their own experience — whether through AI Line2Life, AI St
Selfie Wi-Fi Overview
Selfie Wi-Fi is Foto Master's self-service photo experience that lets guests use their own smartphones to capture, enhance, and share photos -- no dedicated booth hardware required
Selfie Wi-Fi: Getting Started
This guide walks you through setting up Selfie Wi-Fi for your first event, from Cloud configuration to having guests snap photos on their phones. Prerequisites Foto Master Cloud ac
Selfie Wi-Fi: Moderation Guide
Content moderation in Selfie Wi-Fi lets you review and approve guest photos before they appear in galleries, on slideshow displays, or in print. This is essential for public-facing