
Getting Started with PMWall
This guide walks you through setting up PMWall and running your first photo mosaic event.
Prerequisites
- Windows 10 x64 or later
- Foto Master Cloud account with a Photo Mosaic Wall license
- A large display screen or projector for showing the mosaic
- At least one photo source (FMX booth, Selfie Wi-Fi, or manual photo import)
- Internet connection for Cloud sync and licensing
Step 1: Install PMWall
- Download
PMWall-Setup.exefrom your Foto Master Cloud dashboard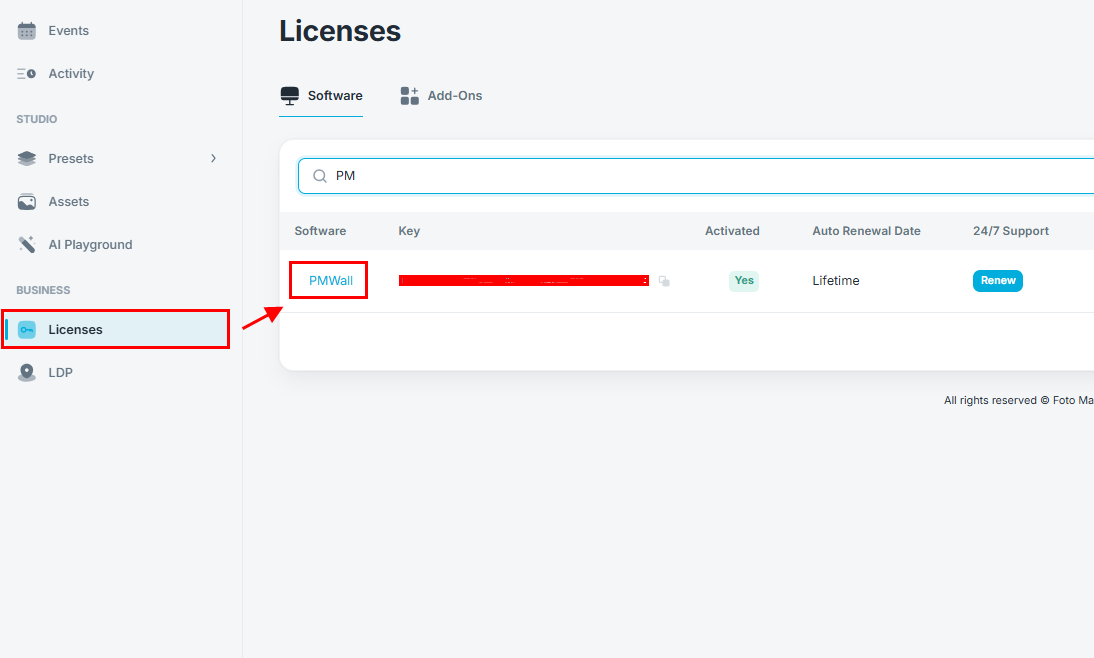
- Run the installer and accept the license agreement
- PMWall installs to
C:\Program Files\Foto Master\PMWall - Launch from the Start menu or desktop shortcut
Step 2: Log In
- On launch, PMWall shows the login screen
- Enter your Foto Master Cloud email and password
- PMWall authenticates with the Cloud and validates your license
- If you have multiple licenses, select the Photo Mosaic Wall license
Tip: PMWall caches your license locally for fast startup. On subsequent launches, it can start without waiting for Cloud verification (it validates in the background).
Step 3: Create Your Event in the Cloud
Before using PMWall, create an event in Foto Master Cloud:
- Log in to cloud.fotomaster.com
- Go to Events > Create Event
- Set the event name, date, and duration
- Add the desired PMWall Preset to the Event, which determines:
- Target image -- Upload the image that the mosaic will reveal
- Grid size -- Number of columns and rows (e.g., 50x50)
- Participation mode -- Best Effort or Guaranteed Visible
- Tile processing -- Crop mode, blending settings, matching parameters
- Event duration -- How long the mosaic will accept photos
- Save the event
Step 4: Sync the Event
- In PMWall, go to the Dashboard tab
- Your Cloud events appear in the event list
- Select your event and click Sync
- PMWall downloads the event configuration, target image, and any existing gallery photos
- The sync progress bar shows download status
Step 5: Configure Local Settings
Go to the Settings tab to configure:
- Printer -- Select your label printer and configure dimensions
- Storage -- Set auto-delete policy for old events
- Cloud -- Toggle which media types sync, including Upload Mosaic Tiles (Virtual Mosaic)
- Runtime -- Moderation, the device models folder, and debug artifacts
Step 6: Start the Mosaic Runtime
- Go to the Dashboard tab
- Click Start Mosaic in the window header
- PMWall validates the event configuration, switches to the Runtime tab, and begins accepting photos
- The mosaic display activates on your connected screen
Step 7: Feed Photos
Photos can arrive from multiple sources:
- FMX booth -- Photos from any connected Foto Master booth sync to the event automatically
- Selfie Wi-Fi -- Guests upload photos via QR code
- Local folder -- PMWall monitors
C:\PMWall\Events\{EventId}\raw\for new image files (JPG, PNG, BMP) - Cloud download -- Gallery photos from Cloud events
Step 8: Monitor and Manage
During the event, the Runtime tab shows:
- Live mosaic progress (percentage filled)
- Photo ingestion stats (received, accepted, skipped)
- Print queue status
- Time remaining
- Capacity projections
Use the Queue Management tab to:
- View pending photos
- Approve or reject photos (if moderation is enabled)
- Monitor upload/download status
Step 9: Export the Final Mosaic
When the mosaic is complete:
- Click Export Hi-Res on the Runtime tab
- PMWall stitches every placed tile into a single high-resolution TIFF
- Click Open output folder to collect it from the event's
Printsfolder
Troubleshooting
Event not syncing
- Check internet connection
- Verify Cloud login is active
- Ensure the event exists and has a target image configured
Photos not appearing in mosaic
- Check the raw folder path:
C:\PMWall\Events\{EventId}\raw\ - Verify file format is supported (JPG, PNG, BMP)
- If moderation is enabled, check the Queue Management tab for pending approvals
Mosaic looks wrong
- Verify the target image was uploaded correctly in Cloud
- Check grid size matches the display aspect ratio
- Adjust blending settings if tiles don't integrate well
Read Next
- PMWall Overview
- PMWall Settings Guide
- PMWall Dashboard & Runtime
- PMWall Licensing and Activation
- PMWall Troubleshooting
Was this helpful?
Related articles
PMWall (Photo Mosaic Wall) Overview
PMWall is Foto Master's next-generation Photo Mosaic Wall software for Windows. It transforms individual guest photos into tiles that are intelligently placed into a large-scale mo
PMWall Licensing and Activation
PMWall licenses are managed in Foto Master Cloud and activated on a specific computer. This article covers signing in, activating, and checking license status. Sign In PMWall opens
Migrating from Legacy Photo Mosaic Wall to PMWall
PMWall replaces the legacy Photo Mosaic Wall software. If you have run mosaic activations before, most of your experience carries over -- the same main image, grid, blending, and m
PMWall Dashboard & Runtime
PMWall has four tabs: Dashboard, Runtime, Queue Management, and Settings. This article covers the first two, which is where you spend an event. Start Mosaic sits in the window head
PMWall Queue Management and Moderation
The Queue Management tab monitors upload, download, and moderation activity for the selected event. It is where you go when photos are not appearing on the wall, and where you appr