
Mega Strip Configuration
The FMX for Windows software is capable of any layout/printout size, as long as your printer is capable of it. See more details in the following article: Using Different Paper Sizes
This article will show you how to print a 6x20 strip using DNP 620A. You may contact your printer's supplier to check how this can be done with your printer model.
For Mitsubishi D90dW, click here.
Layout Adjustments:
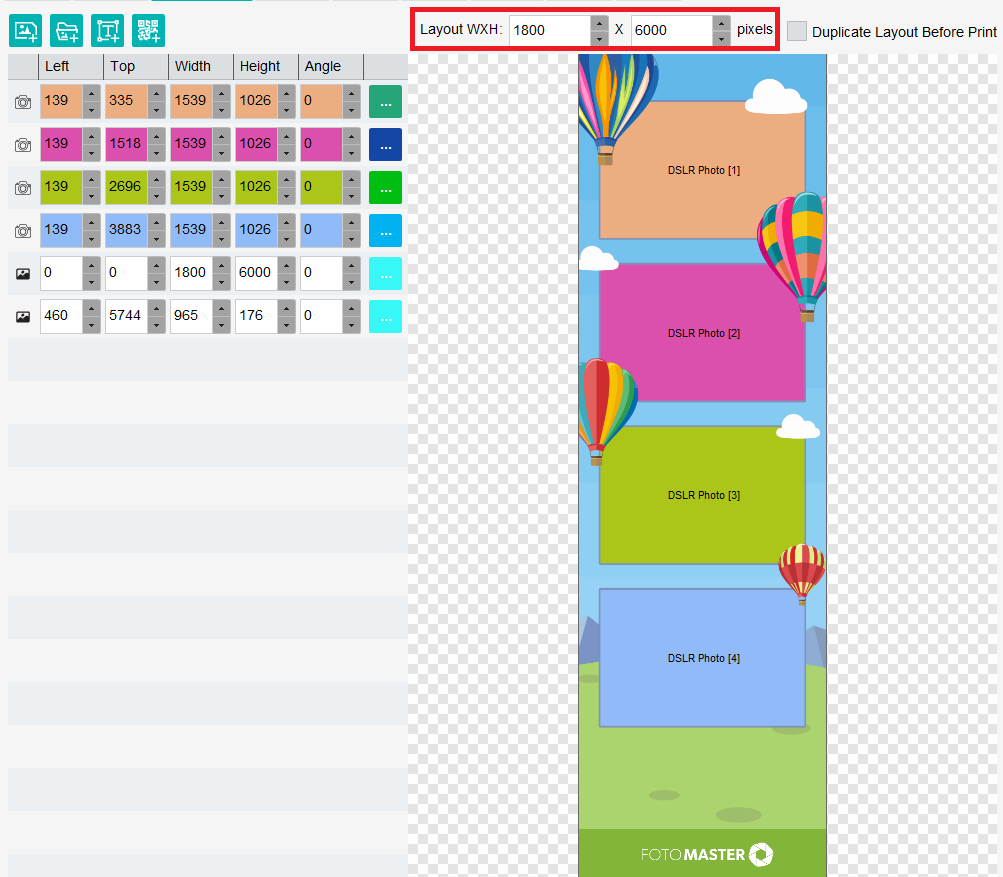
In the FMX for Windows software, go to the Layout Tab > Change the Layout WxH to 1800x6000 (vertical strip). Load a matching overlay as well and position the DSLR elements as you desire.
Printer Adjustments:
1. Download and install DropIt.
2. Download and install the DNP 620A Firmware update (make sure your printer is connected during the installation).
3. Download and install DNP's Hot Folder Print Utility V2.5.1.9 (install Win32 or Win64 per your operating system; make sure your printer is connected during the installation).
Printer Operation:
1. Open the Hot Folder Print and make sure it is running (make sure this software is open while running the booth. Please note that when replacing the printer's media, it will be paused automatically, and you'll need to resume)
2. Open DropIt > Right-click on the DropIt icon and select Options.
- Main tab settings:
- Monitoring tab settings:
a. Enable scan of monitored folders.
b. Add a new monitored folder - the "Photos" folder in the selected Event folder _(C:\Mirr__orMeBooth\Events\_Your selected event*\photos):
- Various tab settings:
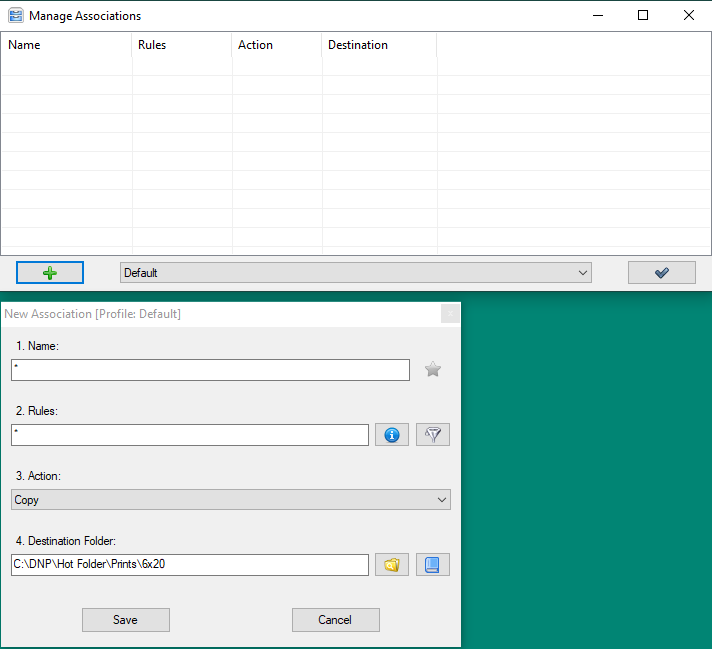
3. Press [+] and add a new Association that will copy the photos from your selected Event folder to the DNP Hot Folder: C:\DNP\Hot Folder\Prints\6x20. In "Rules" type the star symbol (*) and in "Name" you can type any name that you want to assign to the Association.
Press Save and then press the Checkmark button:
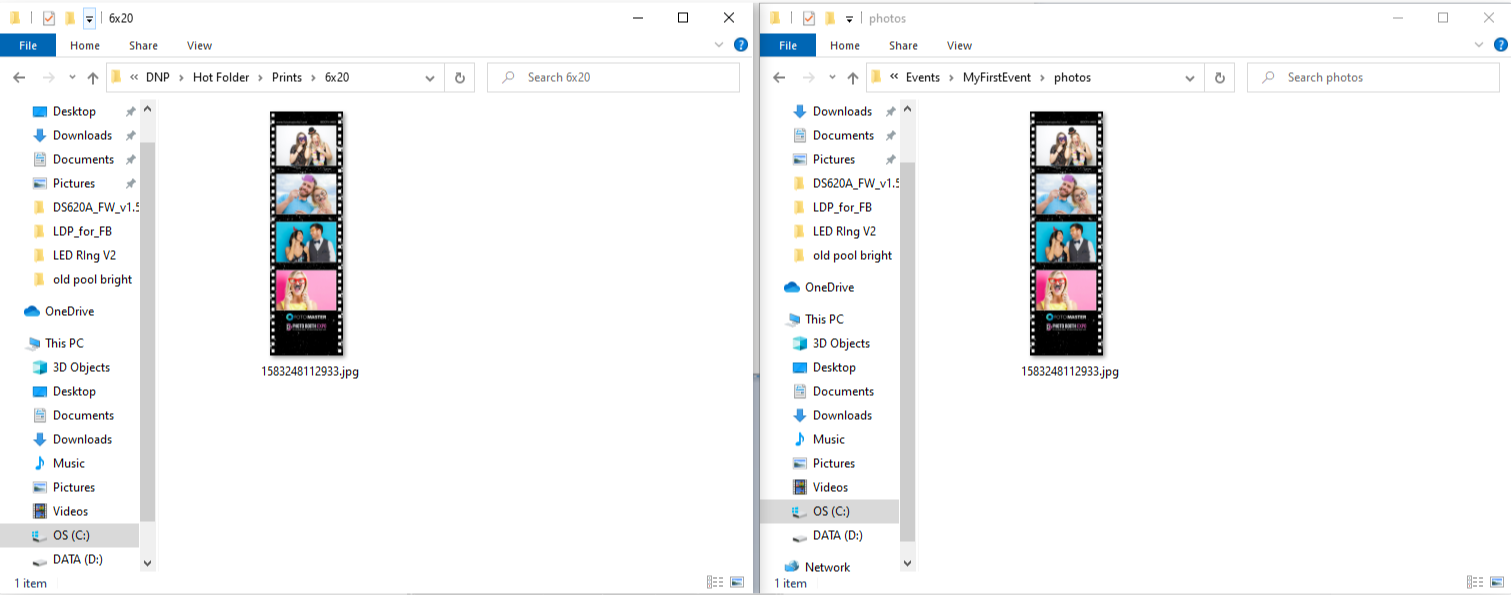
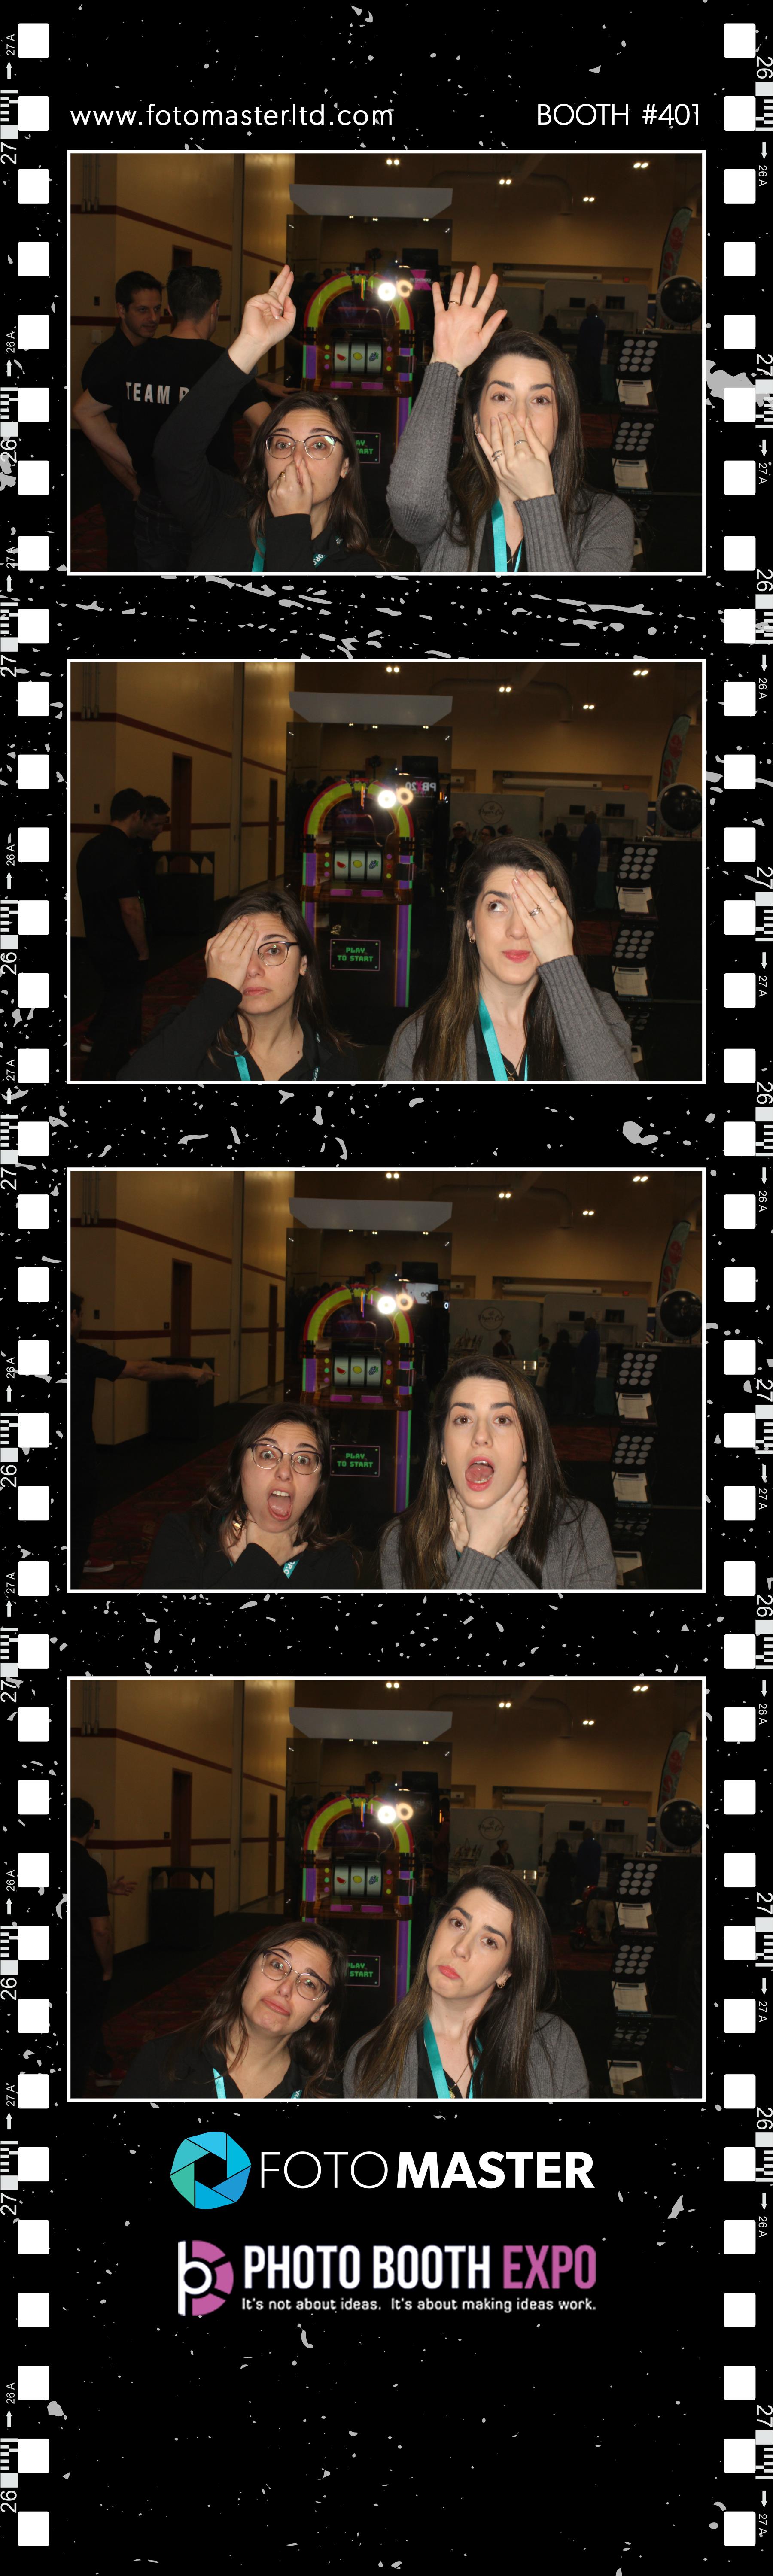
4. Now, the saved final photos from our Event folder, will be copied to the 6x20 Prints folder.
Important note: As the files will be copied to the Hot Folder automatically, they will be also printed automatically (so no need to place a Print Copies feature state in your workflow). You can delay\prevent the automatic printout, you can enable "Retake Photo" for the "Preview Final Photo" state.
Was this helpful?
Related articles
Printer Comparison: DNP Models for Photo Booths
Overview DNP photo printers are widely used by photo booth operators because they are dependable, event-ready, and produce professional dye-sublimation prints. FMX supports printin
Choosing the Right Camera for Your Photo Booth
Your camera is the single most important component affecting photo quality in your booth. FMX supports Canon, Nikon, Sony, and GoPro cameras. FMX for Windows also supports USB webc
Camera Basics for Photo Booth Operators
You do not need to be a professional photographer to run a great photo booth, but understanding a few camera fundamentals will help you deliver consistently high-quality photos acr
FMX Supported Camera List
FMX supports Canon, Nikon, Sony, and GoPro cameras. FMX for Windows also supports UVC-compliant USB webcams, while FMX for iPadOS can use the iPad's built-in cameras. Support and s
Camera Basics: The Exposure Triangle
This video explains the exposure triangle (aperture, shutter speed, and ISO) and how each setting interacts to control the final look of your photo. Recommended for operators who w