
Setting up a Selection Screen
Hello everyone!
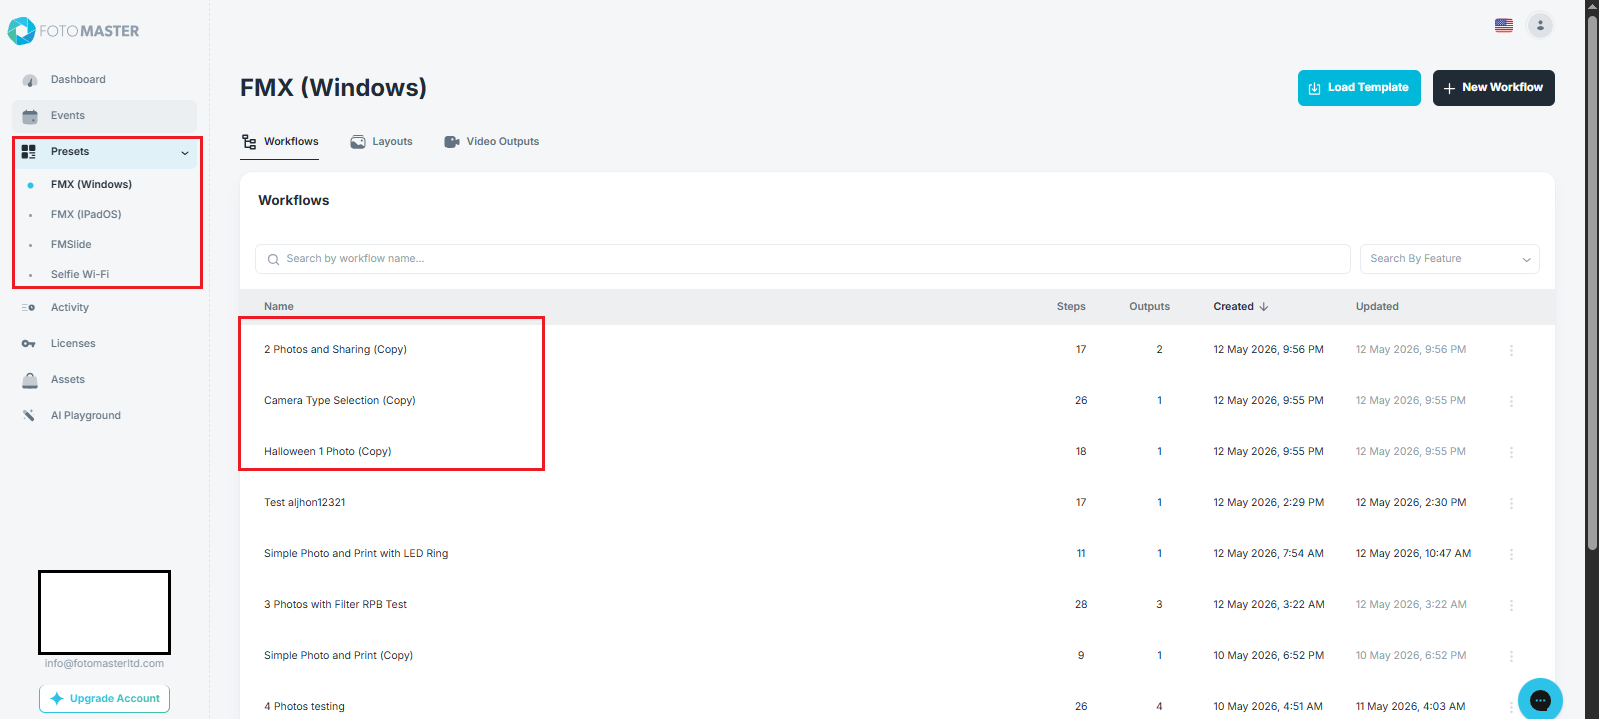
2. Once you have chosen your workflows, let’s create a parent workflow.
*Parent workflows are your main workflows for your multi-selection screen, which connects multiple child workflows on a single parent workflow.
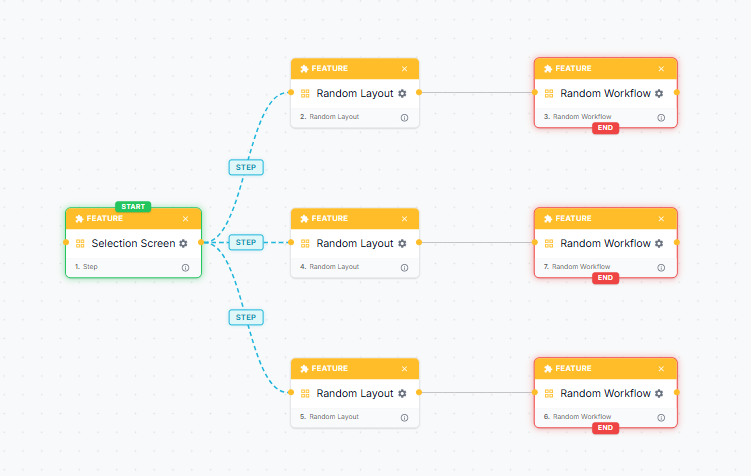
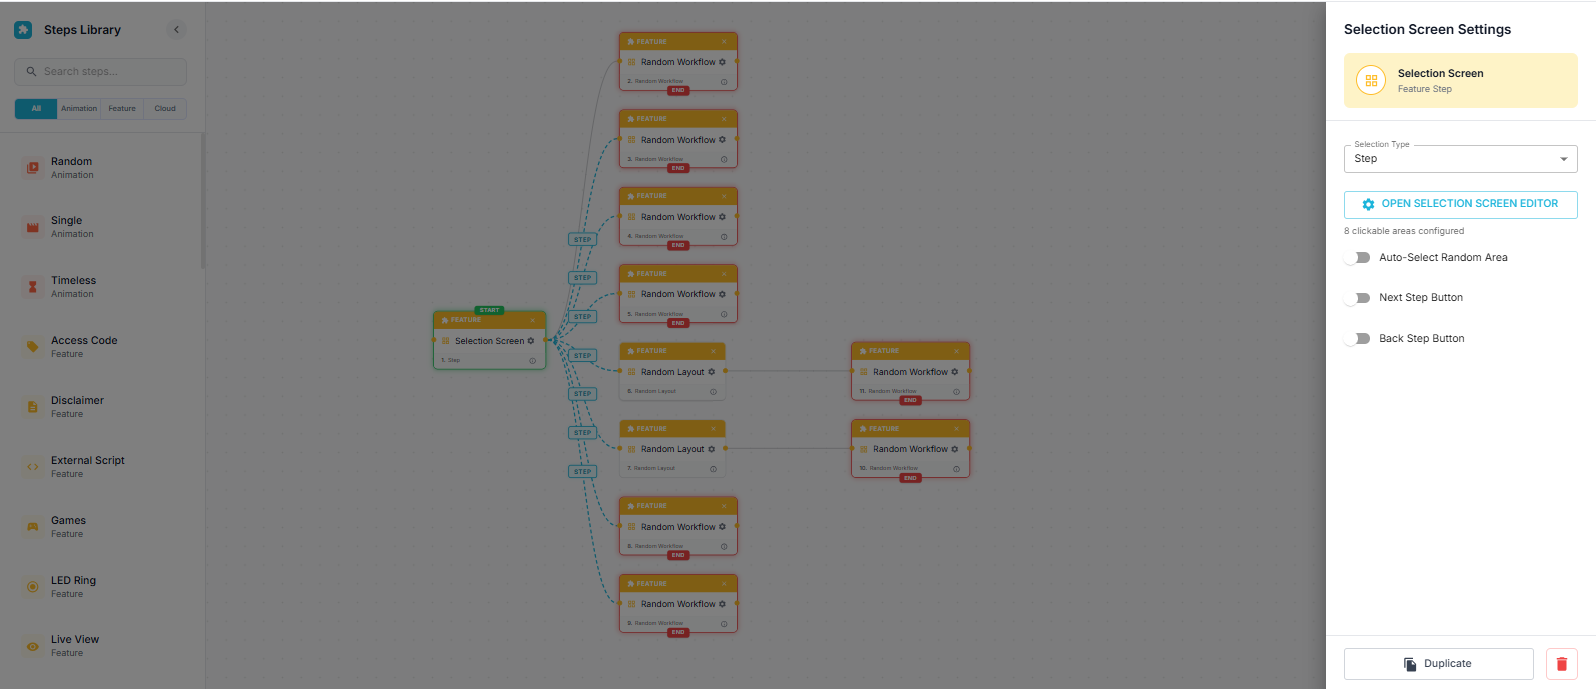
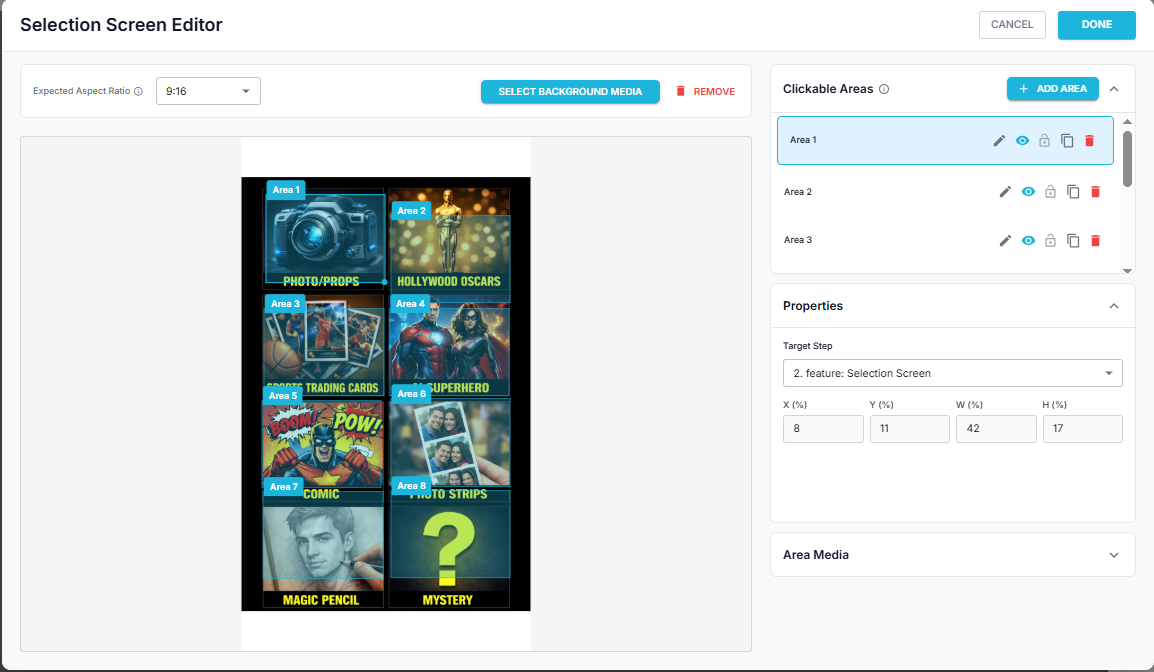
4. After setting up the main selection screen, we need to set up the random layout and random workflow. You can refer to the video below to learn more about it.
Was this helpful?
Related articles
FMX for Windows: Customizing Your Experience
Everything at a photo booth event — the overlays, the countdown, the on-screen text, the email guests receive, the gallery they get a link to — is something you control. This guide
FMX for Windows: System Requirements
Before installing FMX on your Windows computer, make sure your system meets the requirements below. Meeting the recommended specifications will ensure smooth performance during eve
Installing FMX on Windows
When to Use First-time installation of FMX on a Windows PC Reinstalling FMX on the same machine Upgrading FMX to a newer version using the latest installer Requirements Windows 10
Building a FMX Preset From Scratch: Video Tutorial
This video covers the basics of building a workflow and layout in FMX — a good starting point before exploring the individual workflow step articles.
Run the Experience
When to Use After FMX is installed, you are logged in, your event is synced, and your camera choice is set. Requirements FMX opens on the Main Dashboard. Event synced and up to dat