FMX is designed to get a photo booth running in three steps. The Select-Sync-Play workflow connects Foto Master Cloud's library of ready-made presets to your local FMX installation, so you can go from zero to a live booth experience in under a minute.
Step 1: Select a Cloud Preset
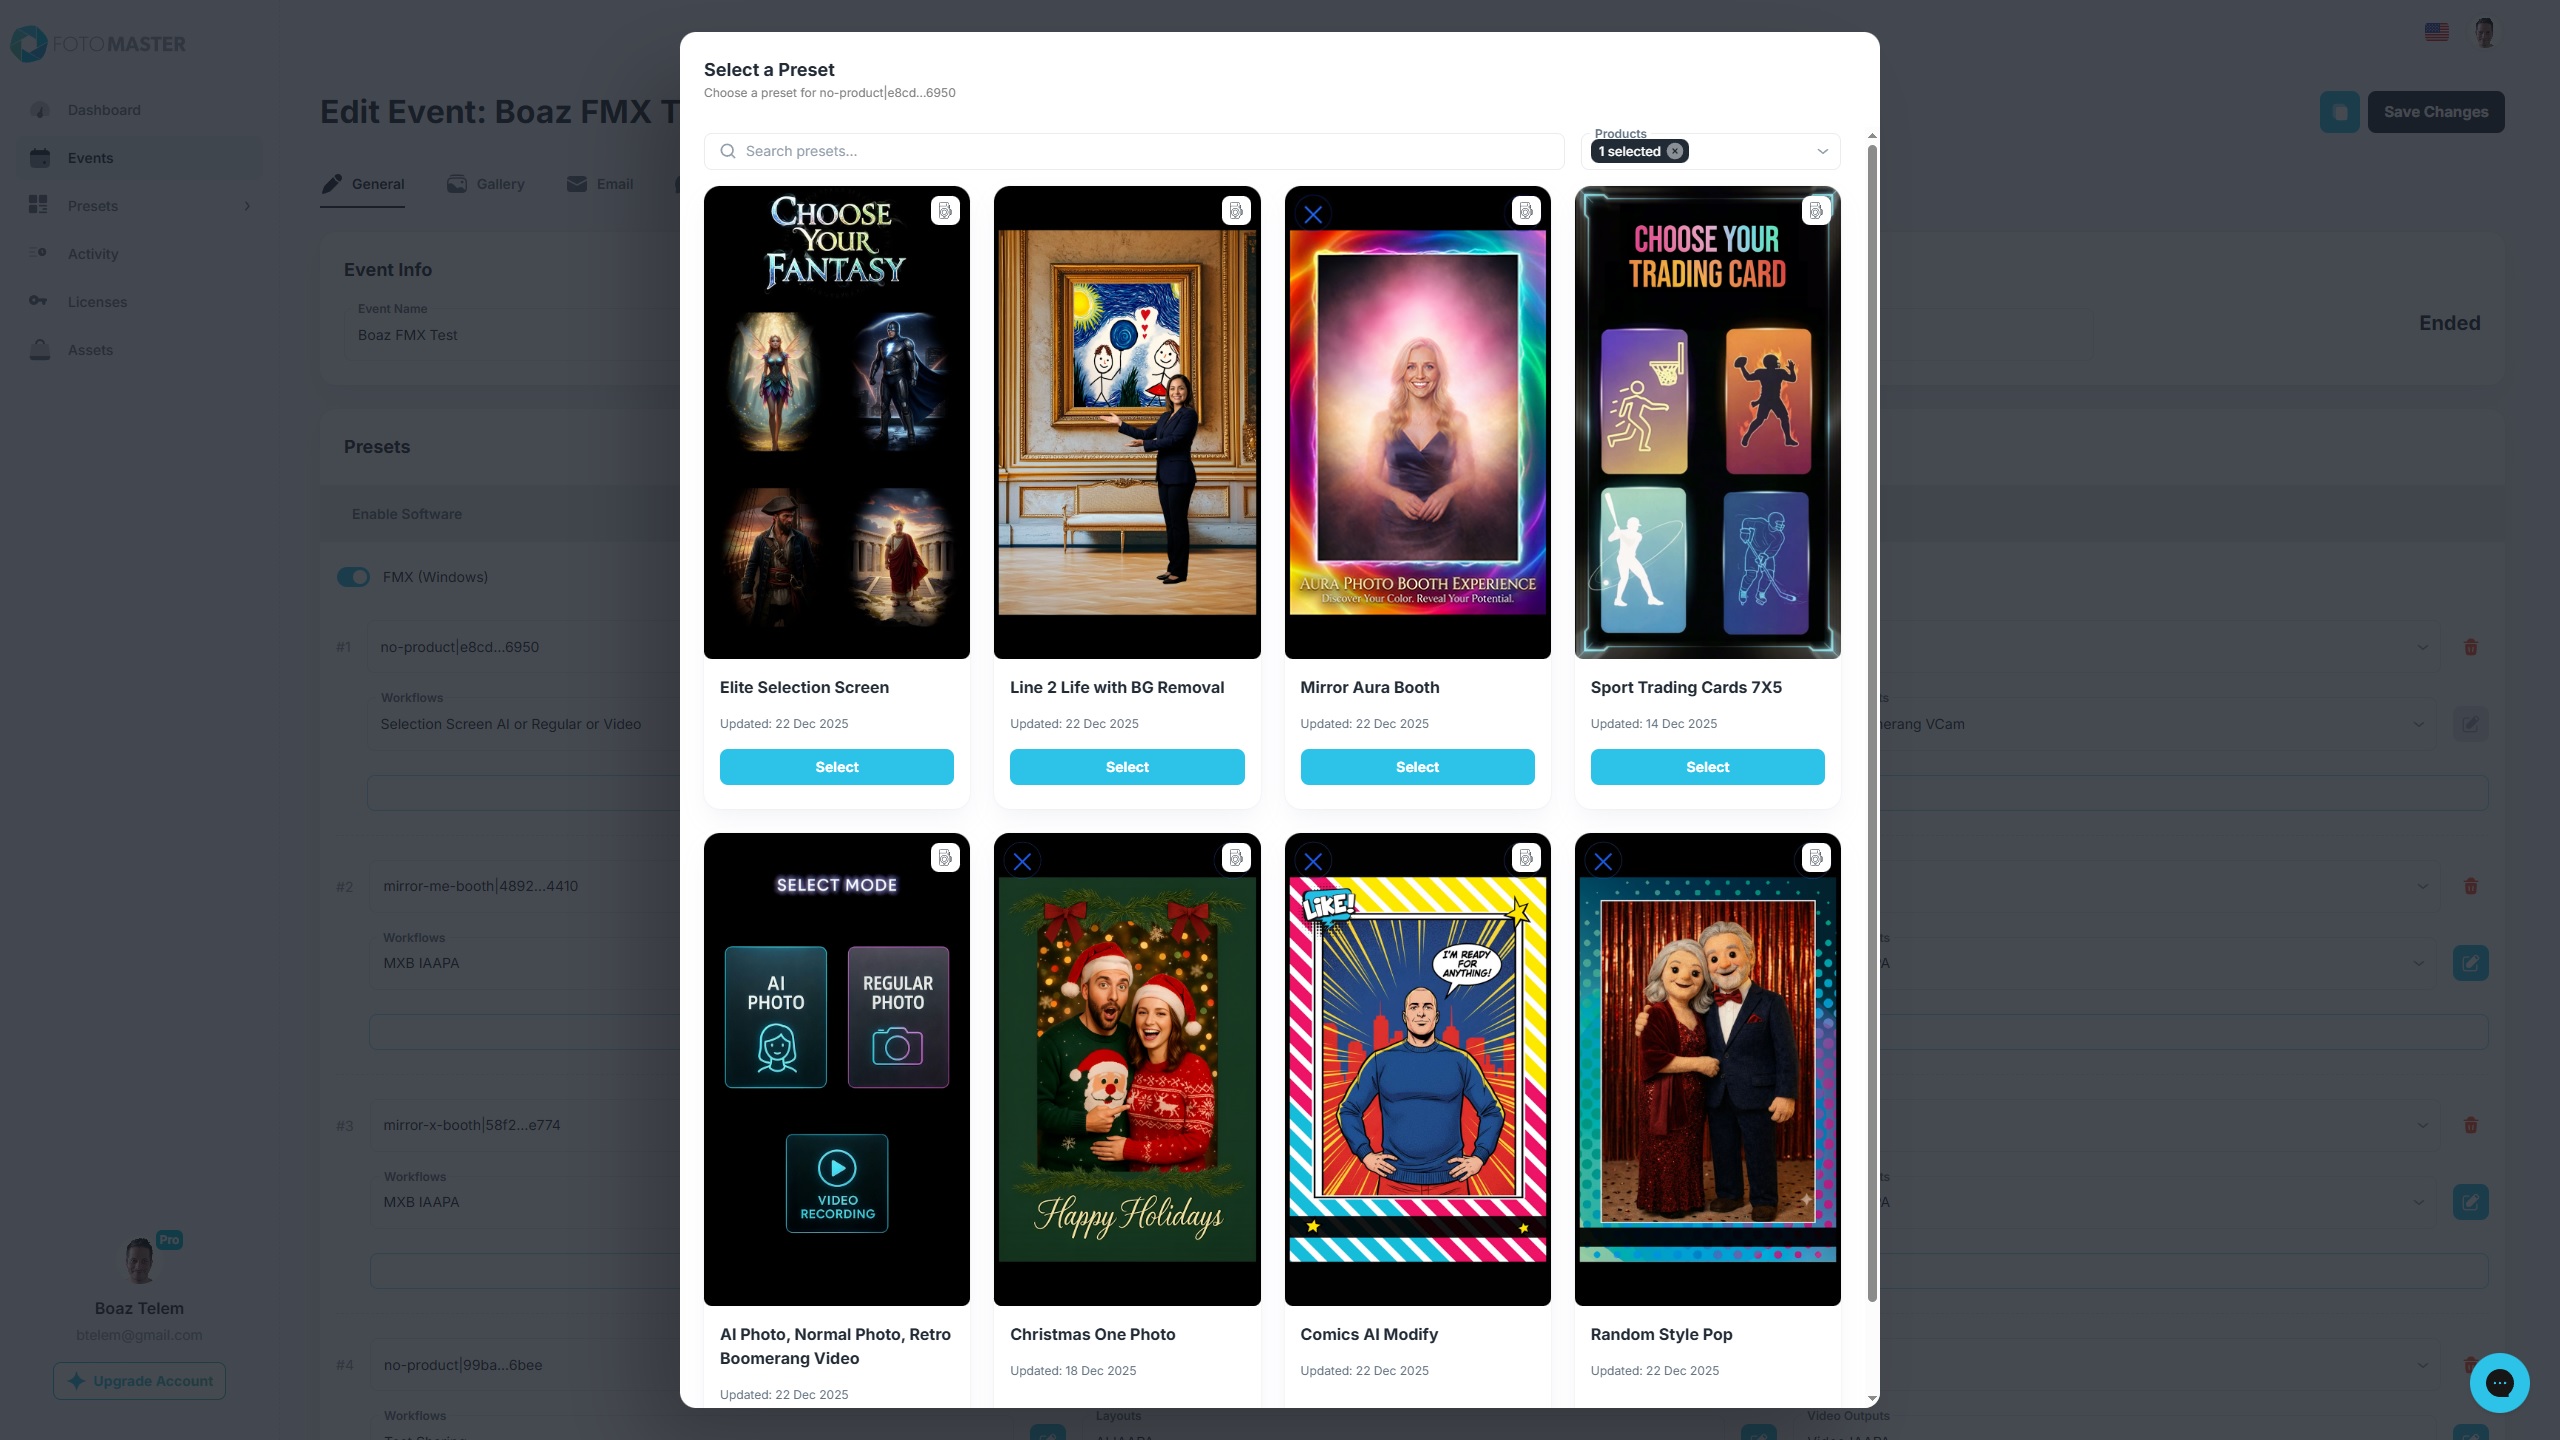
Open the Foto Master Cloud dashboard and browse the preset library. You can search by Name, Product, and camera Orientation. Presets that use AI features have it indicated in the name of the preset (for example, "Glam Filter (AI)).
Every preset in the library is generic, non-branded, and pre-tested by Foto Master. They are production-ready out of the box.
Tip: Use presets as starting points. After syncing, you can customize any aspect of the experience -- layouts, animations, workflow steps, and branding -- to match your client's needs.
Step 2: Sync to FMX
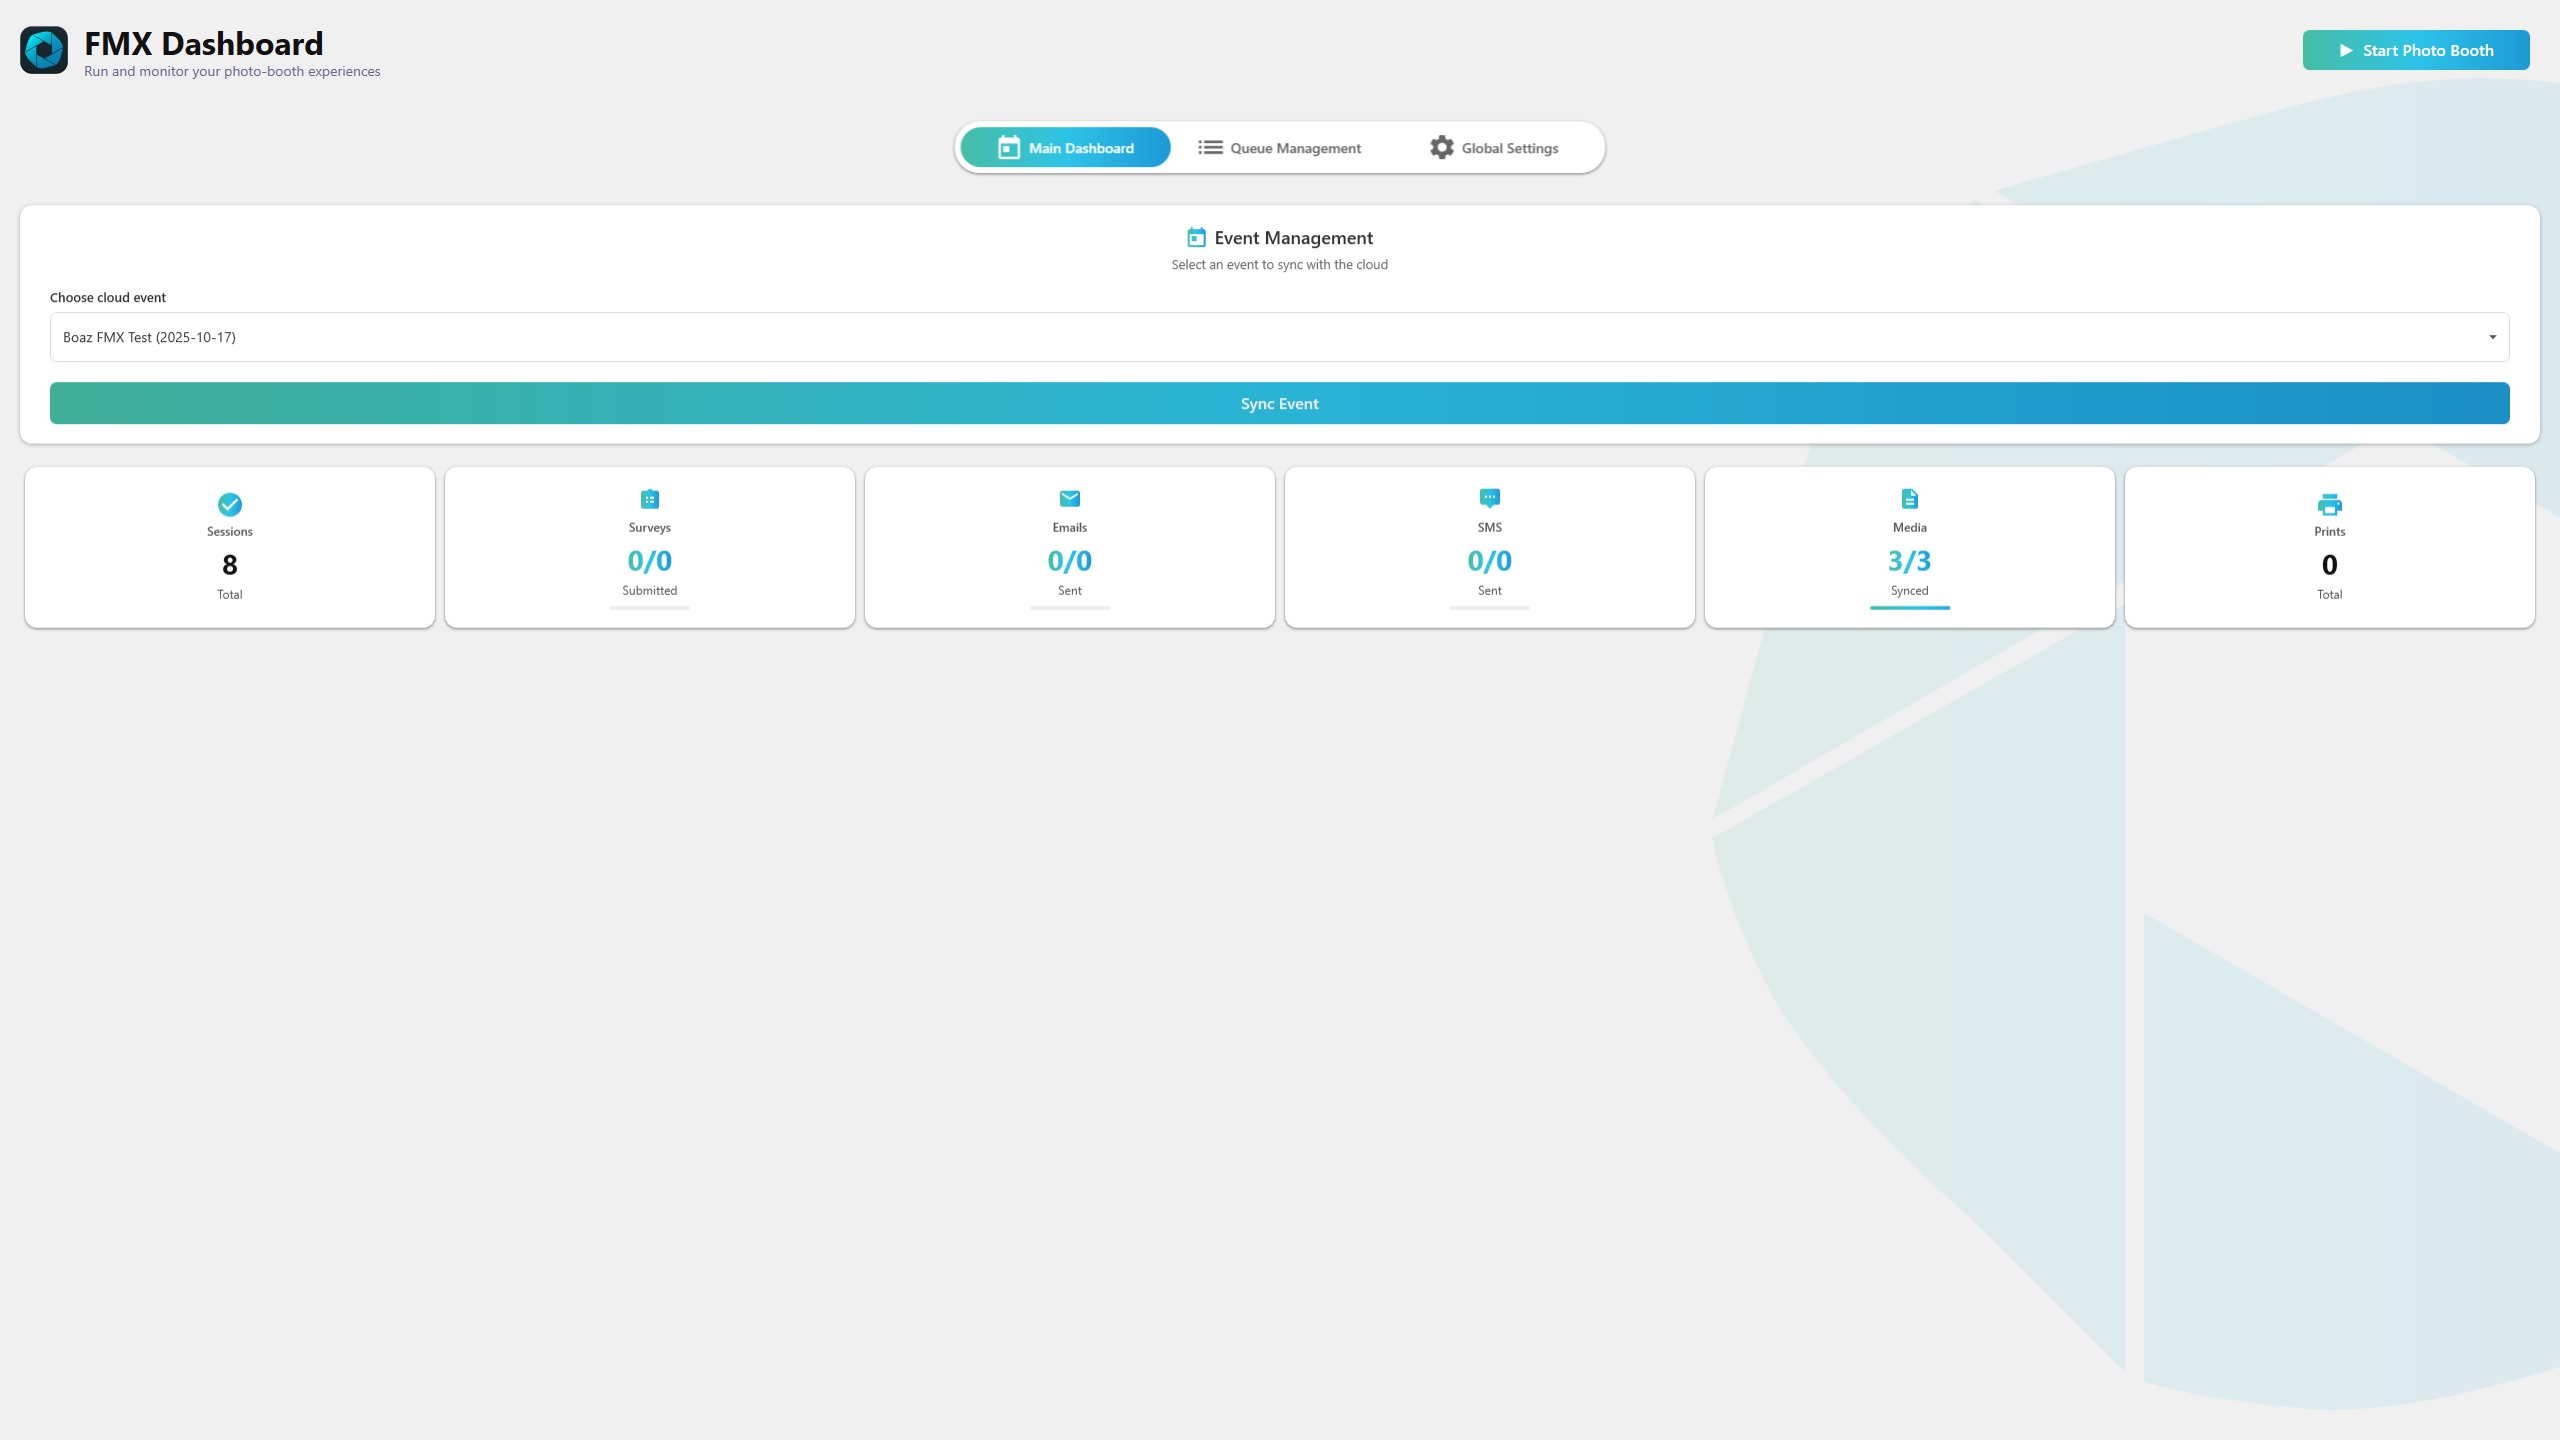
In FMX, click the Sync Event button on the main dashboard. This downloads the full event configuration from the cloud:
workflow.json -- The step-by-step workflow definition
layout.json -- Design layouts for the final photo and overlays
video.json -- Video template configuration (if applicable)
Assets -- All images, animations, sounds, and overlay files referenced by the preset
FMX rewrites all cloud asset paths to local absolute paths so the booth can run fully offline after syncing.
Step 3: Play
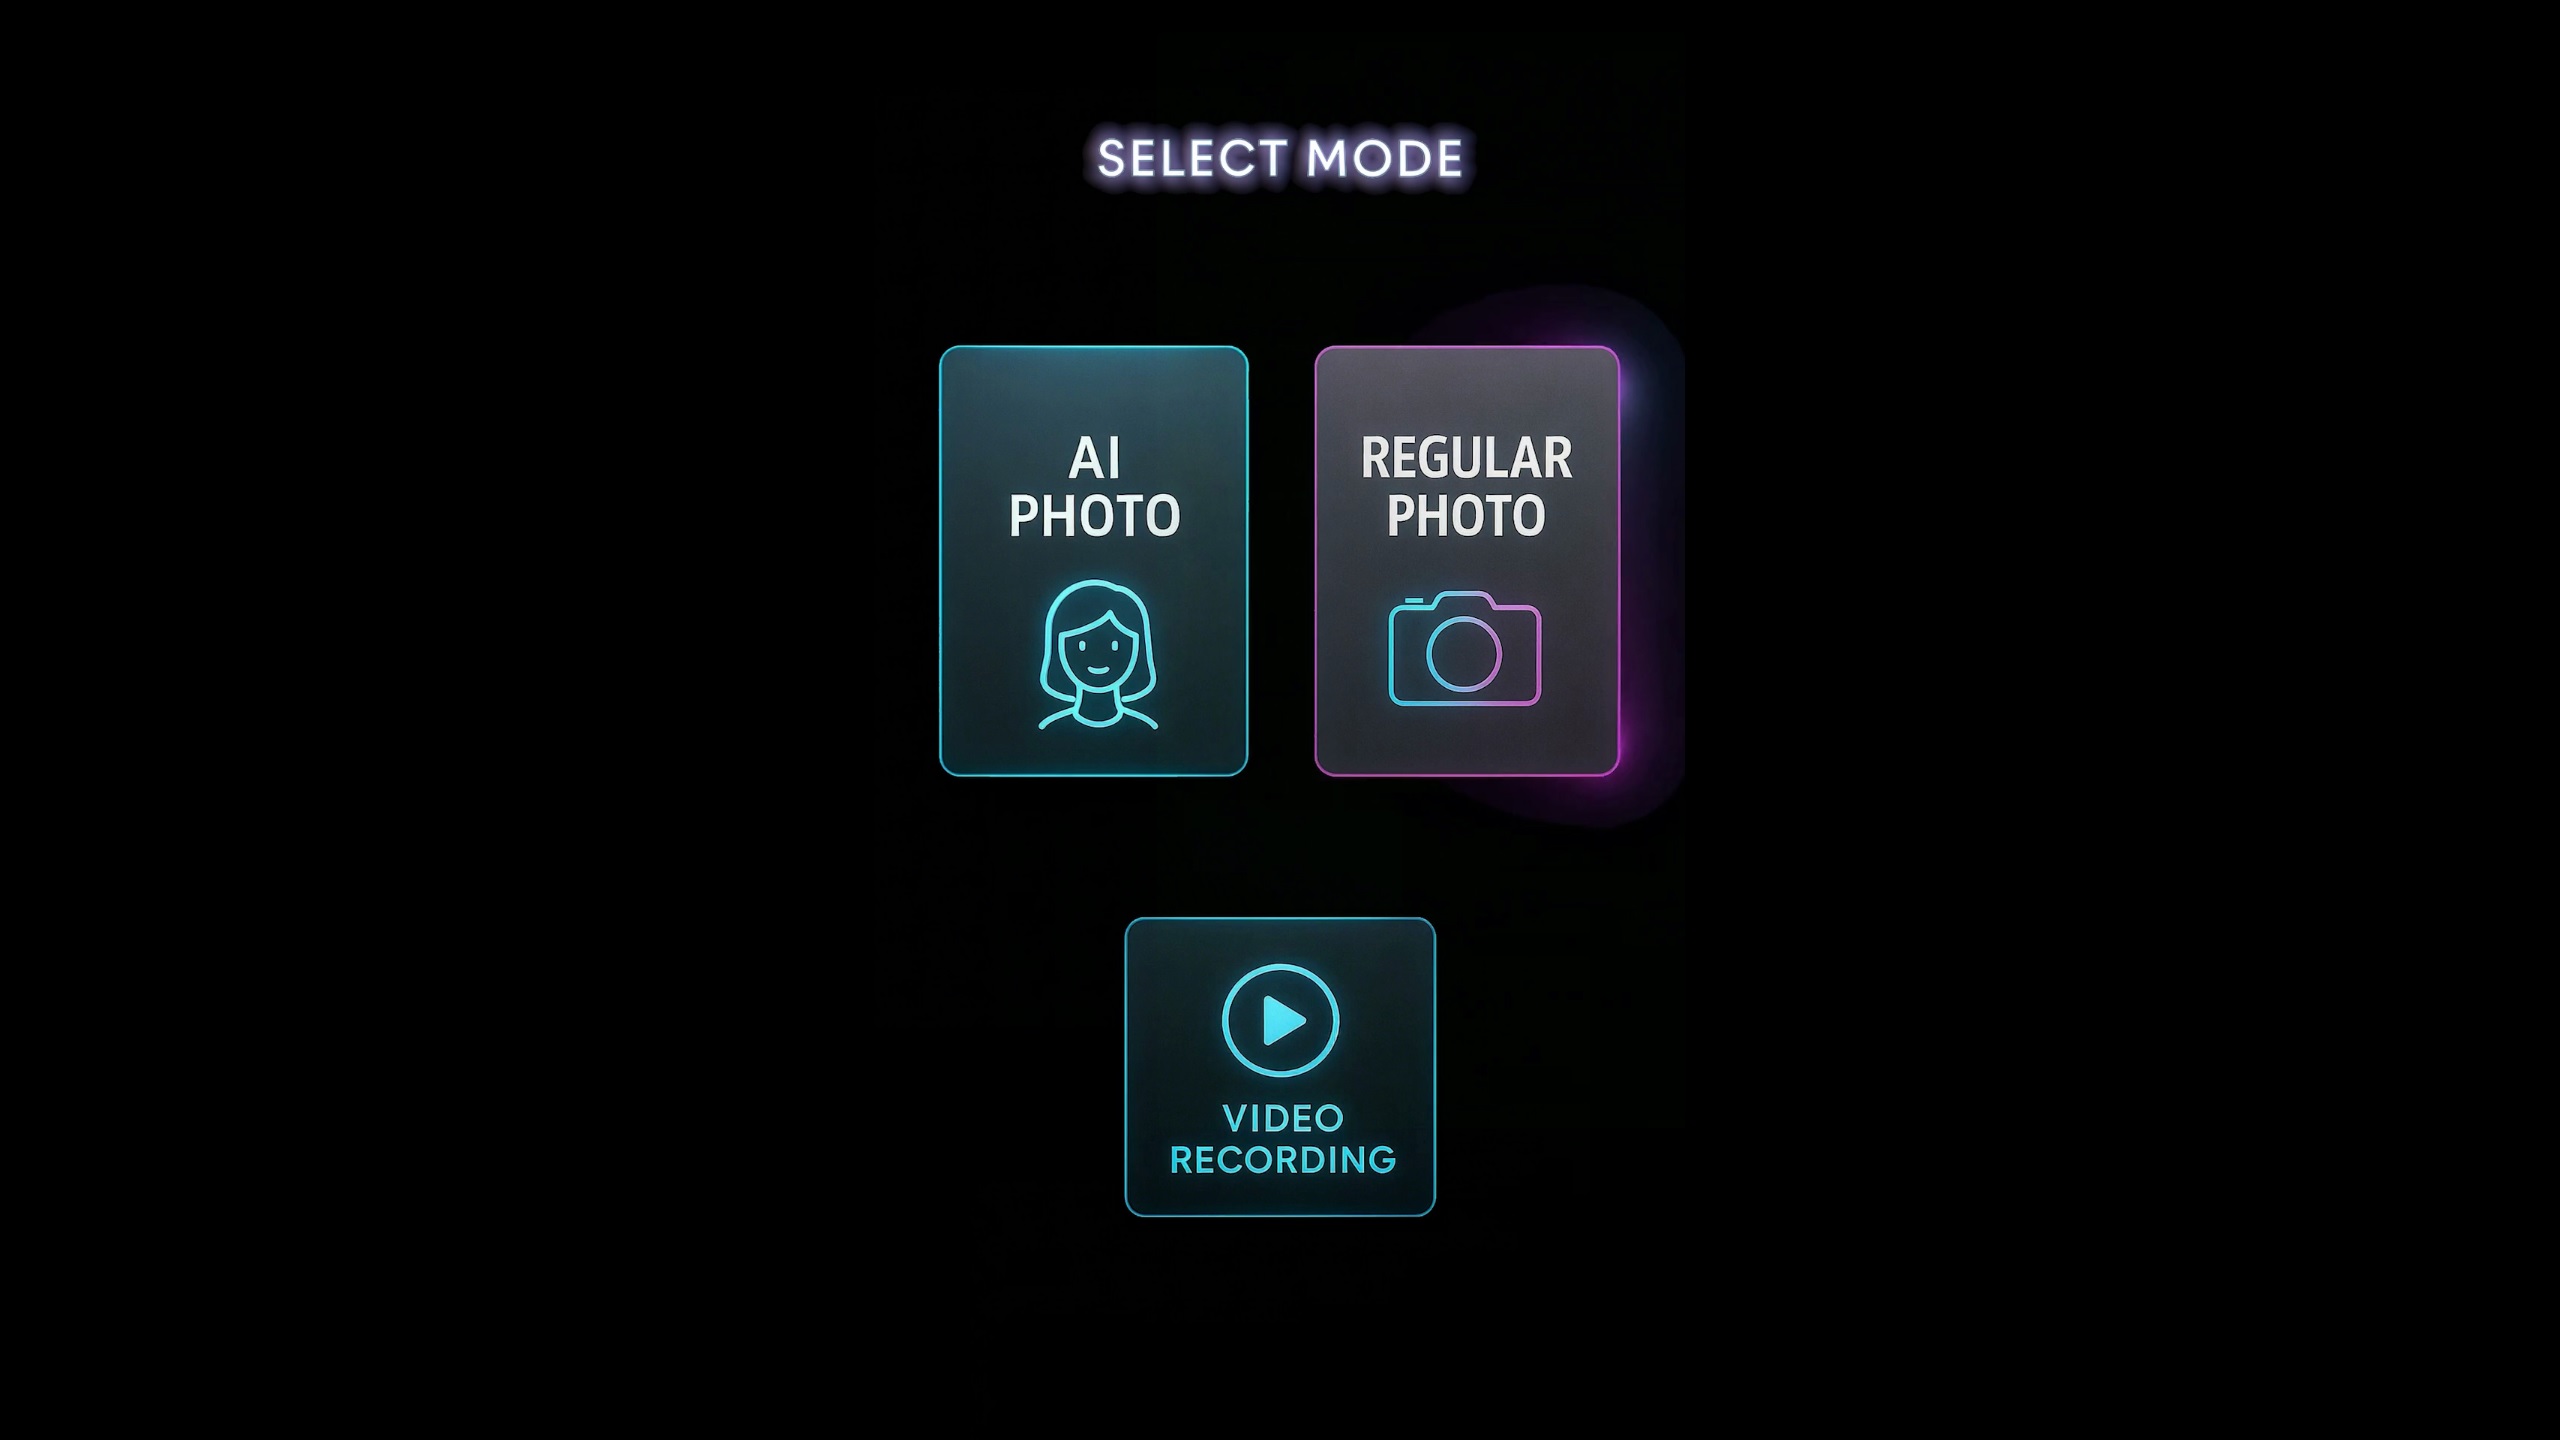
Click Start Photo Booth to launch the experience. FMX runs preflight checks (camera connection, printer status, disk space) and then enters the full-screen Experience View where guests interact with the booth.
The booth immediately begins accepting sessions.
Why This Matters
The Select-Sync-Play model eliminates manual setup for common event types. Instead of building an experience from scratch, operators pick a proven preset, pull it down, and go live. For custom events, the preset serves as a working baseline that can be adjusted without starting from nothing.