Shopify QR Checkout Payments in FMX
QR Checkout lets your photo booth collect payments without a card reader or an operator. When a guest reaches a payment step, the booth shows a QR code, the guest scans it and pays on their own phone through Shopify, and the booth advances automatically once the payment lands.
How It Works
- The booth reaches a payment step and displays a QR code with the amount to pay.
- The guest scans the code with their phone camera, which opens a Shopify checkout page.
- The guest pays with any method enabled on your store - card, Apple Pay, Google Pay, Shop Pay, and more.
- Shopify notifies Foto Master Cloud, and the booth advances automatically within 2-4 seconds.
Behind the scenes, the booth talks to Foto Master Cloud, and Foto Master Cloud talks to Shopify on your behalf.
What You Need
- A Foto Master Cloud account with a Pro plan
- A Shopify account — any plan (Basic, Shopify, or Advanced)
- An active FMX license connected to Foto Master Cloud
- An internet connection at the booth
You do not need a card reader, a payment terminal, a tablet running Shopify POS, or a booth operator. Guests pay on their own phones.
Global Currencies Supported: FMX Shopify QR Checkout fully supports different currencies. Ensure that the currency you wish to charge in is enabled and correctly configured within your Shopify store settings.
Step 1: Create a Shopify Custom App
This app gives Foto Master Cloud permission to create checkouts and detect payments on your store.
- Log in to Shopify Admin at
https://your-store.myshopify.com/admin. - Open the Shopify Dev Dashboard, where Shopify now builds custom apps. You can reach it from Settings → Apps in your store admin.
- In the Dev Dashboard, open Apps in the left menu and click Create app (top-right).
- Choose Start from Dev Dashboard, name the app something descriptive like
FMX Photo Booth, then click Create.
Step 2: Enable the Admin API Scopes
- Your app opens on a new version automatically. Scroll down to the Scopes section.
- In the Scopes field (not Optional scopes), enter or enable these three permissions:
- Click Release to save this version. A version is a snapshot of the app's configuration that you can roll back to later.
- Open Settings in the left menu and copy the app's Client ID and secret.
- Note your shop domain - it looks like
your-store.myshopify.com. - In the left menu, open your app (the first item), then click Install app and install it to your shop.
Warning: Treat the client secret like a password. You'll hand it to Foto Master support in Step 3, and it is stored securely in Foto Master Cloud.
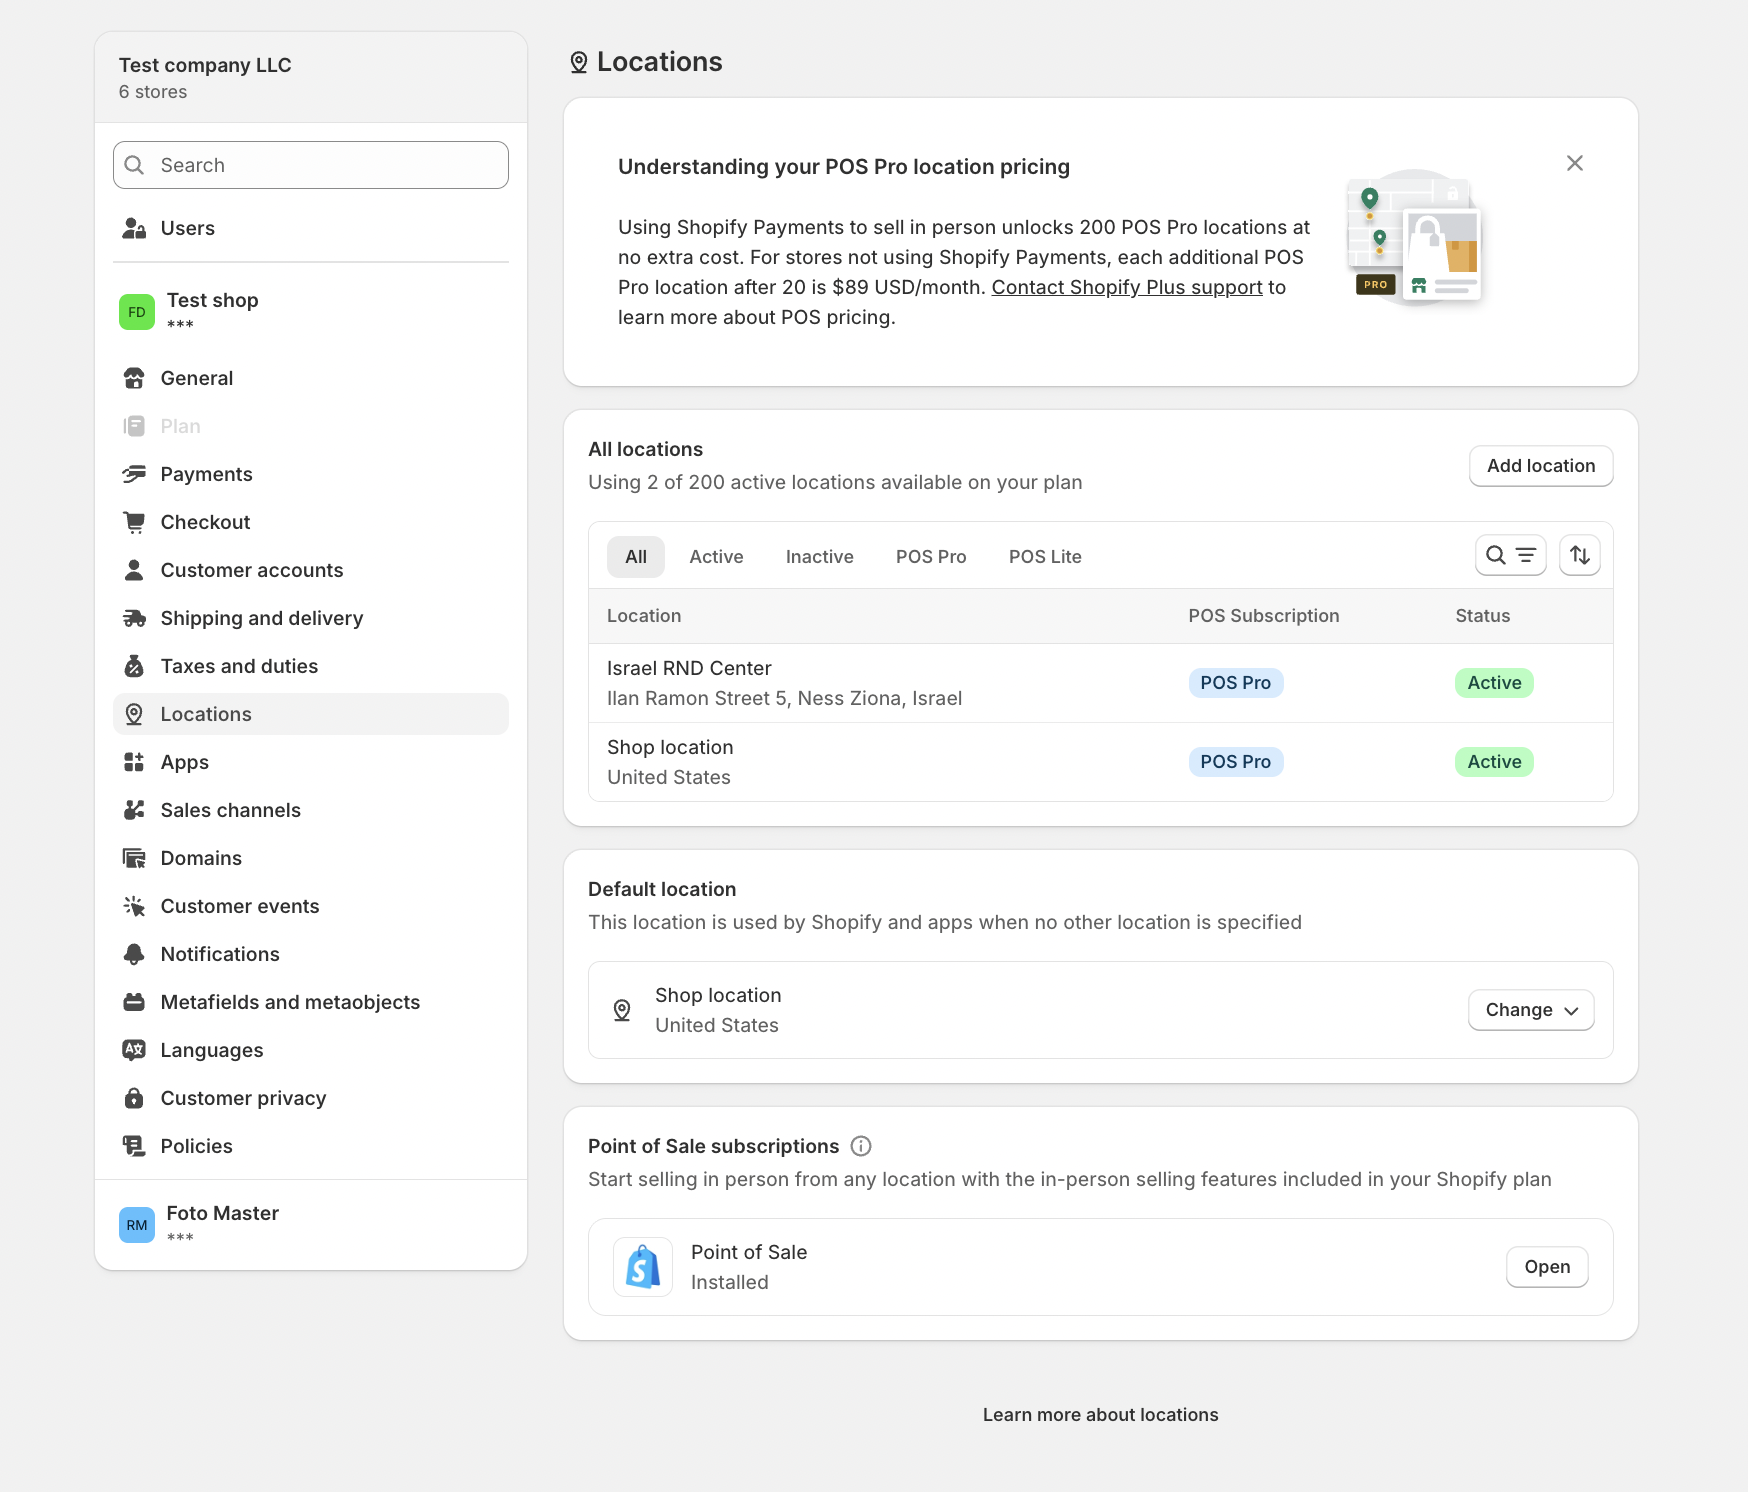
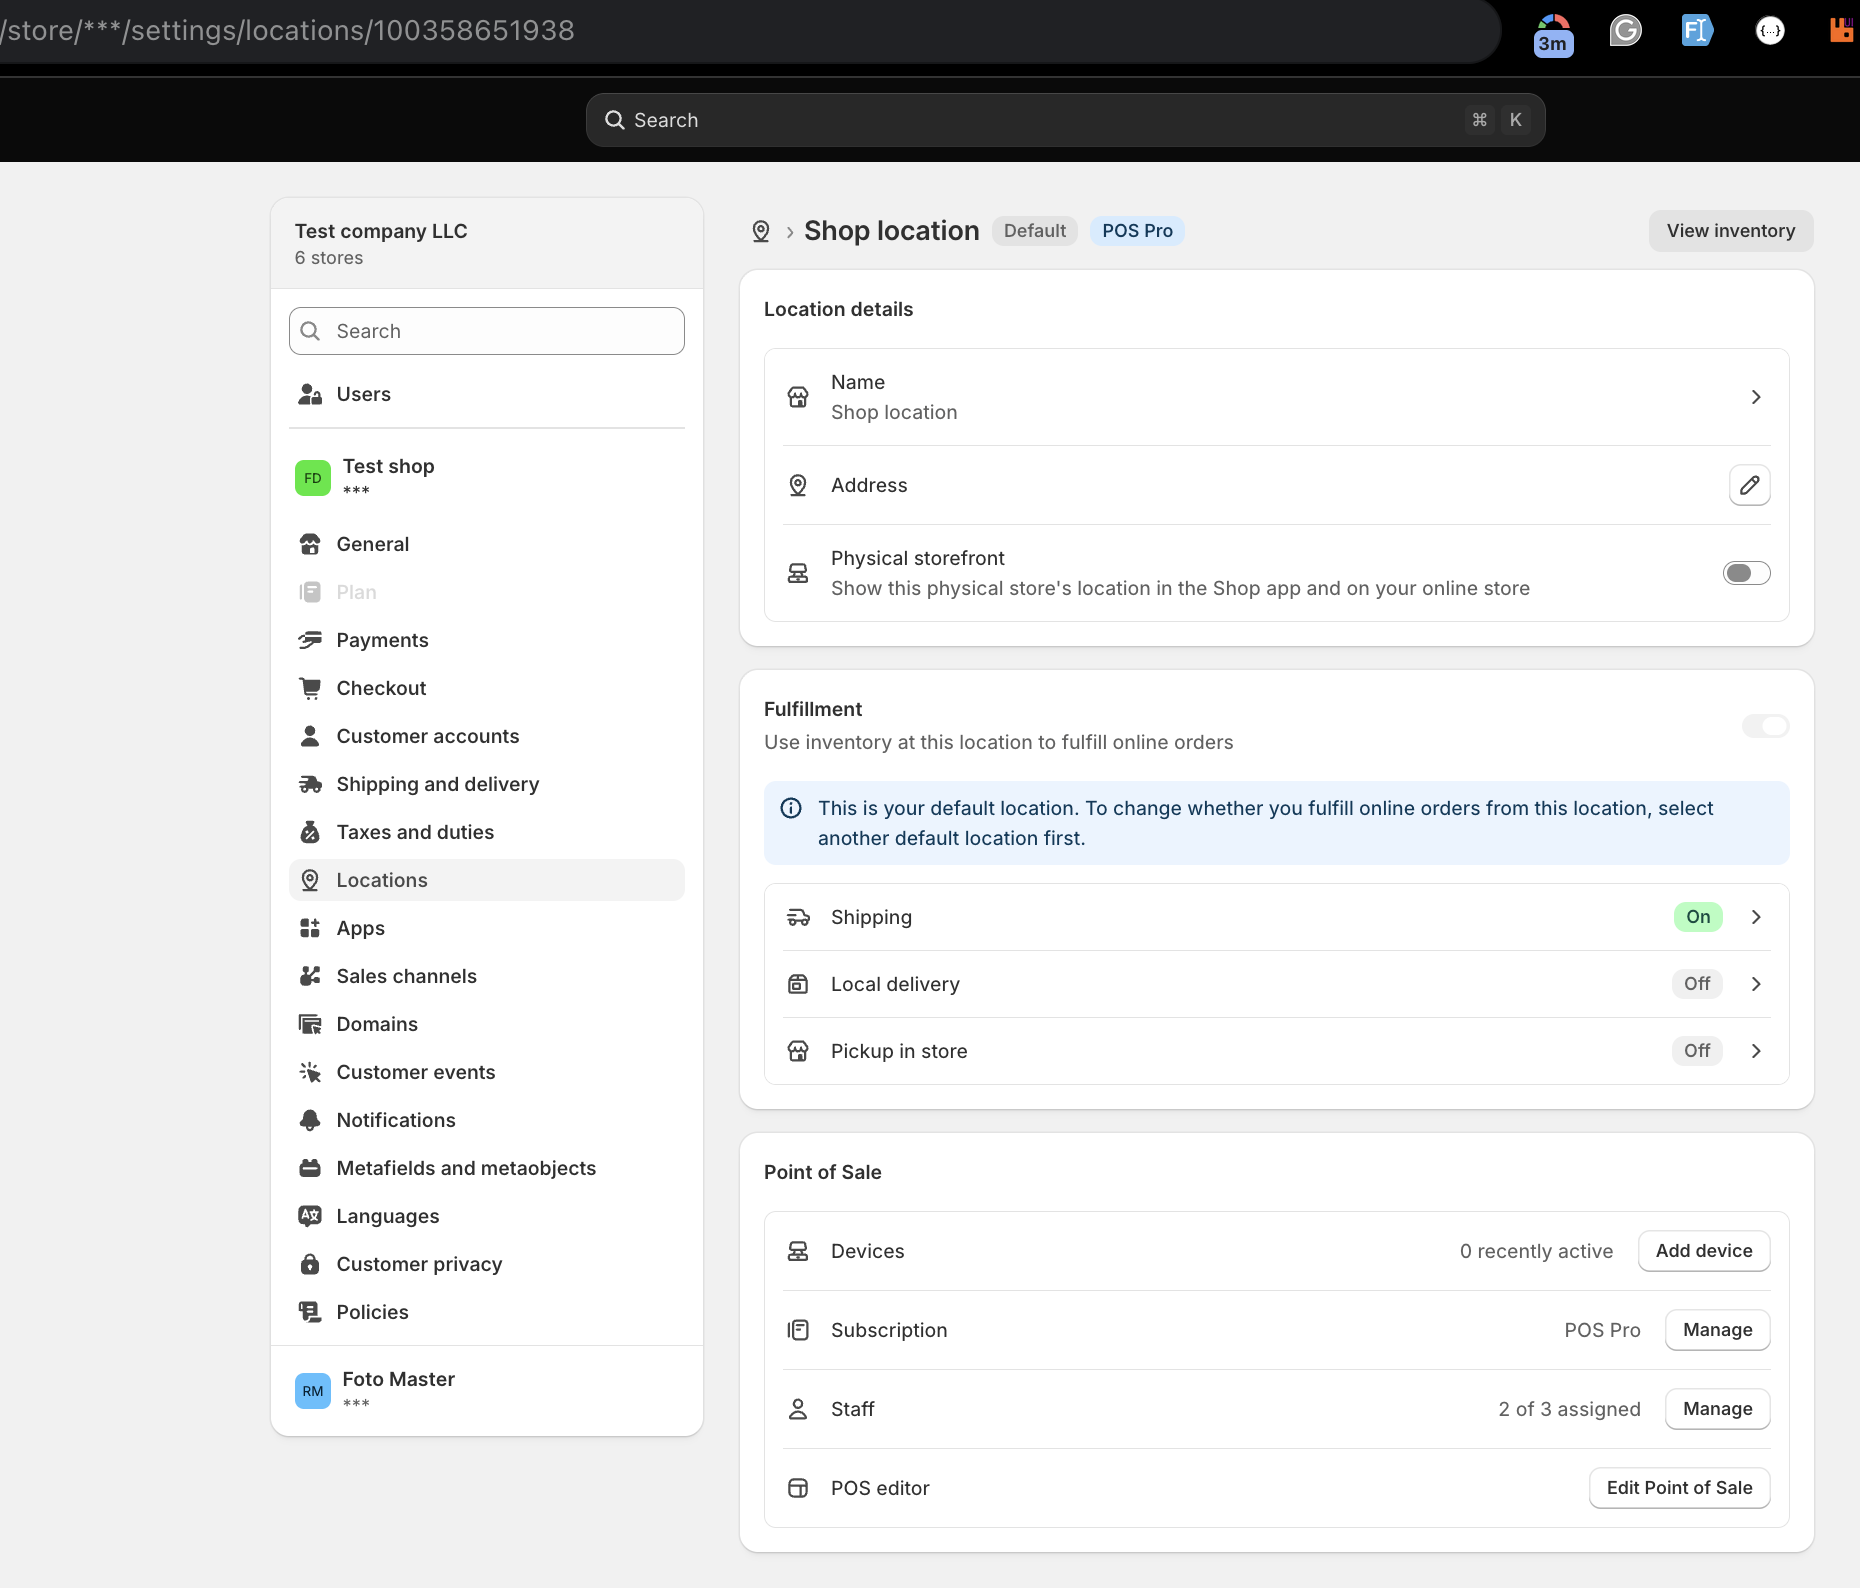
Step 3: Multiple Shopify locations (optional)
If your Shopify store has more than one location, FMX can be linked to a specific location. This helps keep your photo booth payments tied to the correct store location for reporting and tax routing. If you only have one location, you can ignore this step. If you manage multiple locations, make sure the one you want to use is active and available in Shopify before finishing setup.
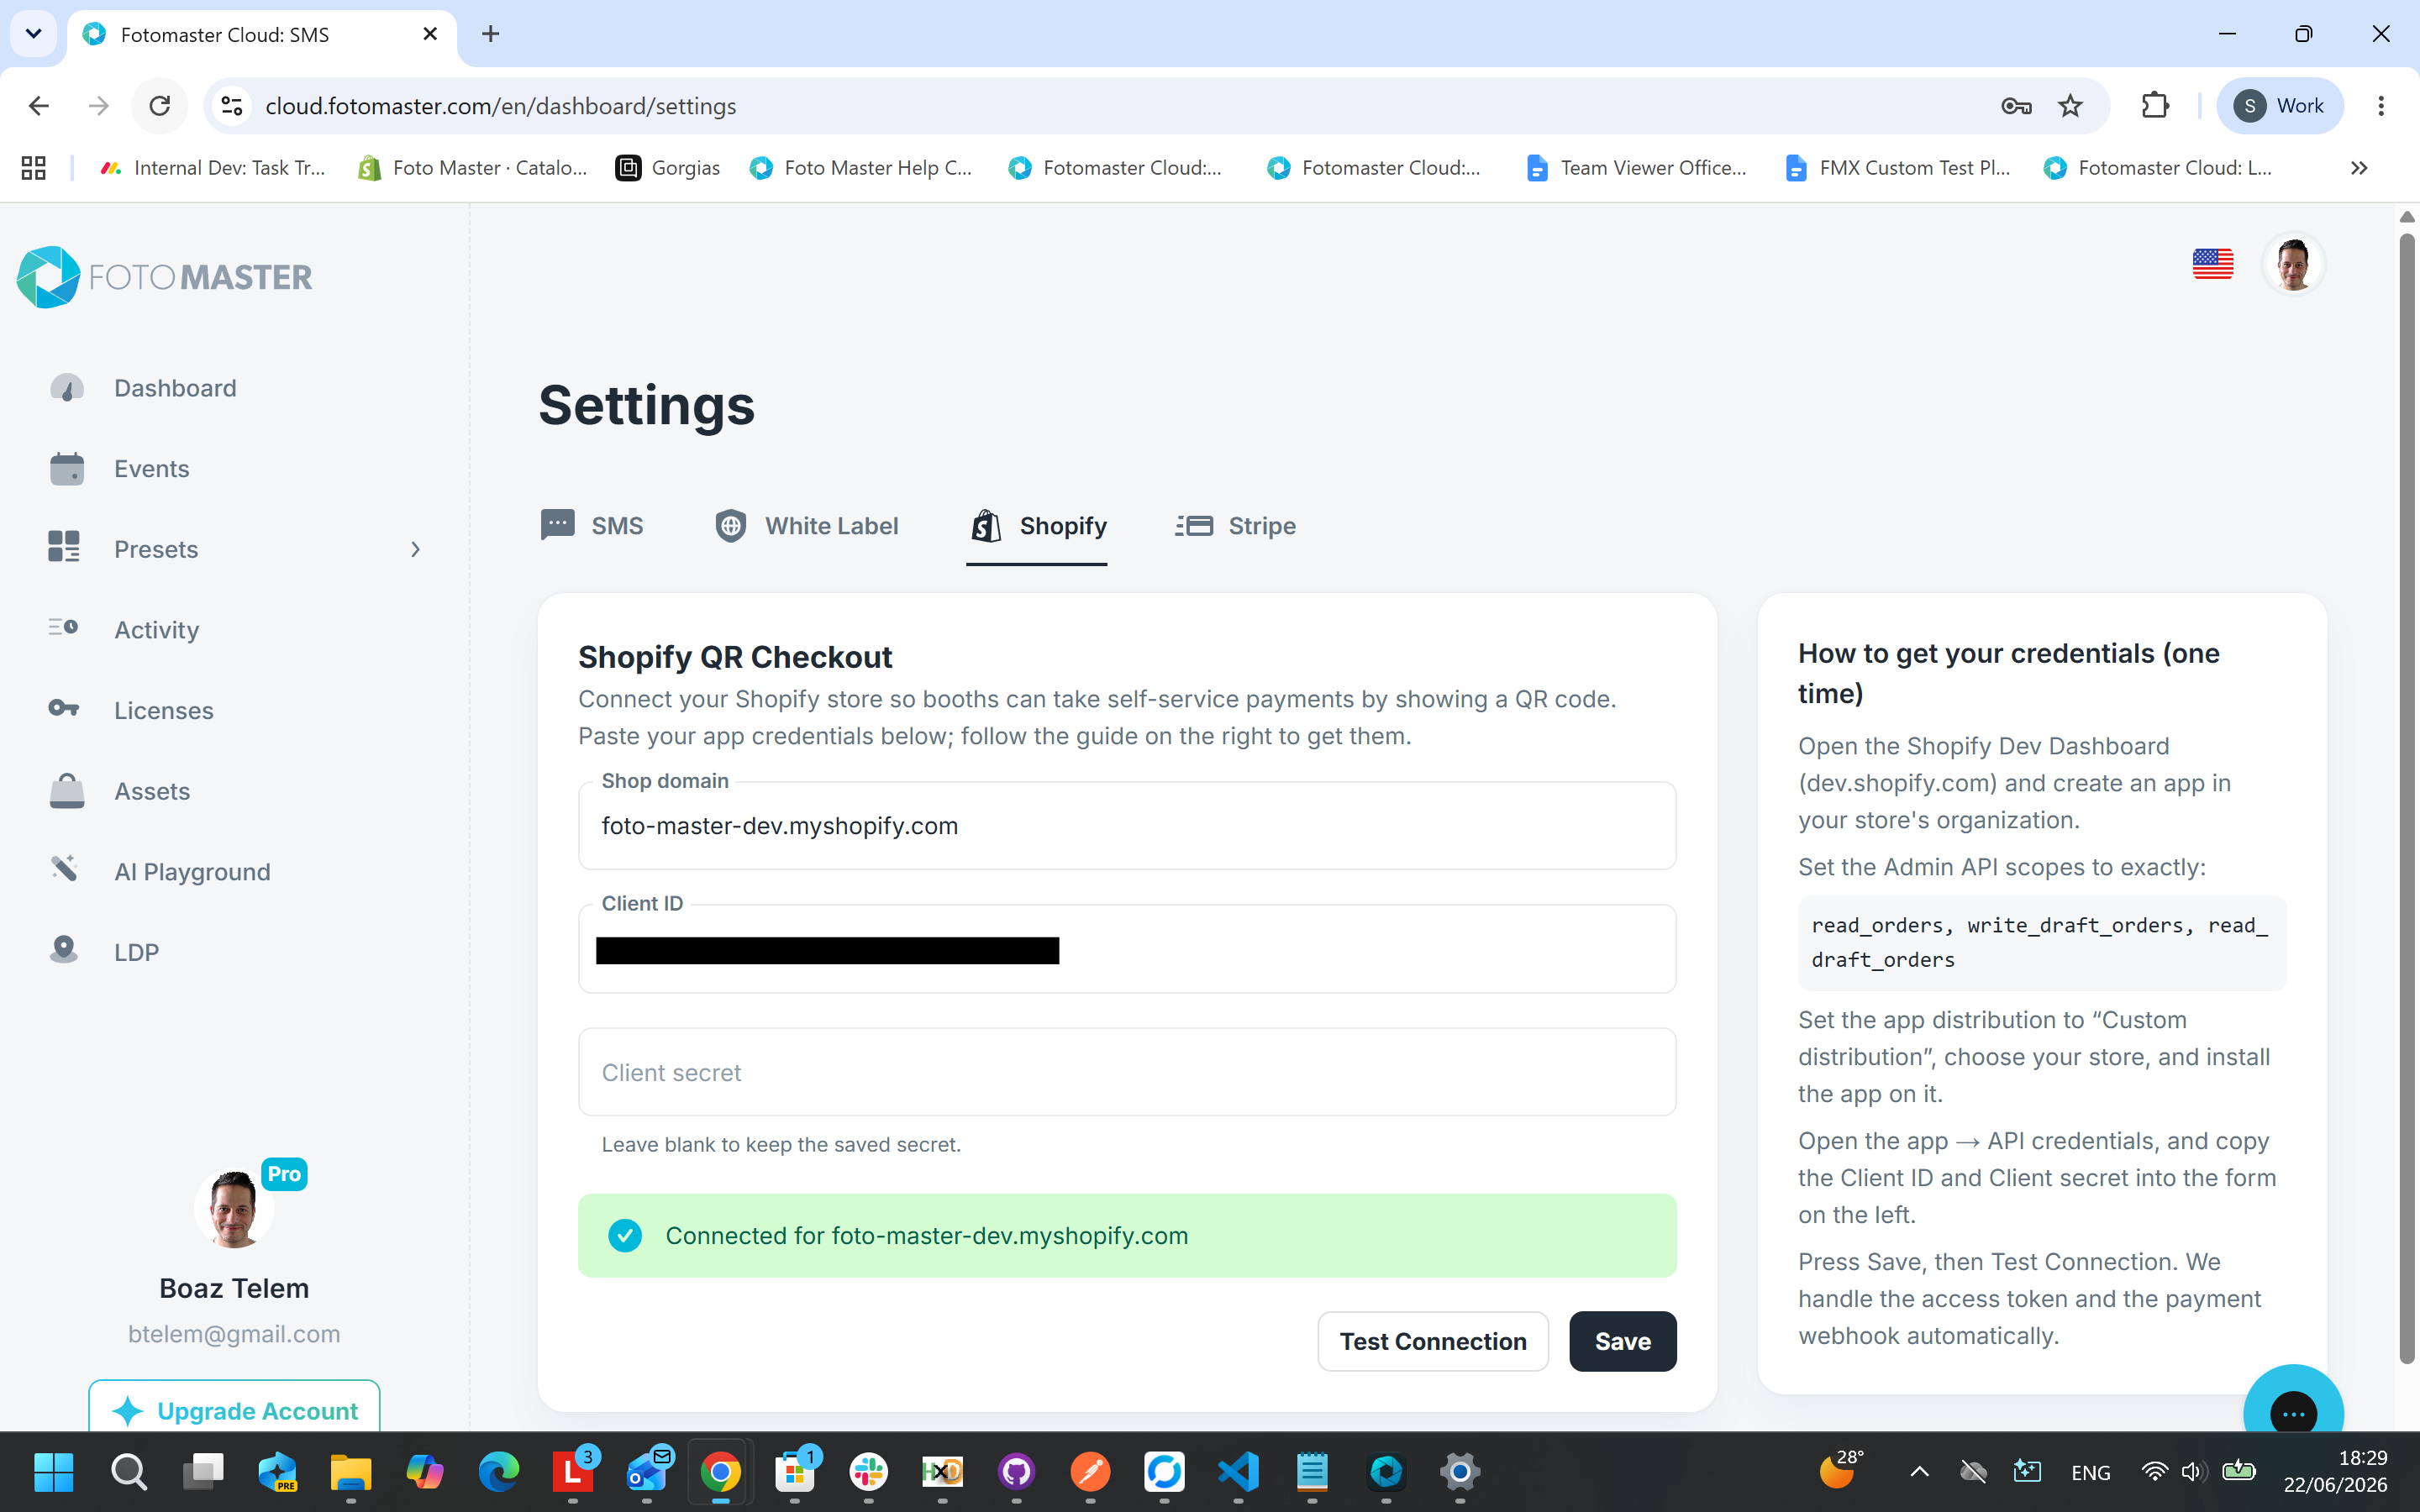
Step 4: Register Your Shop with Foto Master Cloud
This is a one-time setup that links your Shopify store to your booth. In your Foto Master Cloud account, click your profile picture, choose Settings, then open Shopify and fill in the details below:
| Item | Where to find it |
|---|---|
| Shop domain | Your Shopify URL (e.g. your-store.myshopify.com) |
| Client ID | Shopify app → Settings (Step 2) |
| Client secret | Shopify app → Settings (Step 2) |
Save the settings. Foto Master Cloud will establish a secure handshake with your Shopify store.
Step 5: Configure FMX
- Open FMX and go to Global Settings → the Devices tab.
- Set Payment Provider to Shopify.
- Set the price and currency code (e.g.,
USD,EUR,CAD) corresponding to your active Shopify market. - Click Test Connection - you should see a success message.
- Click Save Changes.
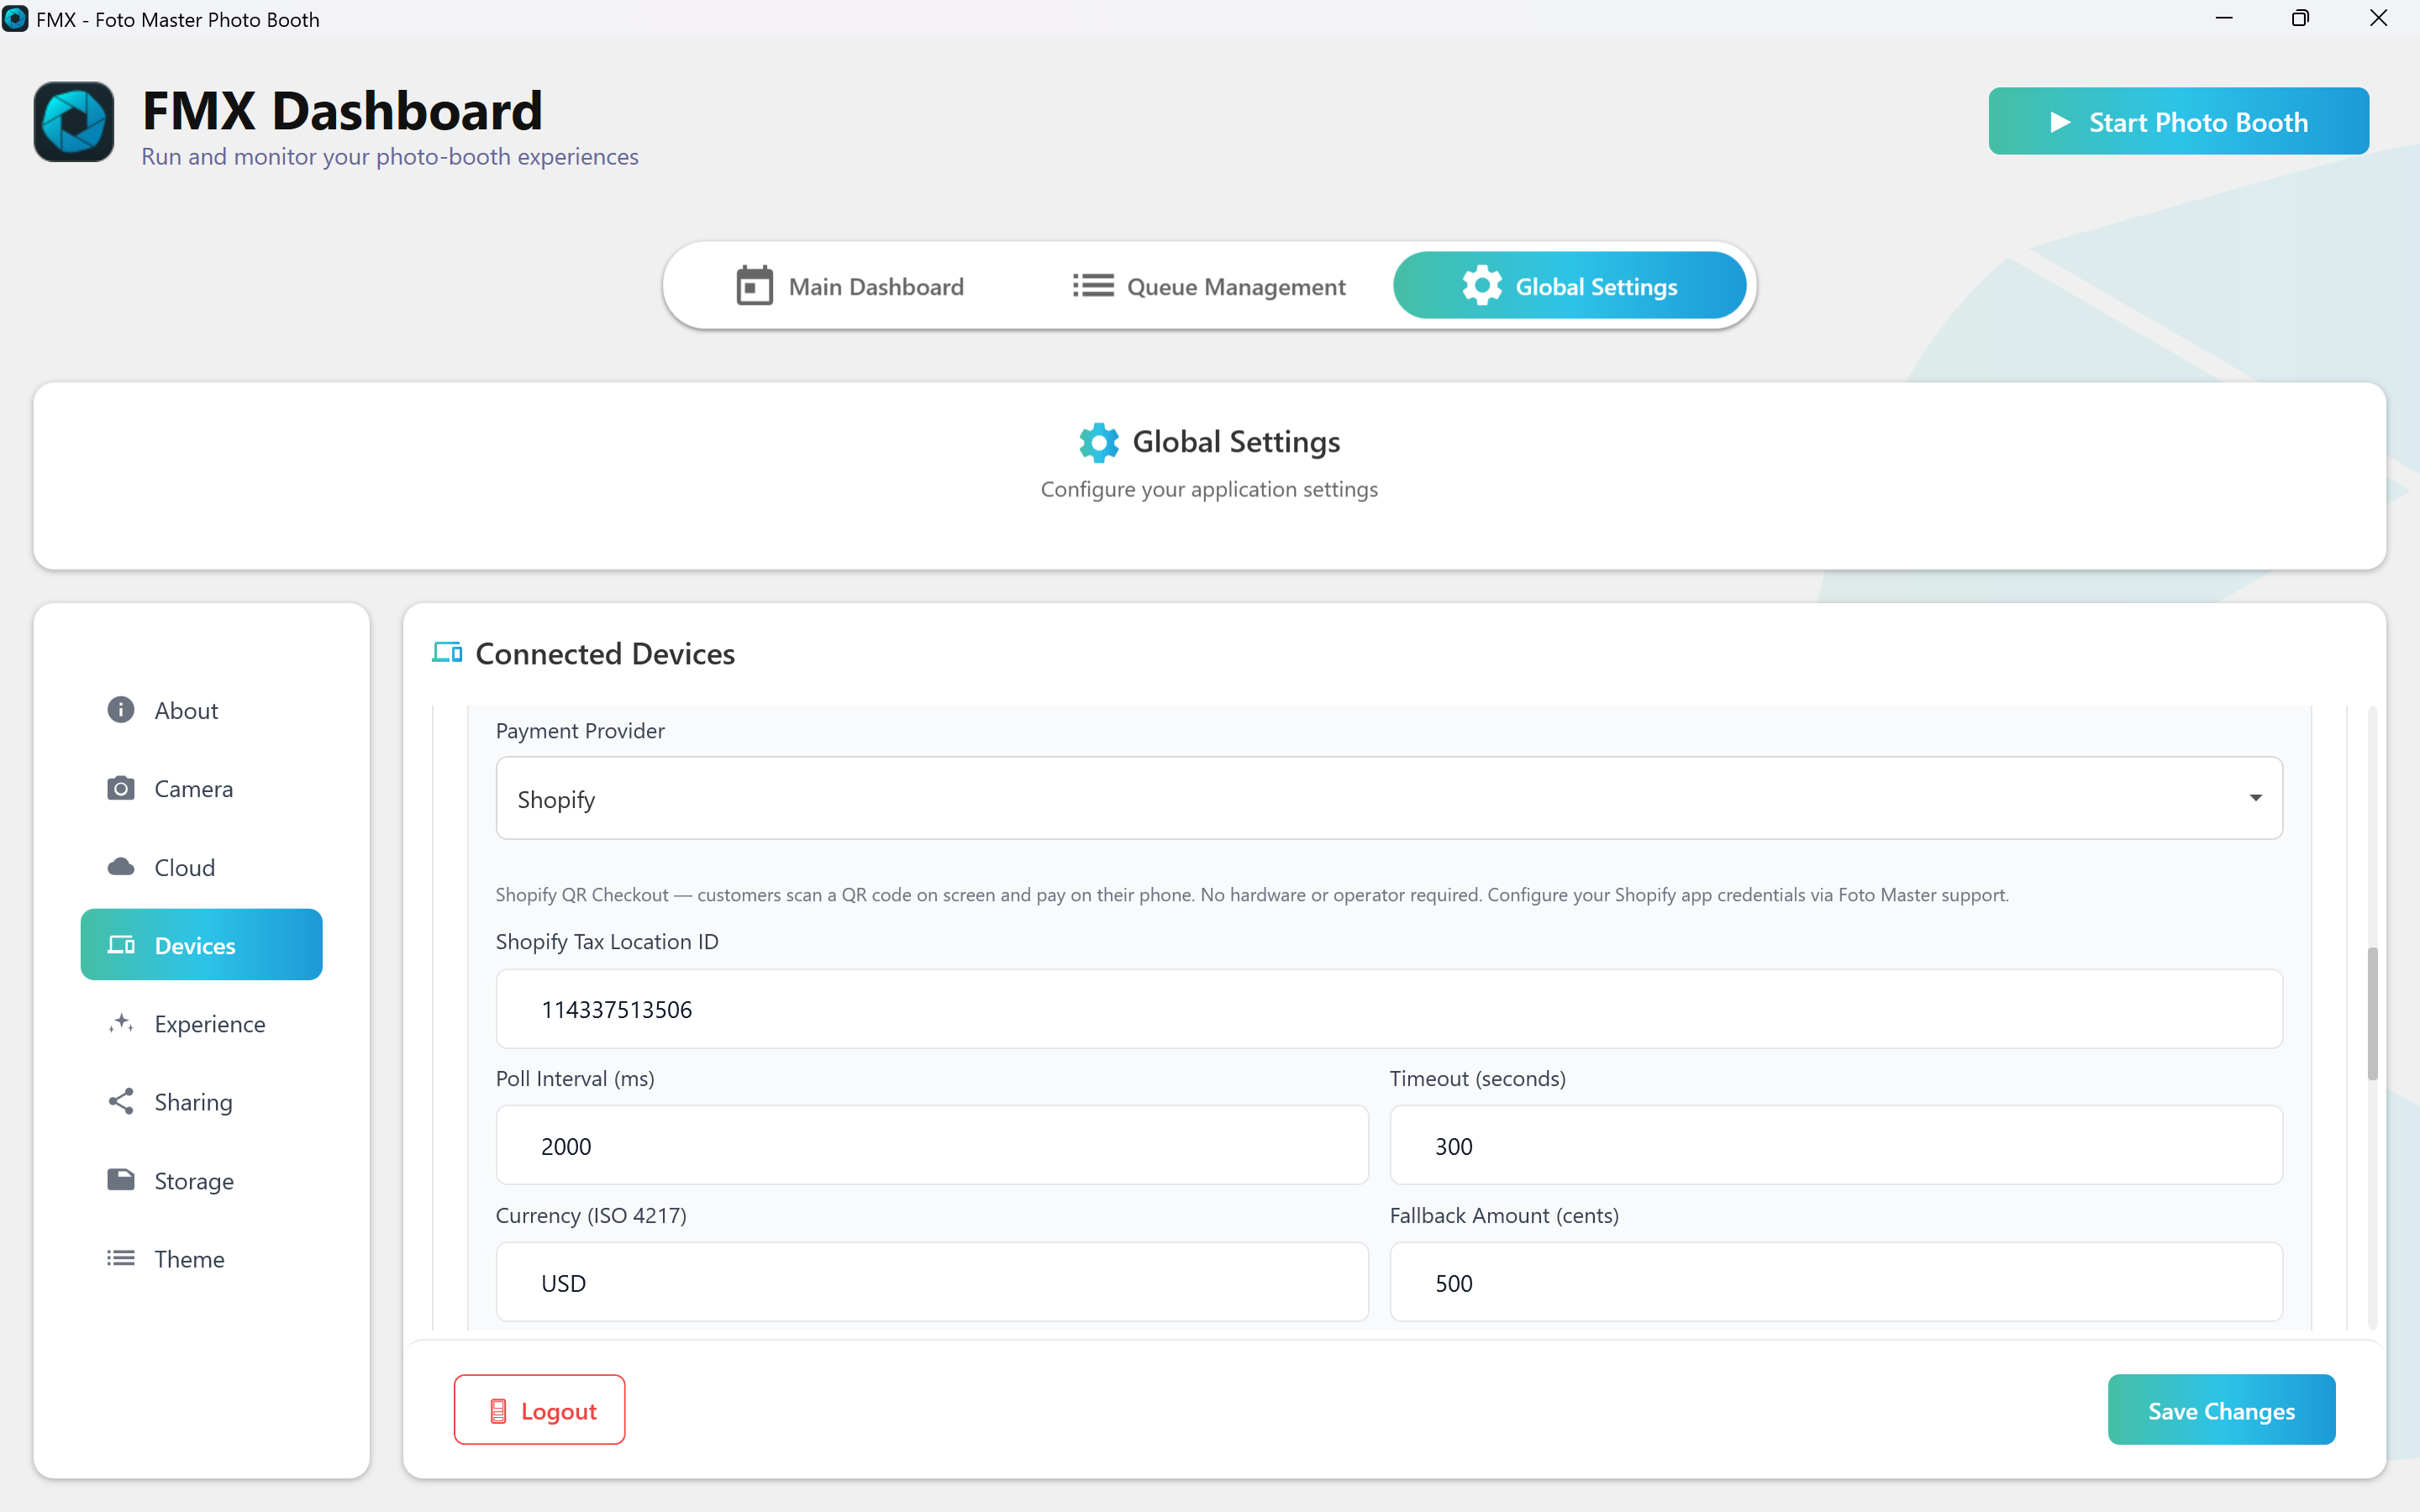
Settings Reference
Tip: Leave the Poll Interval and Timeout at their defaults unless you have a specific reason to tune them.
Step 6: Build a Workflow That Works
- Open the Workflow Builder in your Cloud Account.
- Add a Payment trigger to the step where you want to collect payment.
- Set the Payment Amount (e.g.
500 cents ($5)). - Set the Currency to match your Shopify store (e.g. USD).
- Save the workflow.
Tip: You do not need to create a product in Shopify. The checkout uses a draft order with a custom line item, and the price is set dynamically from your workflow. Different workflows or different payment triggers within one workflow can charge different amounts.
Make Checkout Faster (Optional)
To speed up the guest experience, simplify your Shopify checkout so wallet-ready guests can pay with minimal typing:
- In Shopify Admin, go to Settings → Checkout.
- Set Customer contact method to Email, and leave "Require customers to sign in" turned off.
- Under Customer information, set fields like Company name and Address line 2 to Don't include or Optional, and avoid making extra fields required.
- Turn off Show tipping at checkout unless you want tips.
- In Settings → Payments, enable wallet methods such as Apple Pay, Google Pay, and Shop Pay where available.
Guests who already have a digital wallet set up can often pay in seconds: scan the QR code, tap the wallet button, confirm with Face ID or fingerprint, done. Guests without a saved wallet can still pay through the standard Shopify checkout form.
Day-to-Day Operation
Once setup is complete, there is nothing to manage - the booth handles each guest automatically:
- Self-service loop: A guest starts the booth, reaches the payment step, scans and pays, and the booth advances. Repeat for the next guest.
- Timeout: If a guest doesn't pay within the timeout (default 5 minutes), the booth safely closes the old checkout and shows a fresh QR code.
- Card decline: If a payment fails on the Shopify page, the guest can retry on their phone while the QR code is still active.
- Late payment: If a guest finishes paying just after the booth times out, the booth detects and recovers that payment and advances the workflow. A manual refund is only needed in the rare case of a severe network outage.
- Multiple booths: Several booths can share one Shopify account safely - each checkout has a unique session ID, so no booth can claim another booth's payment.
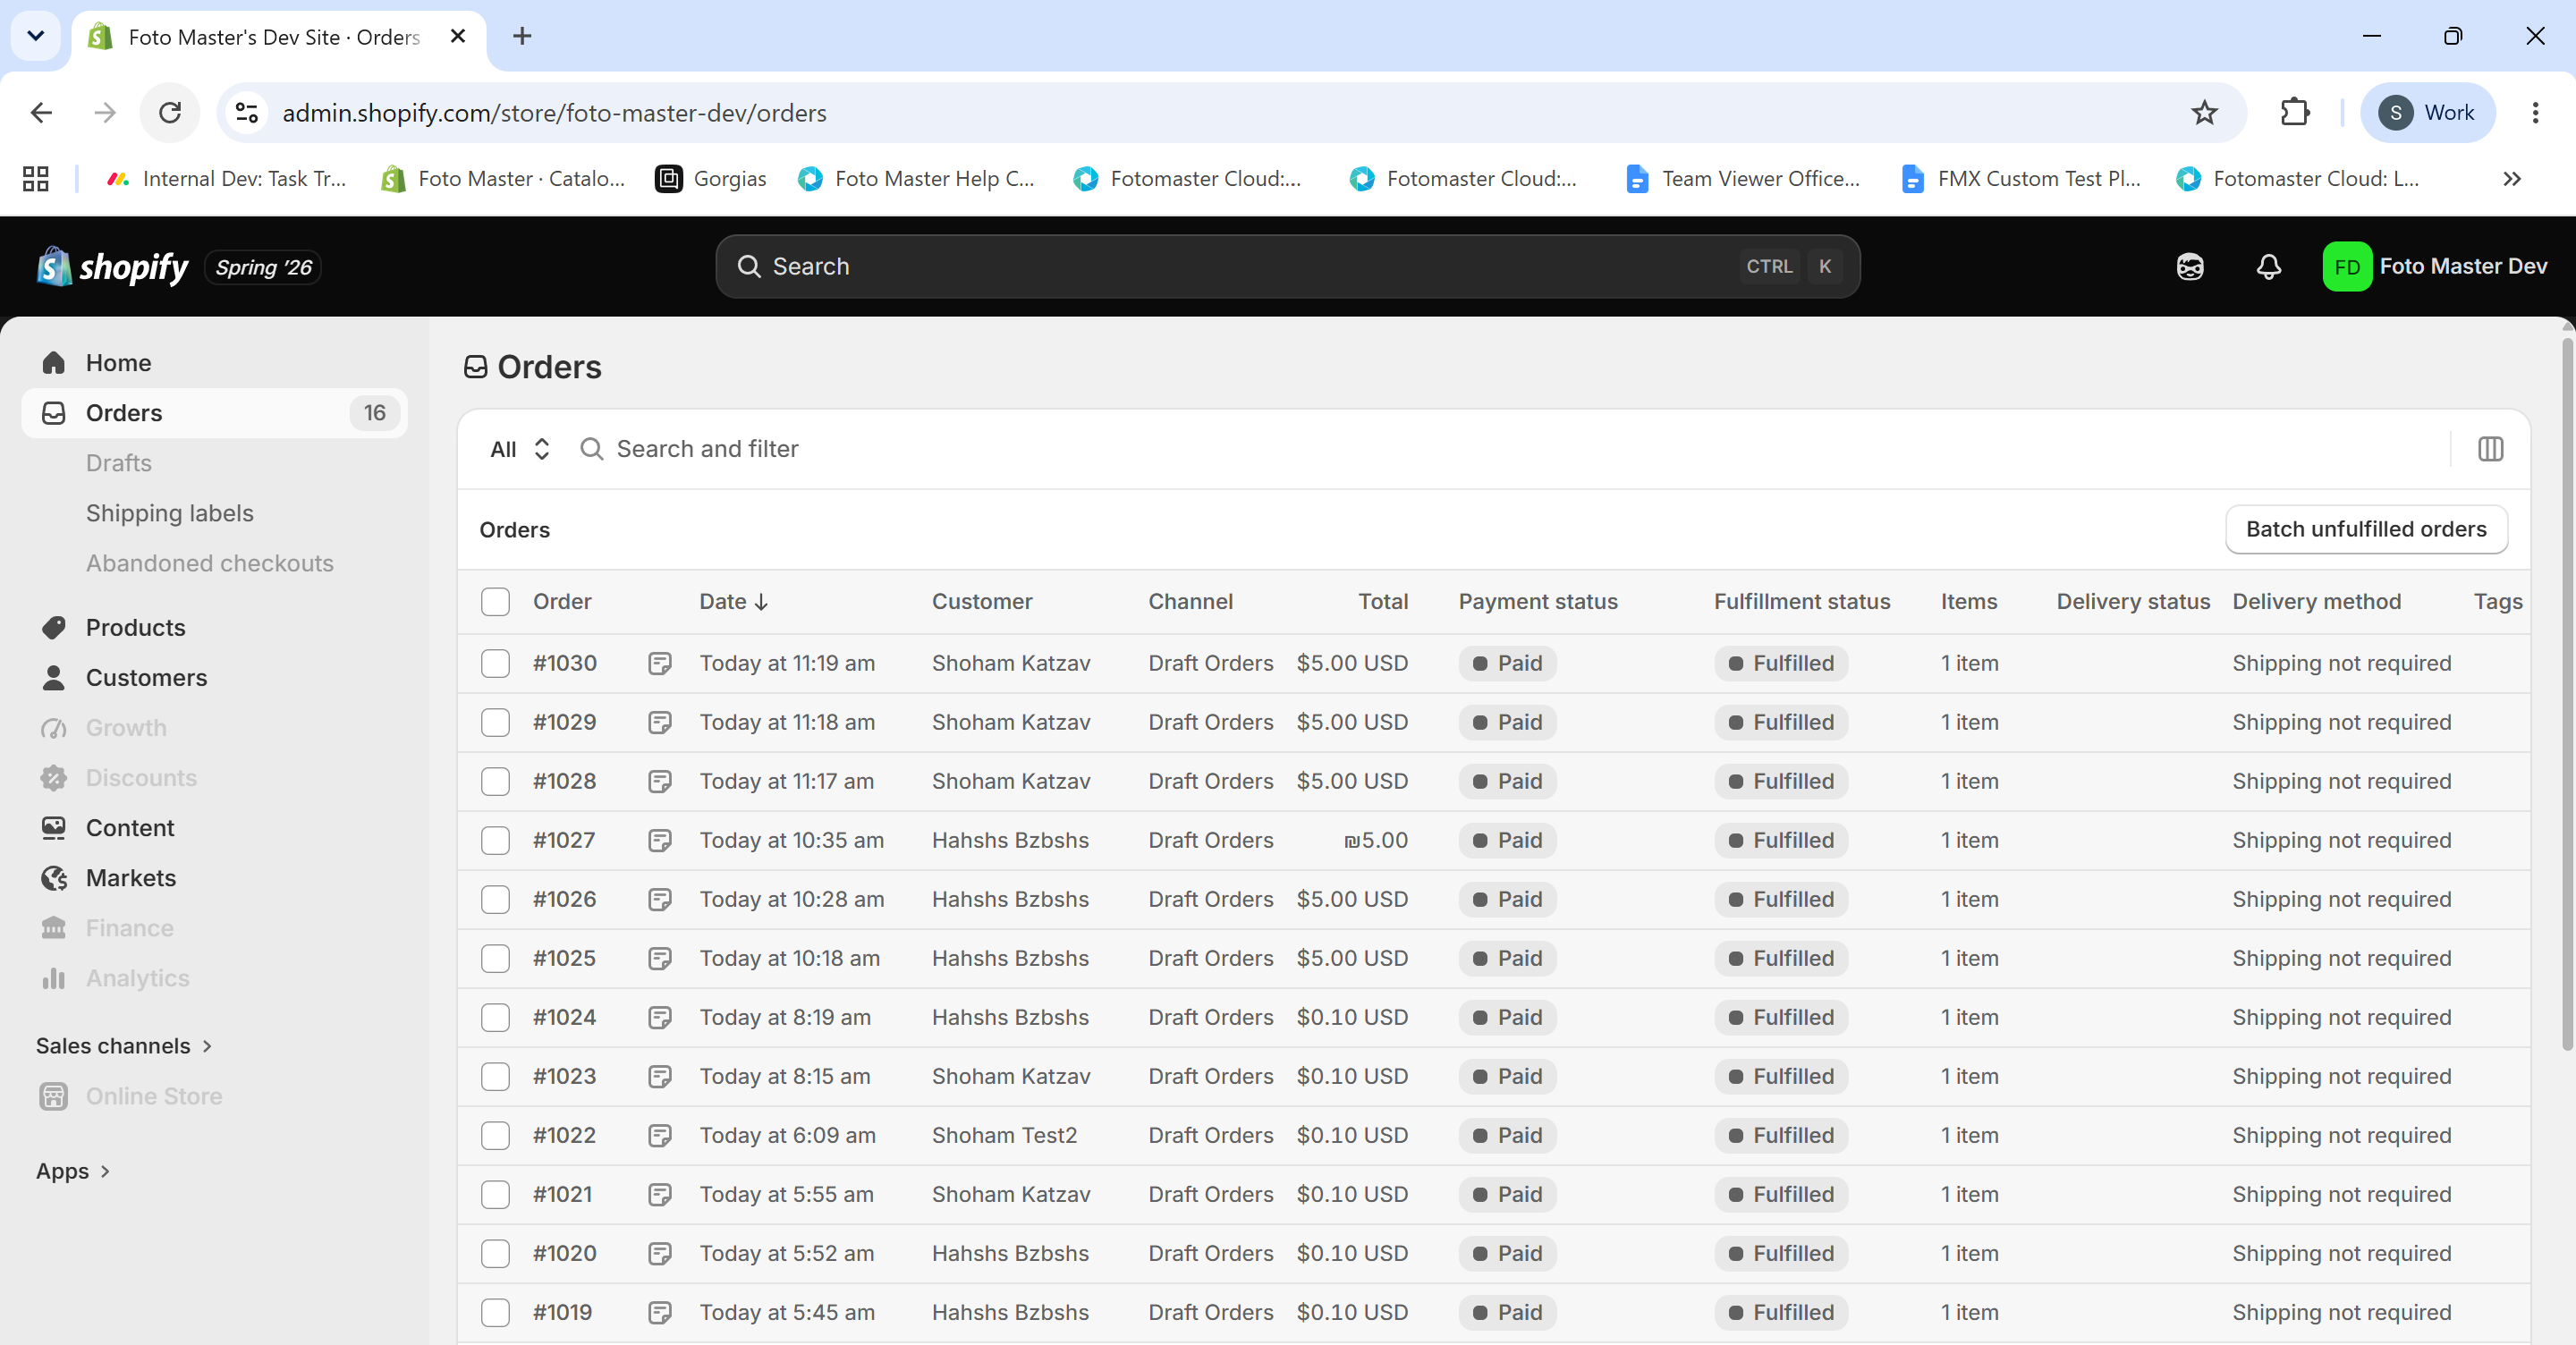
Where Payments Appear & Refunds
Photo booth payments show up in Shopify Admin → Orders as completed orders, noted as "Photo Booth Payment (FMX)" with the booth's session ID in the order details. To refund, open the order in Shopify Admin and click Refund — the standard Shopify refund process applies.
Troubleshooting
| What you see | What to do |
|---|---|
| "FMX Cloud not authenticated" | Open Global Settings → Cloud tab click the Logout button, and then Login back into your account to renew the session. |
| Test Connection fails | Your shop may not be registered yet — contact Foto Master support (Step 3) |
| QR code doesn't appear | Check that Payment Provider is set to Shopify and Shop Domain is filled in |
| Payment not detected after the guest pays | Wait a few seconds — detection takes 2–4s, then check the booth's internet connection. If it still hasn't advanced, contact Foto Master support |
| Long delay (over 10 seconds) after payment | Check the internet connection, then try lowering the Poll Interval (minimum 500 ms) |
| "Failed to create checkout" | The Admin API credentials may be missing a scope or expired — contact Foto Master support |
| "Payment timeout" | The guest didn't finish paying in time. A new QR code appears once the old checkout is safely closed. If this happens often, increase the Timeout |
| A guest was charged but the booth didn't advance | This is rare — the booth automatically recovers late payments in this situation. If the workflow stays stuck, contact Foto Master support with the Shopify order details so the payment can be reconciled or refunded |
Frequently Asked Questions
Do I need any hardware? No. Guests pay on their own phones — no card reader, terminal, or extra tablet.
Do I need a booth operator? No. The payment flow is fully self-service.
Do I need to create products in Shopify? No. The checkout is created with the exact amount from your workflow — no product catalog needed.
Can I charge different amounts for different events? Yes. The amount is set per payment trigger in the workflow editor, and the correct amount is sent to Shopify each time.
What currency can I charge in? Any currency your Shopify store supports. Set the workflow currency to match your store.
What if the internet drops while a guest is paying? The booth keeps checking until the timeout expires. If connectivity returns and the payment completed, the booth detects it and advances; otherwise a fresh QR code appears on the next attempt.
Can multiple booths share one Shopify account? Yes. Each checkout has a unique session ID, so booths never interfere with each other's payments.
Does Foto Master charge extra per transaction? No. Standard Shopify payment processing fees apply per your Shopify plan.
Does FMX store my Shopify credentials? No. Your credentials are stored securely in Foto Master Cloud. The booth only stores your shop domain.
Related
- Create Your First Workflow — Step-by-Step Guide
- Key Concepts: Workflows, Steps, Edges, and Triggers
- Workflow Builder Step Types Reference
Was this helpful?
Related articles
FMX for Windows: Customizing Your Experience
Everything at a photo booth event — the overlays, the countdown, the on-screen text, the email guests receive, the gallery they get a link to — is something you control. This guide
FMX for Windows: System Requirements
Before installing FMX on your Windows computer, make sure your system meets the requirements below. Meeting the recommended specifications will ensure smooth performance during eve
Installing FMX on Windows
When to Use First-time installation of FMX on a Windows PC Reinstalling FMX on the same machine Upgrading FMX to a newer version using the latest installer Requirements Windows 10
Building a FMX Preset From Scratch: Video Tutorial
This video covers the basics of building a workflow and layout in FMX — a good starting point before exploring the individual workflow step articles.
Run the Experience
When to Use After FMX is installed, you are logged in, your event is synced, and your camera choice is set. Requirements FMX opens on the Main Dashboard. Event synced and up to dat