Stripe QR Checkout Payments in FMX
What You Need
- A Foto Master Cloud account with a Pro plan (or Scale plan, once released)
- An active FMX license
- A Stripe account connected through Stripe Connect
- An internet connection at the booth
You do not need:
- A card reader
- A payment terminal
- A tablet or phone running Stripe POS
- A booth operator
How It Works
When the booth reaches the payment step:
- The booth creates a unique Stripe Checkout session for this customer and displays it as a QR code
- The customer scans it with their phone
- Stripe opens on the customer’s phone
- The customer pays
- The booth confirms the payment
- The QR code disappears
- The workflow continues to the next step
Setup
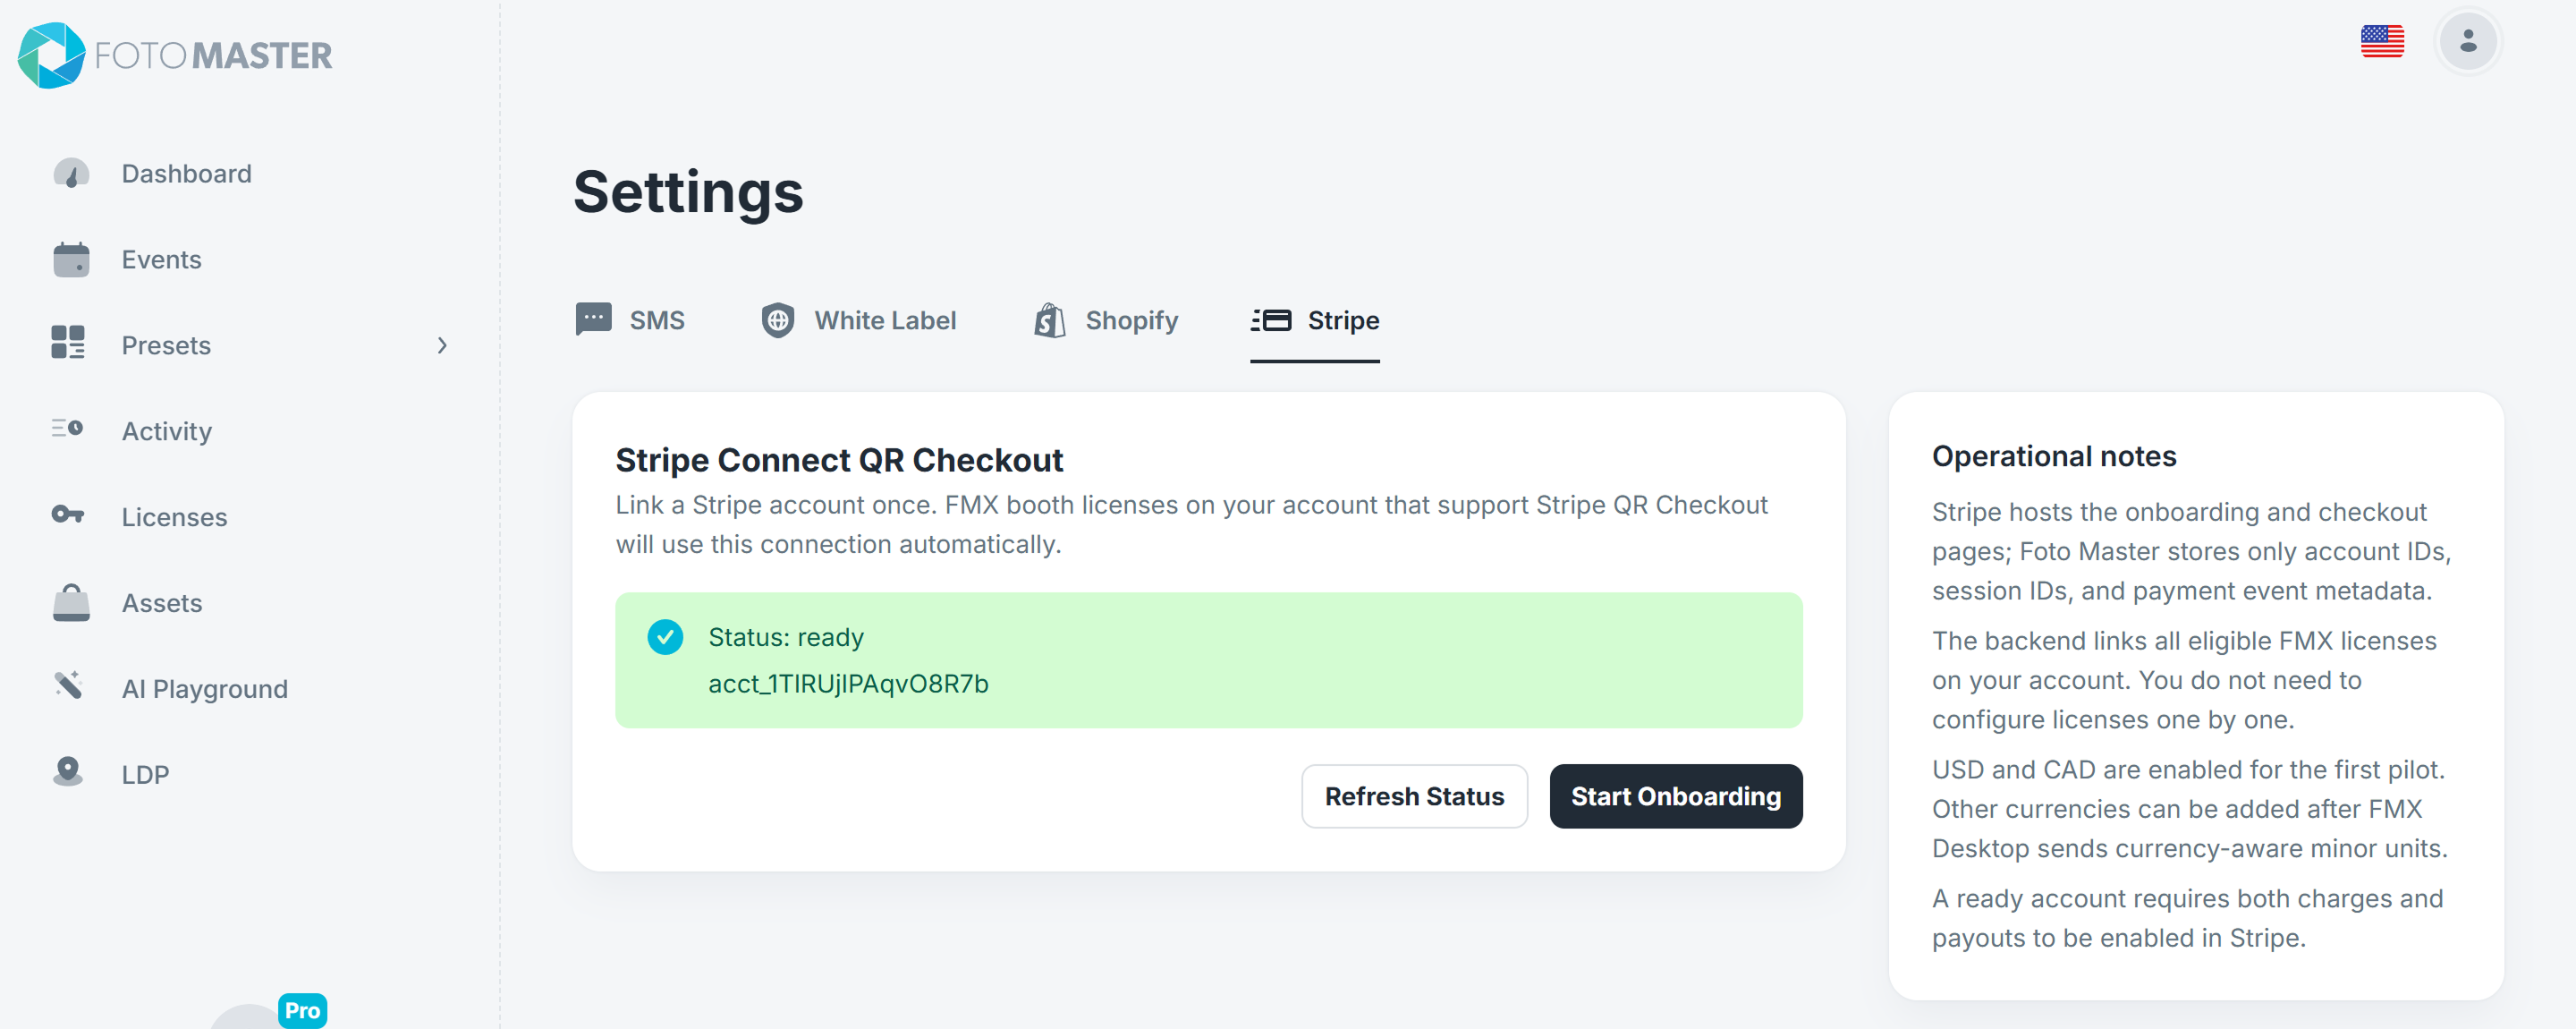
1. Connect Stripe in FMX Cloud
- Open FMX Cloud at cloud.fotomaster.com and login.
- Click your profile picture.
- Choose Settings.
- Click on Stripe tab
- Finish the Stripe onboarding steps
Stripe may ask for:
- Business details
- Identity verification
- Bank account details
- Tax information
2. What Stripe May Ask For
During onboarding, Stripe may ask for:
- legal business name
- EIN or tax ID
- bank account details
- government-issued ID
For most accounts, onboarding takes about 5 to 10 minutes.
Typical timing:
- Most accounts are verified and charge-ready within minutes
- Some accounts may need additional documents and take 1 to 2 business days
- In rare cases, it can take 5 to 7 business days
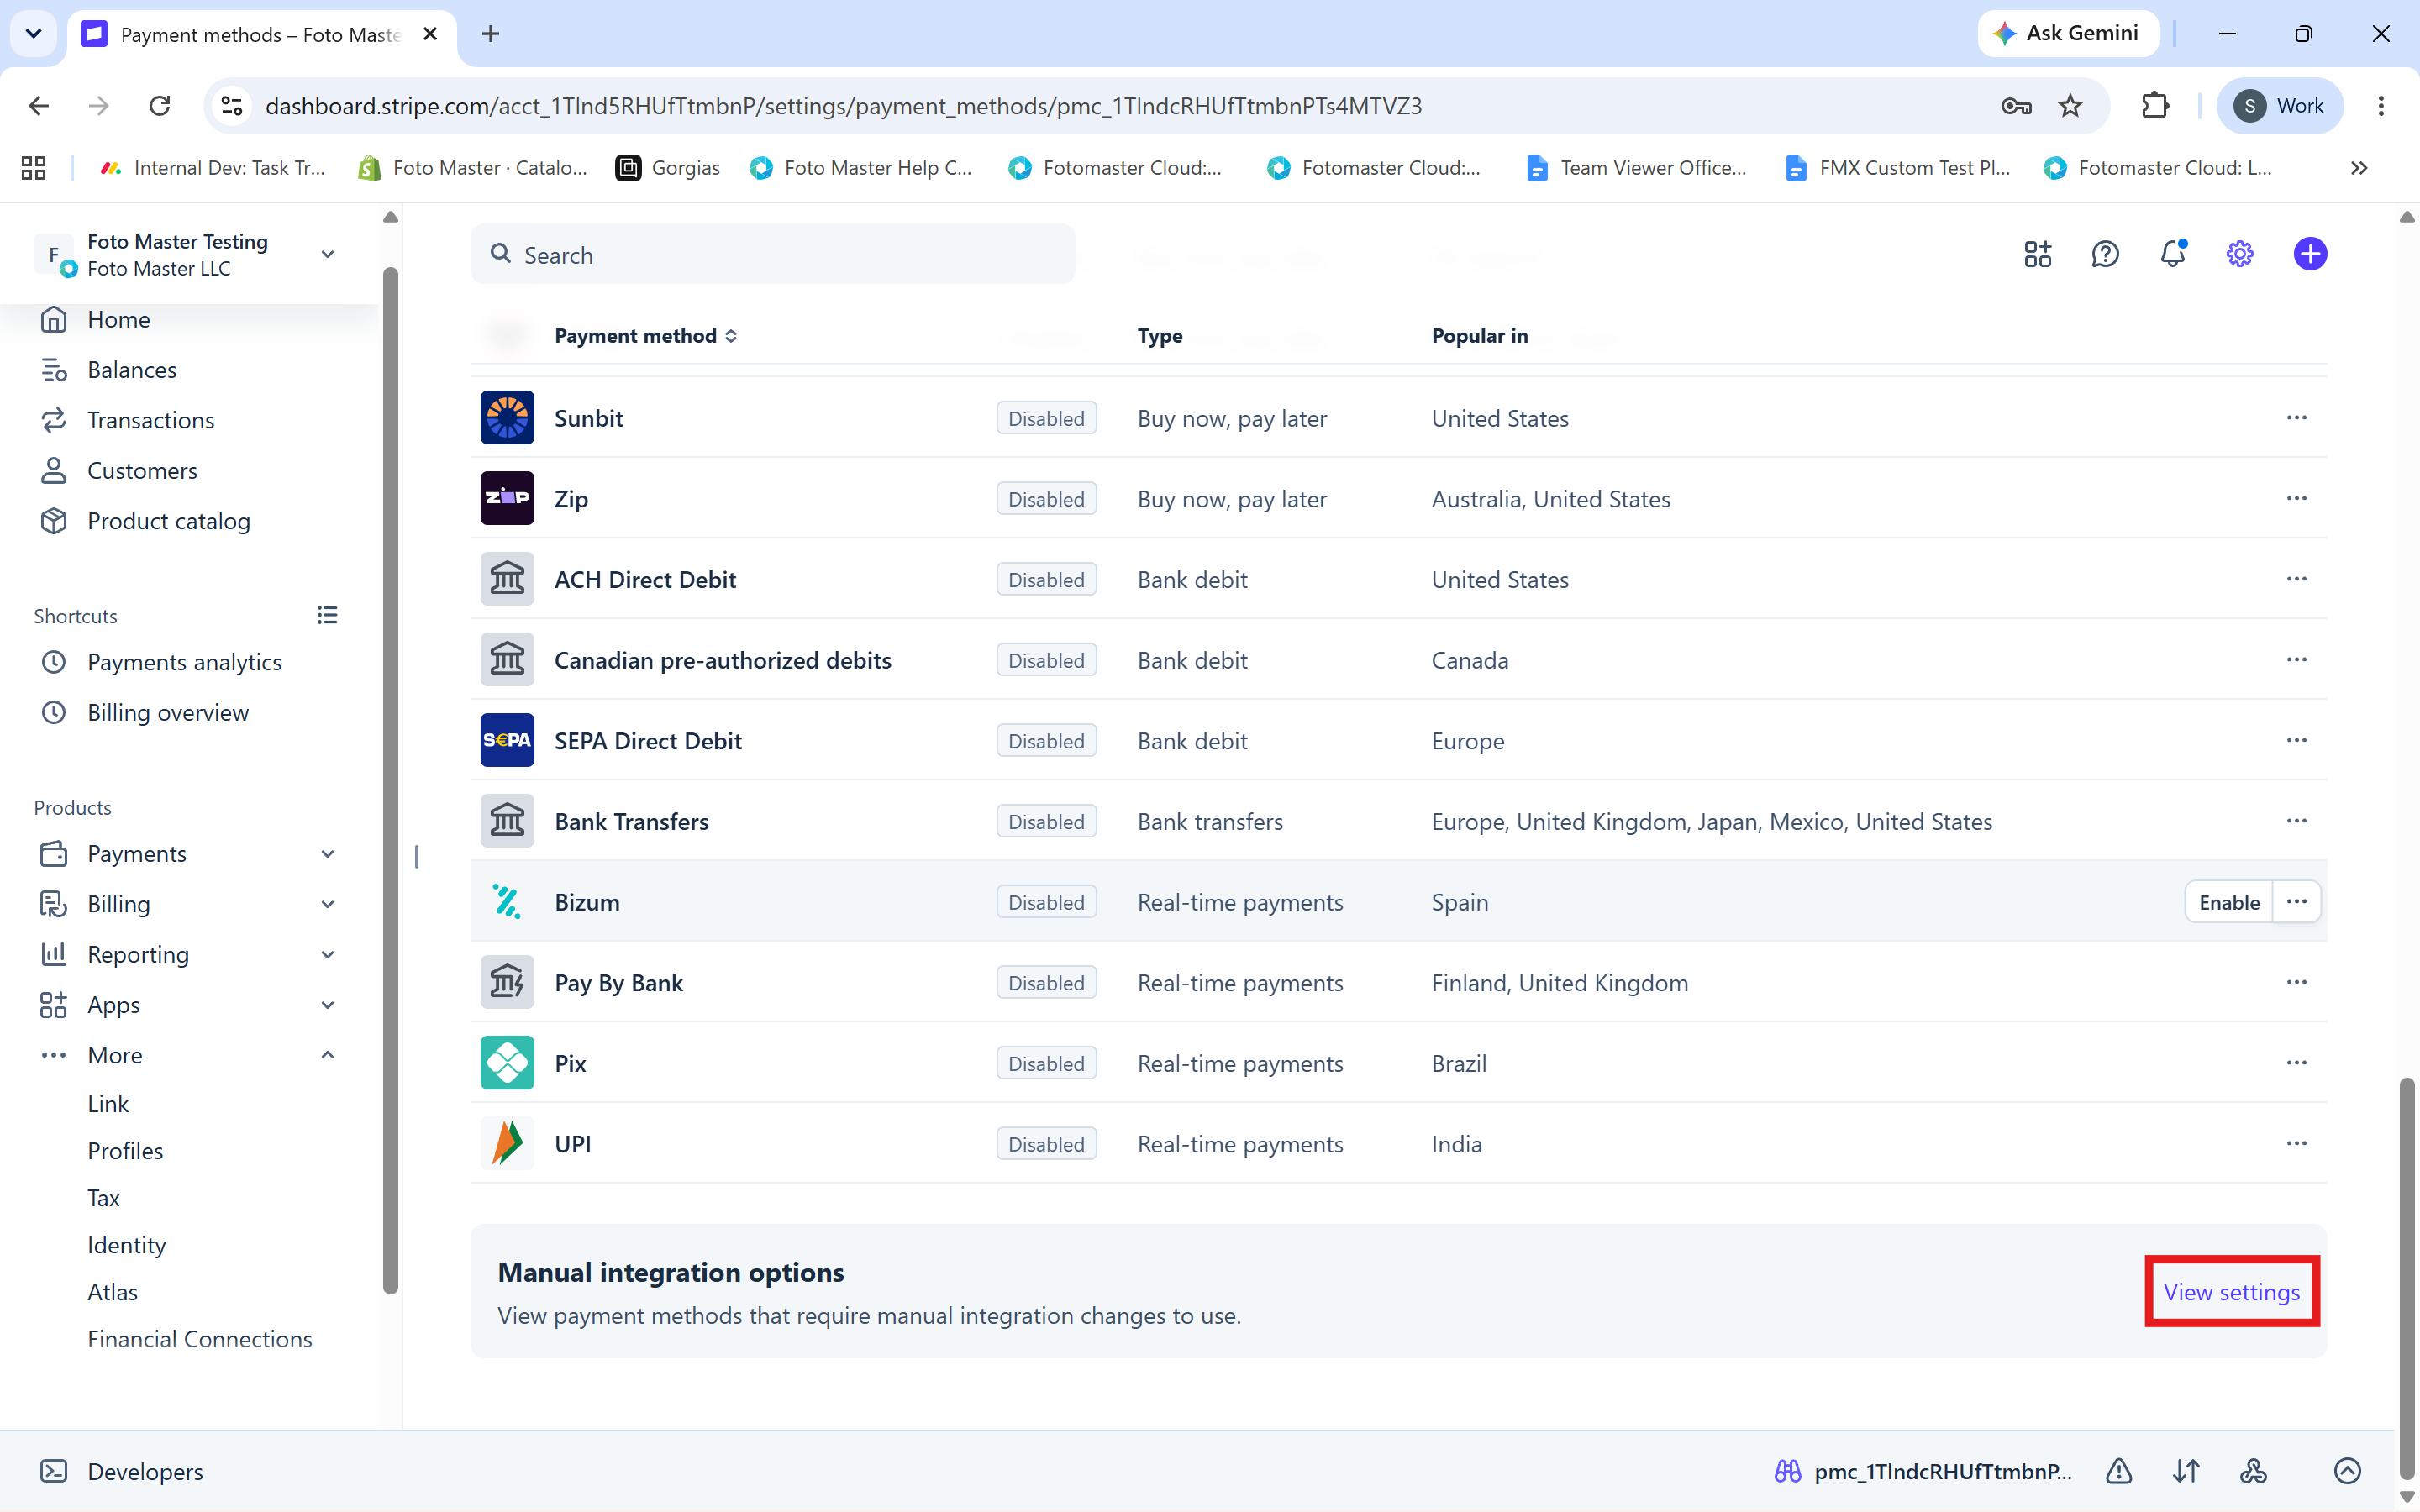
3. Enable the Right Payment Methods in Stripe
- Open Stripe Dashboard
- Go to Settings > Payments > Payment methods
- Select your connected account
- Scroll to the bottom and click View settings (Photo 1)
- Open the Eligible tab
- Find the payment method you want to use
- Click Request access (Photo 2)
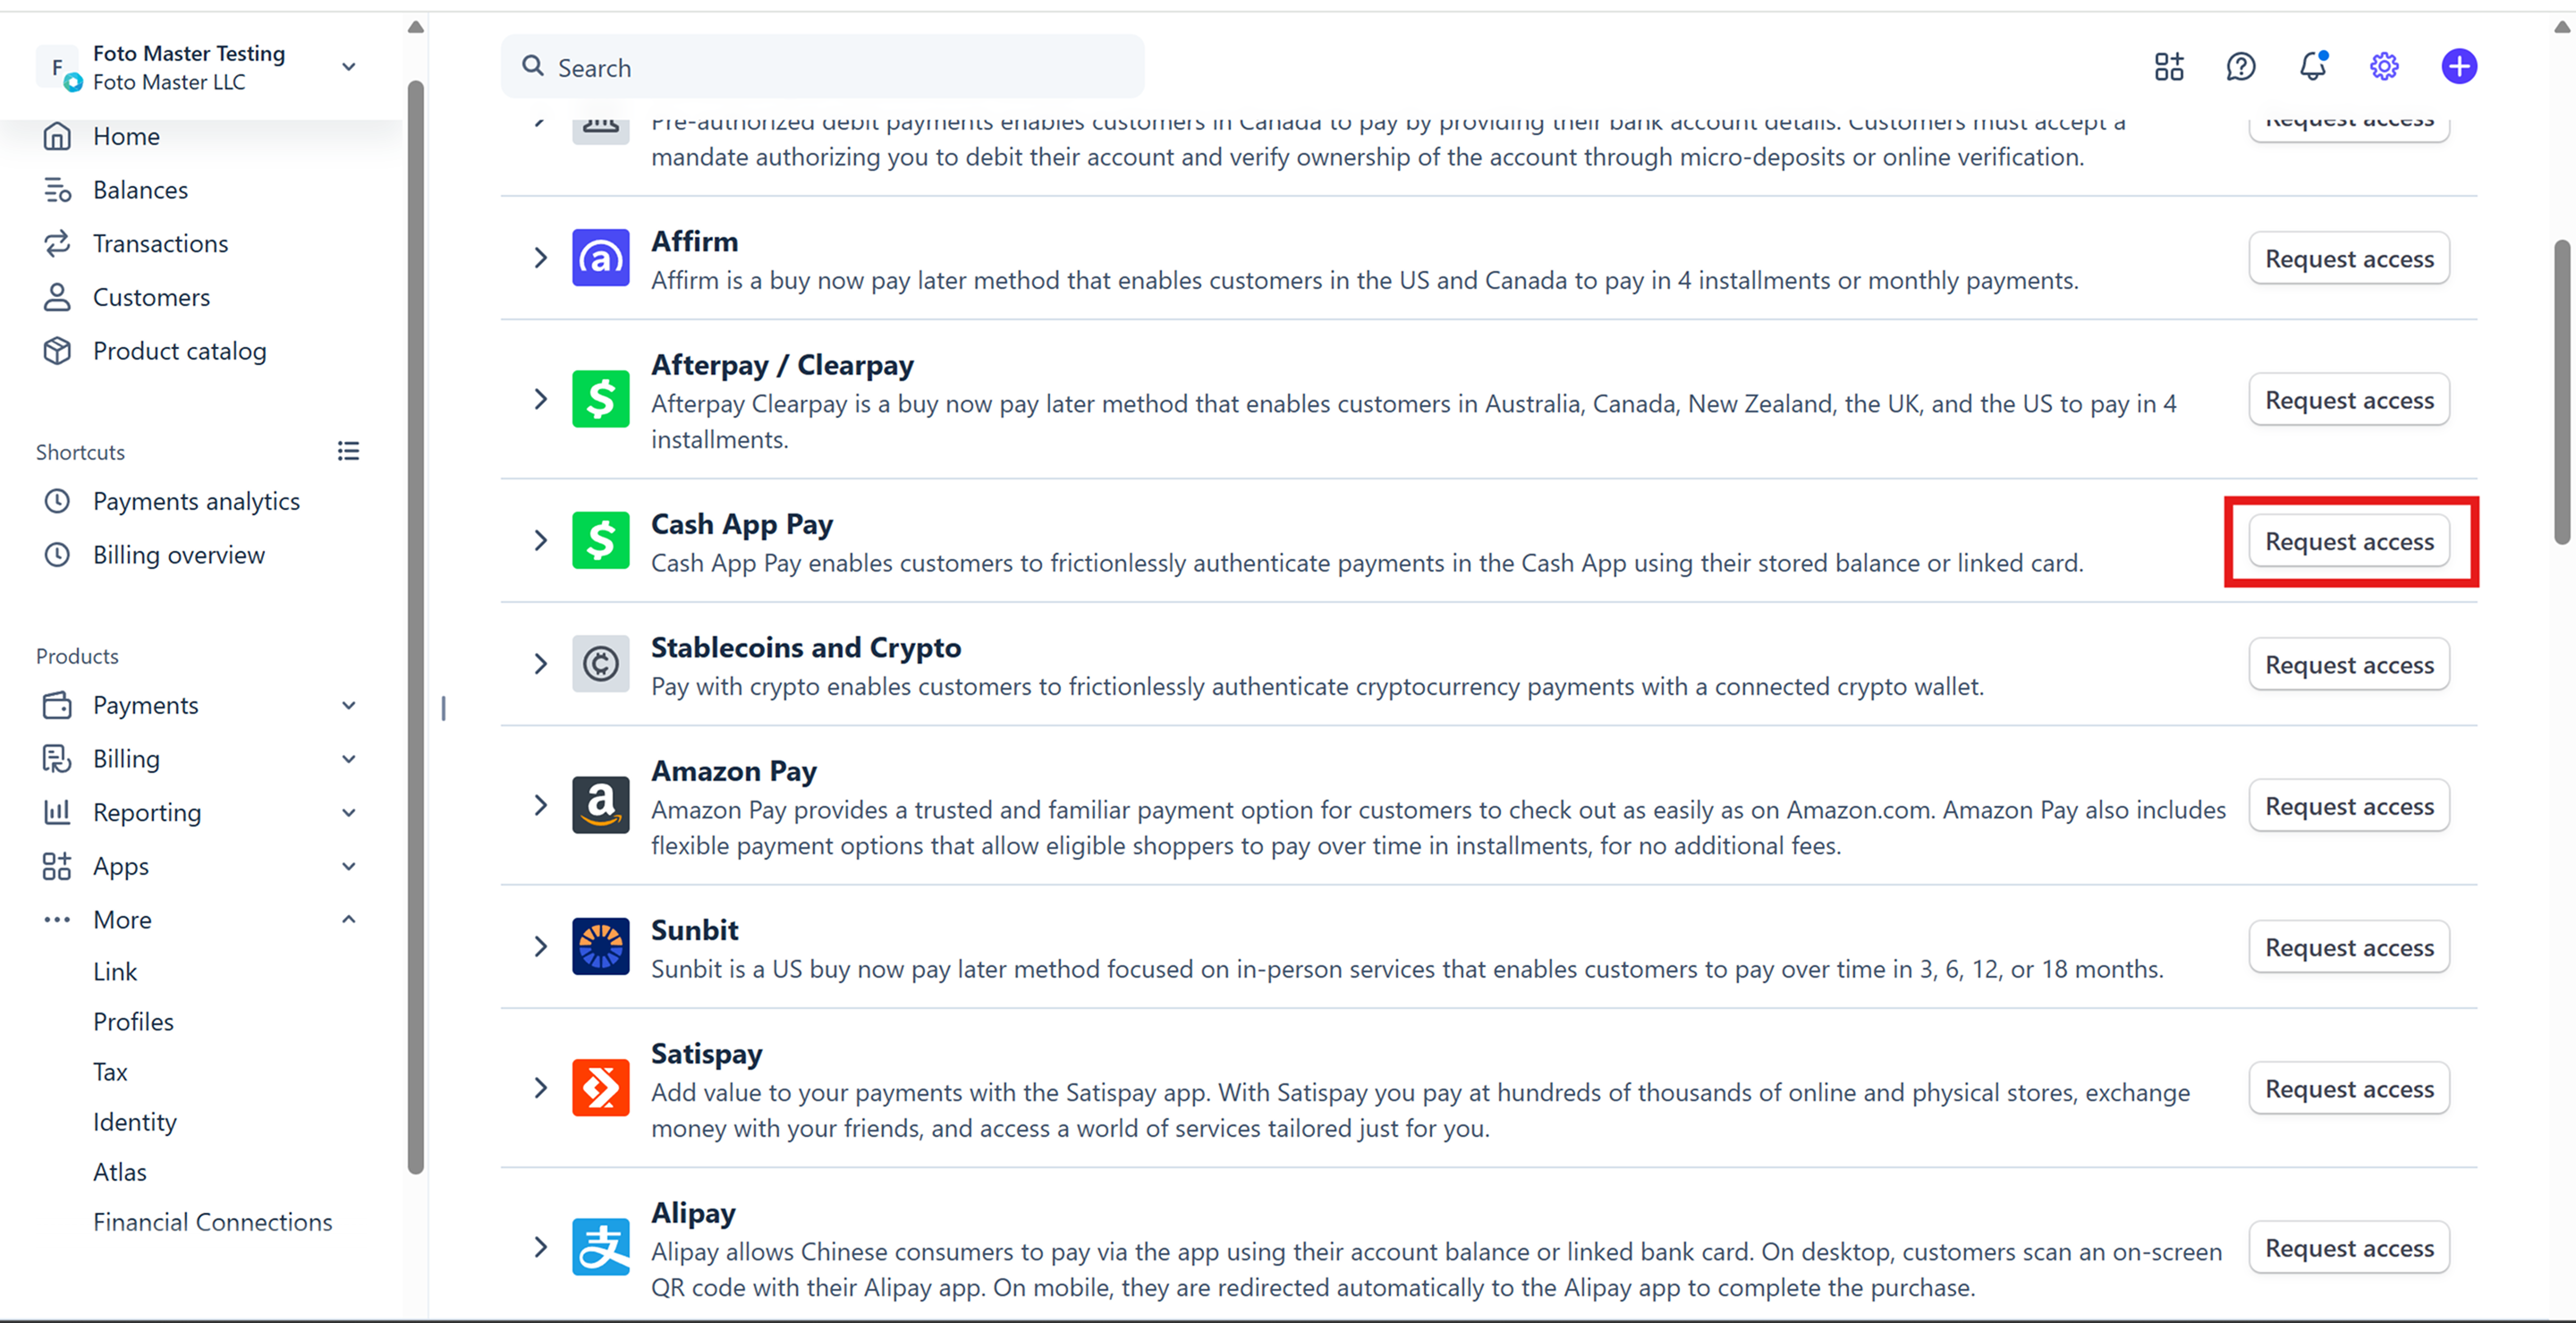
If Stripe approves the request, the payment method will become available for your account.
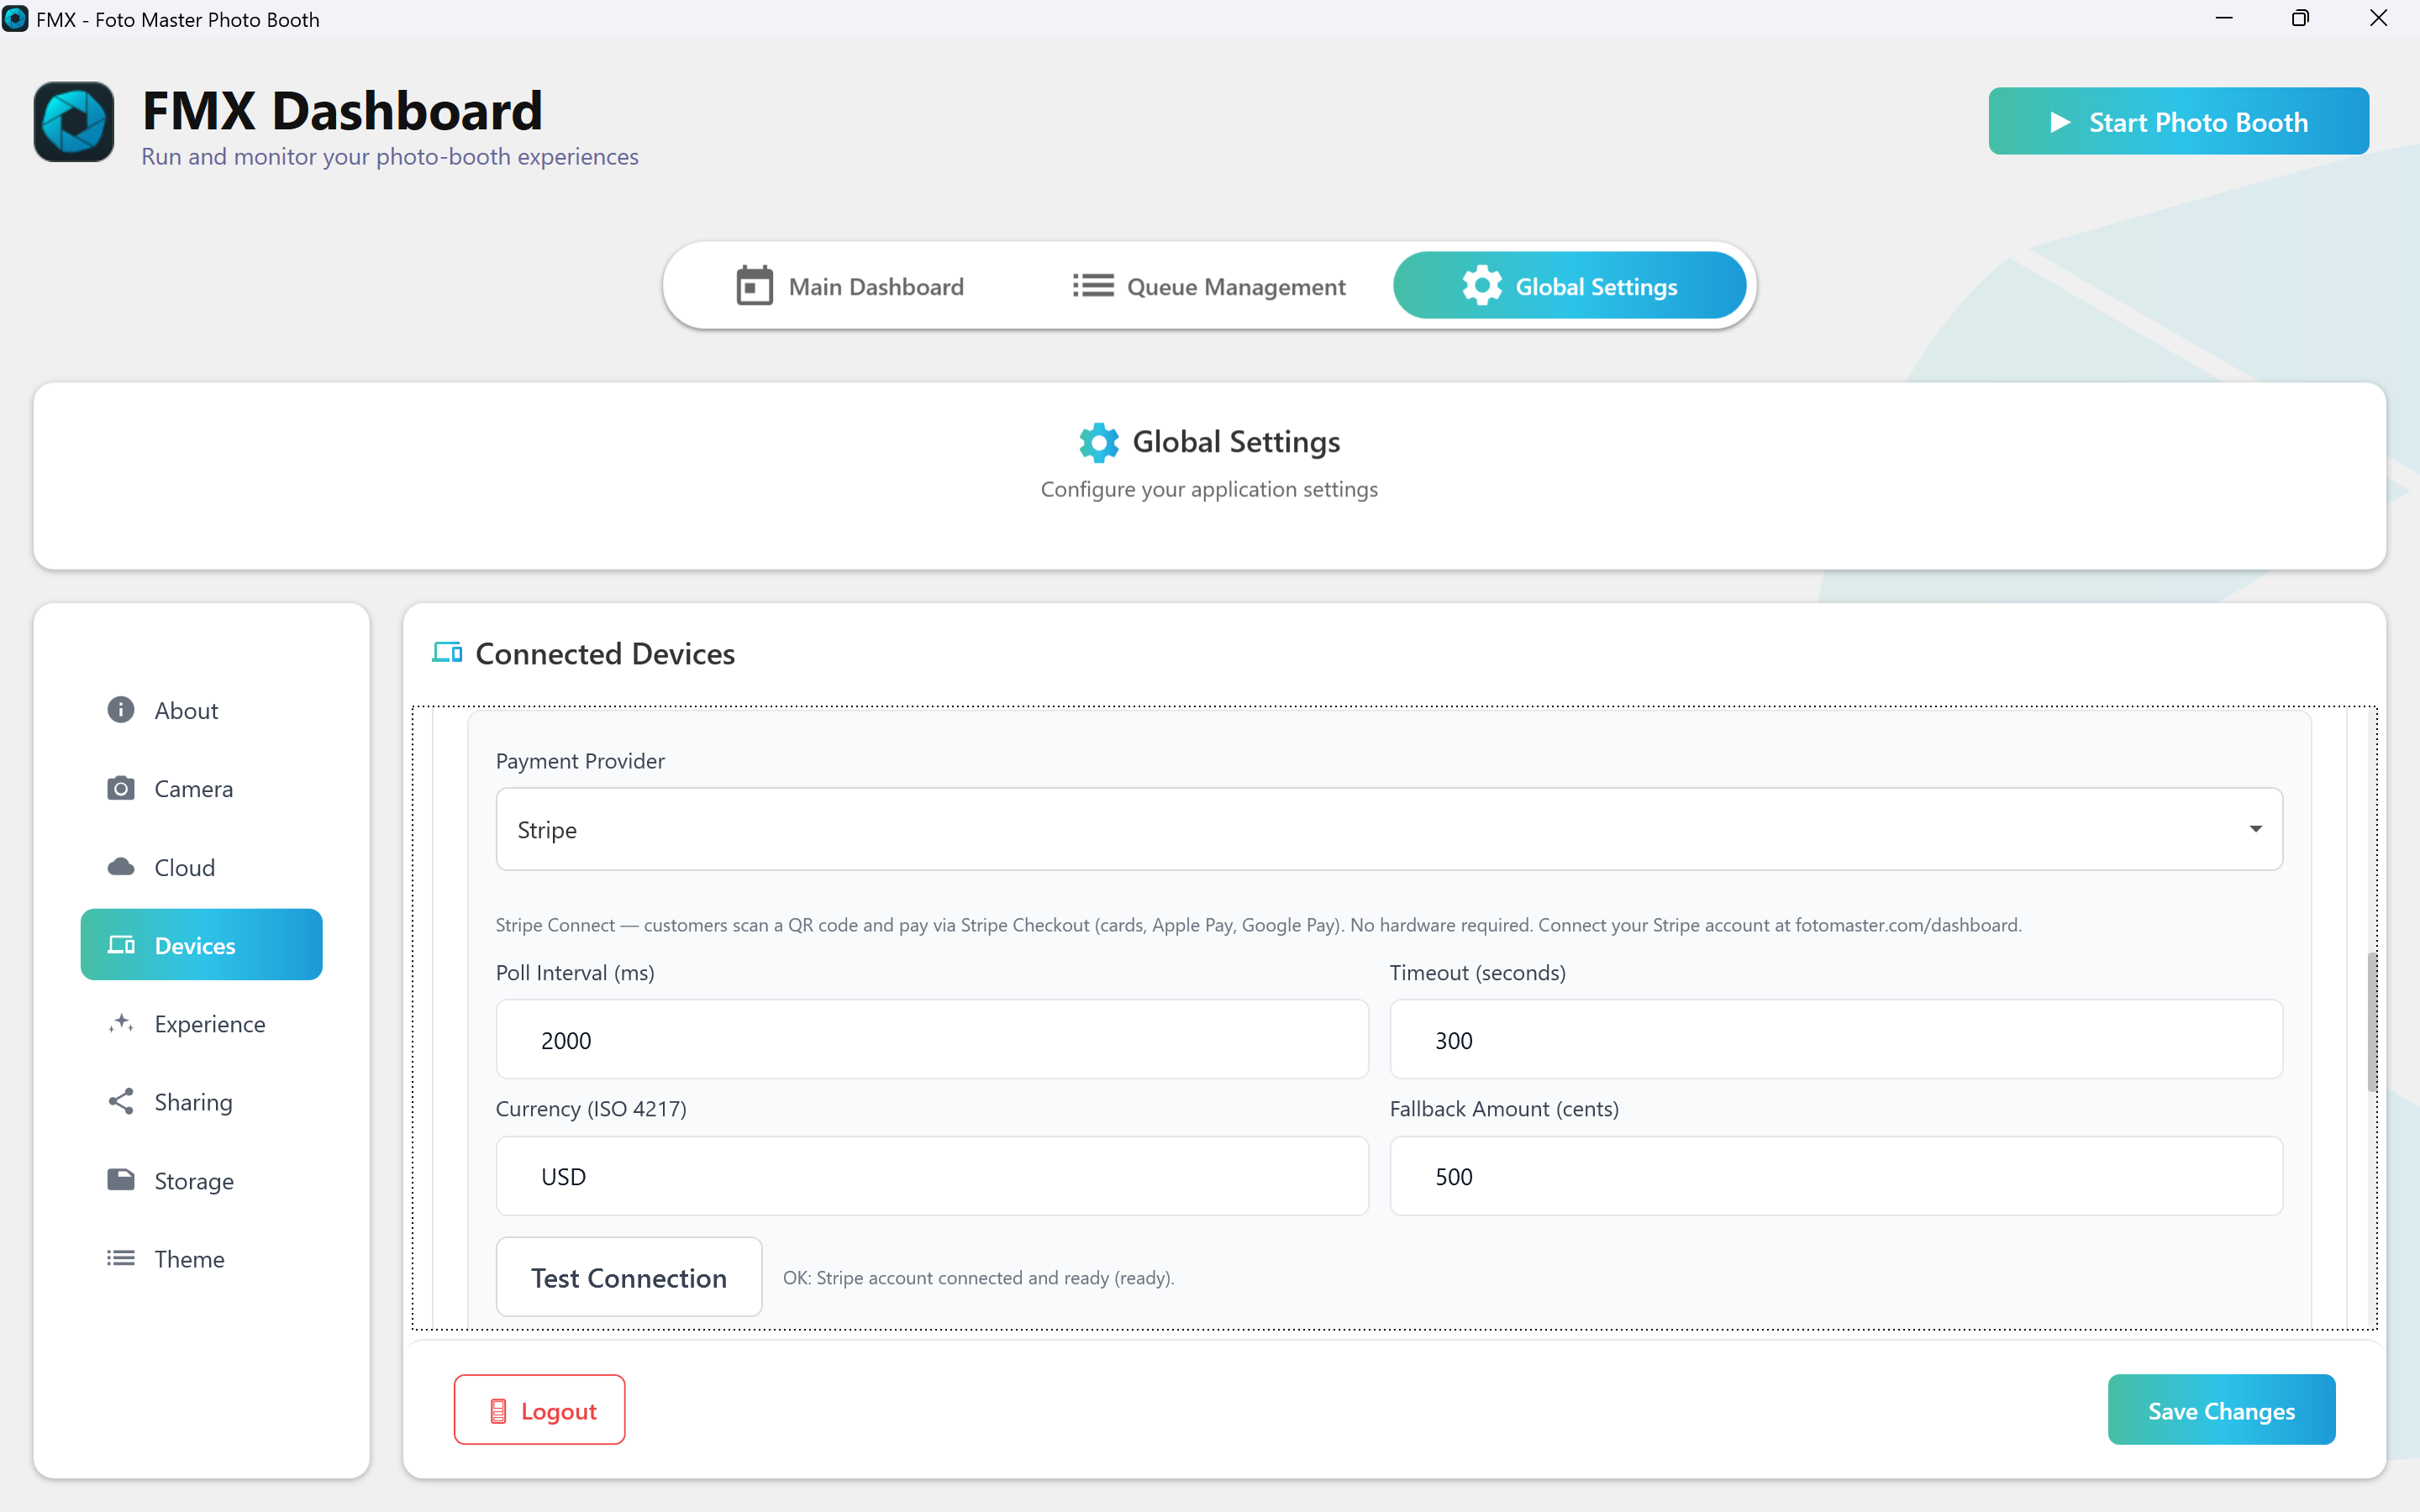
4. Configure FMX Desktop
- Open FMX
- Go to Global Settings
- Open the Devices tab
- Set Payment Provider to Stripe
- Click Test Connection
- Save your changes
- Open the Workflow Editor
- Add an animation node with Payment trigger where you want to collect payment
- Set the payment amount
- Save the workflow
FMX will create the Stripe checkout for that amount automatically.
Daily Use
Once everything is set up, the booth handles the rest:
- The customer reaches the payment step
- The QR code appears
- They scan and pay
- The QR code disappears
- The workflow continues
If the customer does not finish payment in time, the booth will show a new QR code so they can try again.
Where Transactions Appear
You can view Stripe payments in your Stripe Dashboard under Transactions > Payments.
That page shows:
- the payment amount
- the payment method
- the customer
- the date and time
- whether the payment succeeded, failed, or was refunded
Payment Methods
Stripe checkout can accept the payment methods that are enabled in your Stripe account. Depending on your setup, that may include:
- Credit or debit card
- Apple Pay
- Google Pay
- Link
Troubleshooting
FAQ
Do I need special hardware?
No. Customers pay on their own phones.
Do I need an operator?
No. The flow is automatic.
Do I need to create products in Stripe?
No. FMX sends the payment amount directly.
Can I use different prices for different events?
Yes. Set the payment amount in the workflow.
Can more than one booth use the same Stripe account?
Yes, if your FMX Cloud setup links them that way.
Was this helpful?
Related articles
FMX for Windows: Customizing Your Experience
Everything at a photo booth event — the overlays, the countdown, the on-screen text, the email guests receive, the gallery they get a link to — is something you control. This guide
FMX for Windows: System Requirements
Before installing FMX on your Windows computer, make sure your system meets the requirements below. Meeting the recommended specifications will ensure smooth performance during eve
Installing FMX on Windows
When to Use First-time installation of FMX on a Windows PC Reinstalling FMX on the same machine Upgrading FMX to a newer version using the latest installer Requirements Windows 10
Building a FMX Preset From Scratch: Video Tutorial
This video covers the basics of building a workflow and layout in FMX — a good starting point before exploring the individual workflow step articles.
Run the Experience
When to Use After FMX is installed, you are logged in, your event is synced, and your camera choice is set. Requirements FMX opens on the Main Dashboard. Event synced and up to dat